Progress Lighting P3689-44
Progress Lighting P3689-44 Two-Light Close-to-Ceiling Fixture Instruction Manual
Introduction
This manual provides detailed instructions for the safe installation, operation, and maintenance of your Progress Lighting P3689-44 Two-Light Close-to-Ceiling Fixture. Please read all instructions carefully before beginning installation and retain this manual for future reference.
The P3689-44 fixture features a clean design with elegant lines, complemented by a satin Oxford Silver finish and an etched alabaster style glass shade. Its unique twist-lock shade design allows for easy access for changing light bulbs without external hardware.
Safety Information
WARNING: Risk of electric shock. Disconnect power at the fuse box or circuit breaker before installation or servicing.
CAUTION: For your safety, read and understand the information provided in this manual completely before attempting to assemble, install, or operate this product. Failure to do so could lead to electric shock, fire, or other injuries that could be hazardous or even fatal.
- All electrical connections must be in accordance with local codes, ordinances, or the National Electric Code (NEC).
- Consult a qualified electrician if you are unsure about wiring procedures.
- Use only UL/cUL listed wire connectors.
- Do not exceed the maximum wattage specified for the bulbs.
- Ensure the fixture is securely mounted to a structural element of the ceiling.
Package Contents
Carefully unpack your fixture and check that all parts are included. If any parts are missing or damaged, contact Progress Lighting customer service before proceeding.
- Fixture body (1)
- Glass shade (1)
- Mounting hardware kit (1)
- Instruction manual (1)
Setup and Installation
Tools Required (Not Included):
- Phillips screwdriver
- Flathead screwdriver
- Wire strippers
- Electrical tape
- Safety glasses
Installation Steps:
- Turn off power: Before starting installation, ensure the power to the circuit is turned off at the main fuse box or circuit breaker.
- Prepare mounting: Attach the mounting bracket to the junction box in the ceiling using the screws provided in the hardware kit. Ensure the bracket is securely fastened.
- Wiring: Connect the fixture's wires to the house wires according to the following:
- Connect the black fixture wire to the black (hot) house wire.
- Connect the white fixture wire to the white (neutral) house wire.
- Connect the bare copper (ground) fixture wire to the green or bare copper (ground) house wire.
- Mount fixture body: Carefully push the wired fixture body up to the ceiling, aligning the screw holes on the fixture with the screws on the mounting bracket. Secure the fixture body in place with the decorative nuts or screws provided.
- Install bulbs: Insert two (2) 60-watt maximum medium base bulbs (not included) into the sockets. Do not exceed the recommended wattage.
- Attach glass shade: Align the glass shade with the fixture body and twist it clockwise until it locks securely into place. The unique twist-lock design ensures the shade is held firmly without visible hardware.
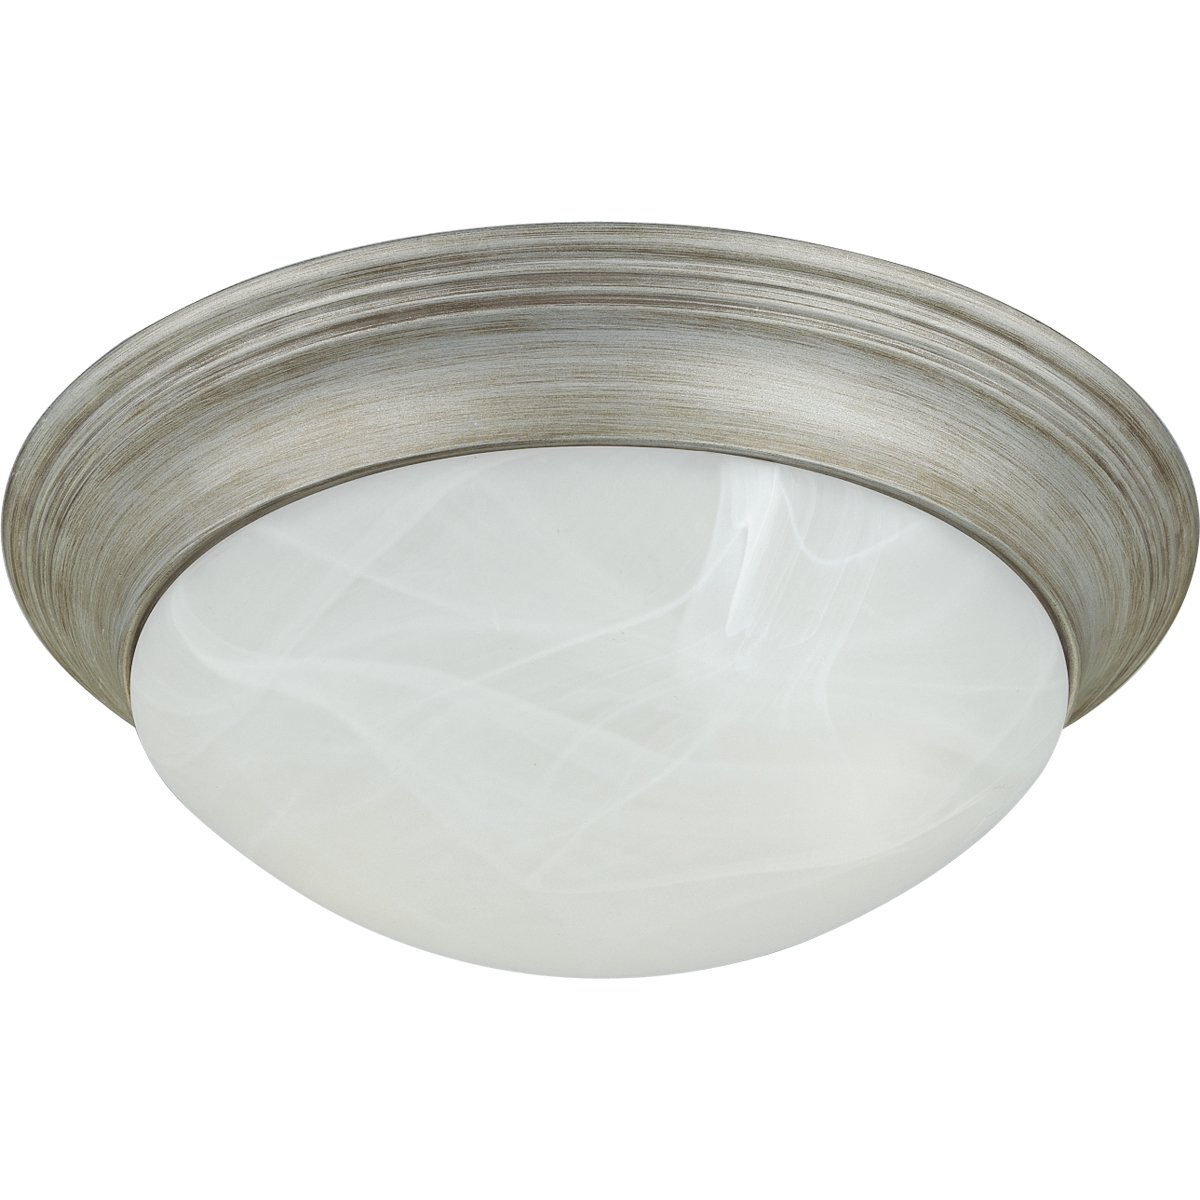
Image: The Progress Lighting P3689-44 Two-Light Close-to-Ceiling Fixture, showcasing its Oxford Silver finish and etched alabaster style glass shade. The fixture is designed for flush mounting to the ceiling.
Operating Instructions
Once the fixture is fully installed and bulbs are in place, restore power at the main fuse box or circuit breaker. The fixture is operated via a standard wall switch (not included) connected to the circuit.
- Ensure the correct wattage bulbs (max 60-watt medium base) are used to prevent overheating or damage.
- The fixture is designed for indoor use in dry locations only.
Maintenance
Cleaning:
To clean the fixture, ensure power is turned off. Wipe the fixture with a soft, dry cloth. Do not use abrasive cleaners, polishes, or solvents as they may damage the finish or glass. For the glass shade, a mild glass cleaner can be used sparingly on a cloth, then wiped dry.
Bulb Replacement:
To replace bulbs, turn off power at the circuit breaker. Gently twist the glass shade counter-clockwise to remove it. Unscrew the old bulbs and replace them with new 60-watt maximum medium base bulbs. Reattach the glass shade by twisting it clockwise until secure.
Troubleshooting
| Problem | Possible Cause | Solution |
|---|---|---|
| Light does not turn on. |
|
|
| Light flickers. |
|
|
Specifications
| Feature | Detail |
|---|---|
| Model Number | P3689-44 |
| Brand | Progress Lighting |
| Finish | Oxford Silver |
| Glass Type | Etched Alabaster Style Glass |
| Dimensions (Width x Height) | 14 inches (W) x 4-3/4 inches (H) |
| Number of Lights | 2 |
| Bulb Type | Medium Base (E26) |
| Max Wattage per Bulb | 60 Watts |
| Voltage | 120 Volts |
| Power Source | Corded Electric |
| Material | Glass, Metal |
| UPC | 785247368921 |
Warranty and Support
This Progress Lighting fixture is covered by a 1-year manufacturer's warranty from the date of purchase. This warranty covers defects in materials and workmanship under normal use.
For warranty claims, technical support, or replacement parts, please contact Progress Lighting customer service. Keep your purchase receipt as proof of purchase.
Progress Lighting Customer Service: Refer to the official Progress Lighting website or product packaging for current contact information.