Introduction
This manual provides comprehensive instructions for the assembly, display, and maintenance of your Hobby Boss A-10 Thunderbolt II 1/48 scale airplane model building kit. The A-10 Thunderbolt II is a high-survivability and versatile aircraft, primarily designed for ground attack against tanks, armored vehicles, and installations, as well as close air support for ground forces. This model kit allows for the creation of a detailed replica of this iconic aircraft.
The kit includes 13 sprues and 298 parts, providing a detailed representation of the A-10. Decals are provided for three distinct aircraft configurations: 23rd TFW, 1990; 906th TFG, 23rd TFW, February 1991; and 510th FS, 52nd FW, 1992.
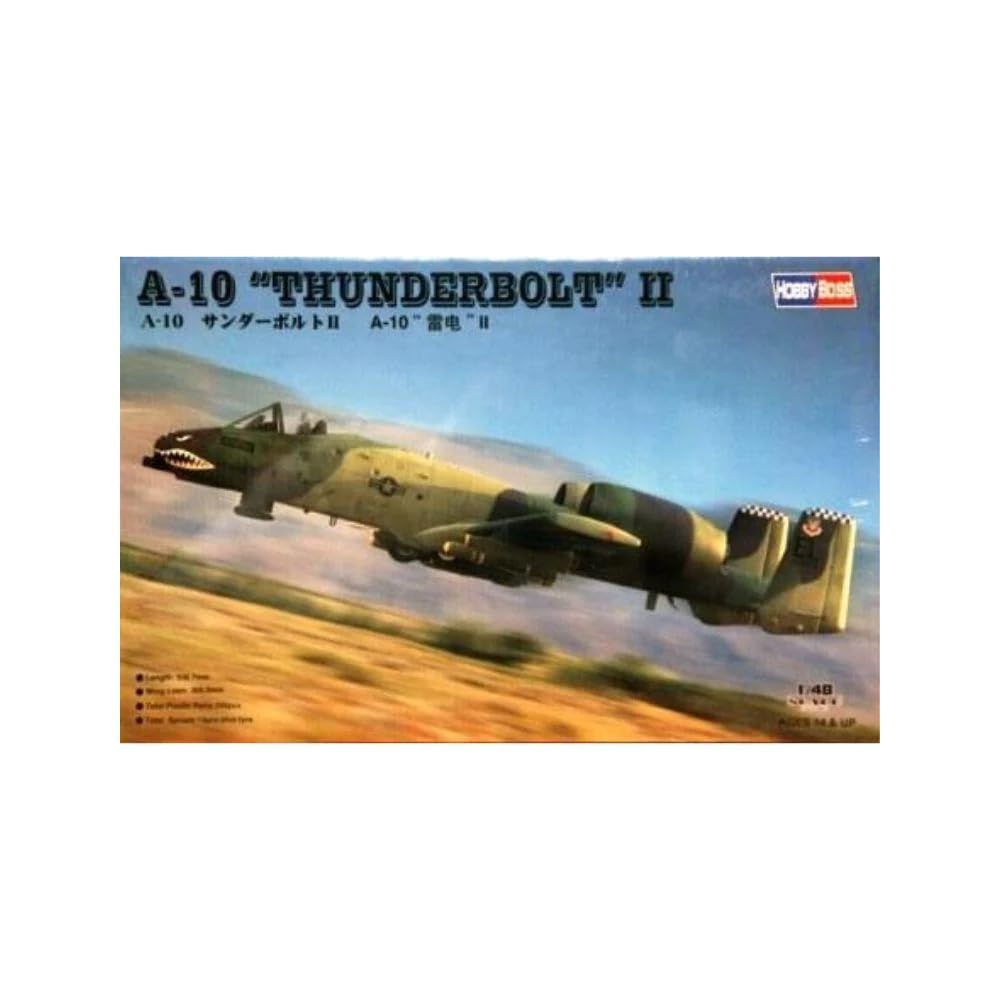
Image: An example of the fully assembled Hobby Boss A-10 Thunderbolt II model, depicted in a flight pose with its characteristic camouflage and weaponry.
Assembly Instructions
Unpacking and Preparation
- Carefully unpack all components and compare them against the parts list provided in the kit's instruction booklet to ensure all pieces are present.
- Familiarize yourself with the instruction booklet's diagrams and sequence before beginning assembly.
- Prepare your workspace with adequate lighting and ventilation. Gather necessary tools such as hobby knives, plastic cement, tweezers, sanding sticks, and paints.
Step-by-Step Assembly
Follow the detailed, numbered steps provided in the manufacturer's instruction booklet. Each step typically involves cutting parts from the sprues, cleaning any excess plastic (flash), and cementing them together. Pay close attention to part numbers and orientation.
- Sub-Assemblies: Begin by assembling smaller sections such as the cockpit, landing gear, and engine nacelles as indicated in the instructions.
- Main Fuselage and Wings: Once sub-assemblies are complete, proceed with joining the main fuselage halves and attaching the wings. Ensure proper alignment and secure bonding.
- Painting: Painting can be done at various stages. Refer to the instruction booklet for recommended paint colors and schemes. Some parts may be easier to paint before full assembly.
- Final Details: Attach smaller components, weaponry, and external stores after the main structure is complete and painted.
Decal Application
After painting is complete and fully dry, apply the decals. Cut each decal carefully from the sheet. Dip the decal in lukewarm water for 10-20 seconds until it slides freely from the backing paper. Position the decal on the model using tweezers, then gently blot away excess water with a soft cloth or cotton swab. Use decal setting solutions if desired to help the decal conform to surface details and eliminate silvering.

Image: The decal sheet included with the kit, featuring markings for different aircraft configurations and unit details.
Display and Handling
Once assembled, your model is ready for display. Choose a stable, level surface away from direct sunlight, excessive heat, or humidity to prevent damage or discoloration. When handling the model, always support it from the main fuselage or wings to avoid stressing delicate parts like landing gear, antennas, or weaponry.
Maintenance
Cleaning
To clean your model, gently dust it with a soft, dry brush or a lint-free cloth. For more stubborn dust, a very lightly dampened cloth (with water only) can be used, followed immediately by a dry cloth. Avoid harsh chemicals or abrasive materials, as these can damage paint and plastic surfaces.
Storage
If storing the model, place it in a protective container to shield it from dust and accidental damage. Ensure the container is large enough to prevent parts from being crushed. Store in a cool, dry place away from direct sunlight to prevent plastic degradation or paint fading.
Troubleshooting Common Issues
Parts Fit
Some model kits may exhibit minor fit issues. If parts do not fit together cleanly, gentle sanding with fine-grit sandpaper or a sanding stick can help achieve a better fit. For gaps, plastic putty or filler can be applied, allowed to dry, and then sanded smooth before painting. Pay particular attention to areas like fuselage seams or wing roots. If deformities are present around alignment pins or cockpit areas, careful trimming and filling may be required.
Decal Application Problems
- Silvering: If decals appear to have a silvery sheen, it often indicates trapped air beneath the decal. Applying a gloss coat before decals and using decal setting solutions can help prevent this. Prick tiny holes in the decal with a sharp needle and apply more setting solution to release trapped air.
- Bubbles: Small bubbles can often be gently pushed out with a cotton swab or the edge of a soft cloth while the decal is still wet.
Painting Issues
- Uneven Coats: Ensure paint is properly thinned and applied in multiple thin coats rather than one thick coat. Allow each coat to dry thoroughly.
- Paint Lifting: This can occur if the surface was not clean or primed properly, or if paint was applied too thickly. Ensure surfaces are clean and dry before painting.
Product Specifications
| Feature | Detail |
|---|---|
| Brand | Hobby Boss |
| Model Name | A-10 Thunderbolt II |
| Scale | 1:48 |
| Material Type | Plastic |
| Number of Pieces | 298 (from 13 sprues) |
| Item Dimensions (L x W x H) | 13.33 x 14.37 x 3.67 inches |
| Item Weight | 0.9 Kilograms |
| UPC | 093572681234 |
| ASIN | B001BHGFSM |
Warranty Information
This product is sold without an explicit manufacturer's warranty. Please refer to the retailer's return policy for information regarding returns or replacements. The standard return policy for this item allows for refunds or replacements within 30 days of purchase.
Customer Support
For missing parts or specific technical questions not covered in this manual, please refer to the contact information provided by your retailer or the manufacturer's official website. When contacting support, have your product model name (A-10 Thunderbolt II) and ASIN (B001BHGFSM) readily available.


