Global Industrial B0018R1L98
Global Industrial Deluxe Wall Mount Fan Instruction Manual
Model: B0018R1L98
1. Introduction
Thank you for purchasing the Global Industrial Deluxe Wall Mount Fan. This manual provides important information regarding the safe operation, installation, maintenance, and troubleshooting of your fan. Please read this manual thoroughly before installation and use, and retain it for future reference.
This fan is designed to provide powerful air circulation in various indoor settings such as loading docks, offices, schools, exercise studios, and kitchens. Its wall-mount design saves valuable floor space.

Figure 1: Front view of the Global Industrial Deluxe Wall Mount Fan. This image shows the fan's large circular guard, three blades, and the central Global Industrial logo, mounted on a black wall bracket.
2. Safety Information
WARNING: To reduce the risk of fire, electric shock, or injury to persons, observe the following:
- Read all instructions before using this fan.
- This fan is for INDOOR USE ONLY. Do not use outdoors or in wet locations.
- Always unplug the fan from the power outlet before cleaning, servicing, or moving.
- Do not operate any fan with a damaged cord or plug. Discard fan or return to an authorized service facility for examination and/or repair.
- Do not run cord under carpeting. Do not cover cord with throw rugs, runners, or similar coverings. Do not route cord under furniture or appliances. Arrange cord away from traffic area and where it will not be tripped over.
- Do not insert fingers or any other objects through the guard when the fan is operating.
- Ensure the fan is mounted securely to a structural support capable of holding its weight.
- Keep children and pets away from the fan during operation.
- Do not use this fan with any solid-state speed control device.
3. Package Contents
Please check the package contents to ensure all parts are present and undamaged:
- Deluxe Wall Mount Fan Assembly (Motor, Blades, Guards)
- Wall Mounting Bracket
- Mounting Hardware (Screws, Washers, Anchors - specific types may vary)
- Instruction Manual
4. Setup and Installation
Proper installation is crucial for the safe and effective operation of your fan. Ensure you have the necessary tools (e.g., drill, level, screwdriver, wrench) before beginning.
4.1 Choosing a Mounting Location
- Select a sturdy wall or ceiling joist capable of supporting the fan's weight (approximately 30 lbs).
- Ensure there is adequate clearance around the fan for air circulation and oscillation.
- The location should be near a grounded electrical outlet.
- Avoid mounting in areas with excessive dust, moisture, or flammable materials.
4.2 Mounting the Bracket
- Hold the wall mounting bracket against the chosen surface and mark the drilling points. Use a level to ensure the bracket is straight.
- Drill pilot holes at the marked locations. The size of the drill bit will depend on the type of mounting hardware used (e.g., lag screws into studs, or anchors for drywall/masonry).
- Securely fasten the mounting bracket to the wall using the provided hardware. Ensure it is firmly attached and does not wobble.

Figure 2: Close-up view of the fan's robust black mounting bracket. This image highlights the multiple bolt holes for secure attachment to a wall or ceiling, and the integrated power cord management clip.
4.3 Attaching the Fan Assembly
- Carefully lift the fan assembly and align its mounting arm with the bracket.
- Insert the pivot bolt through the corresponding holes in the fan arm and bracket.
- Secure the pivot bolt with the washer and nut, but do not overtighten initially, as you may need to adjust the tilt.
- Ensure all connections are secure before proceeding.
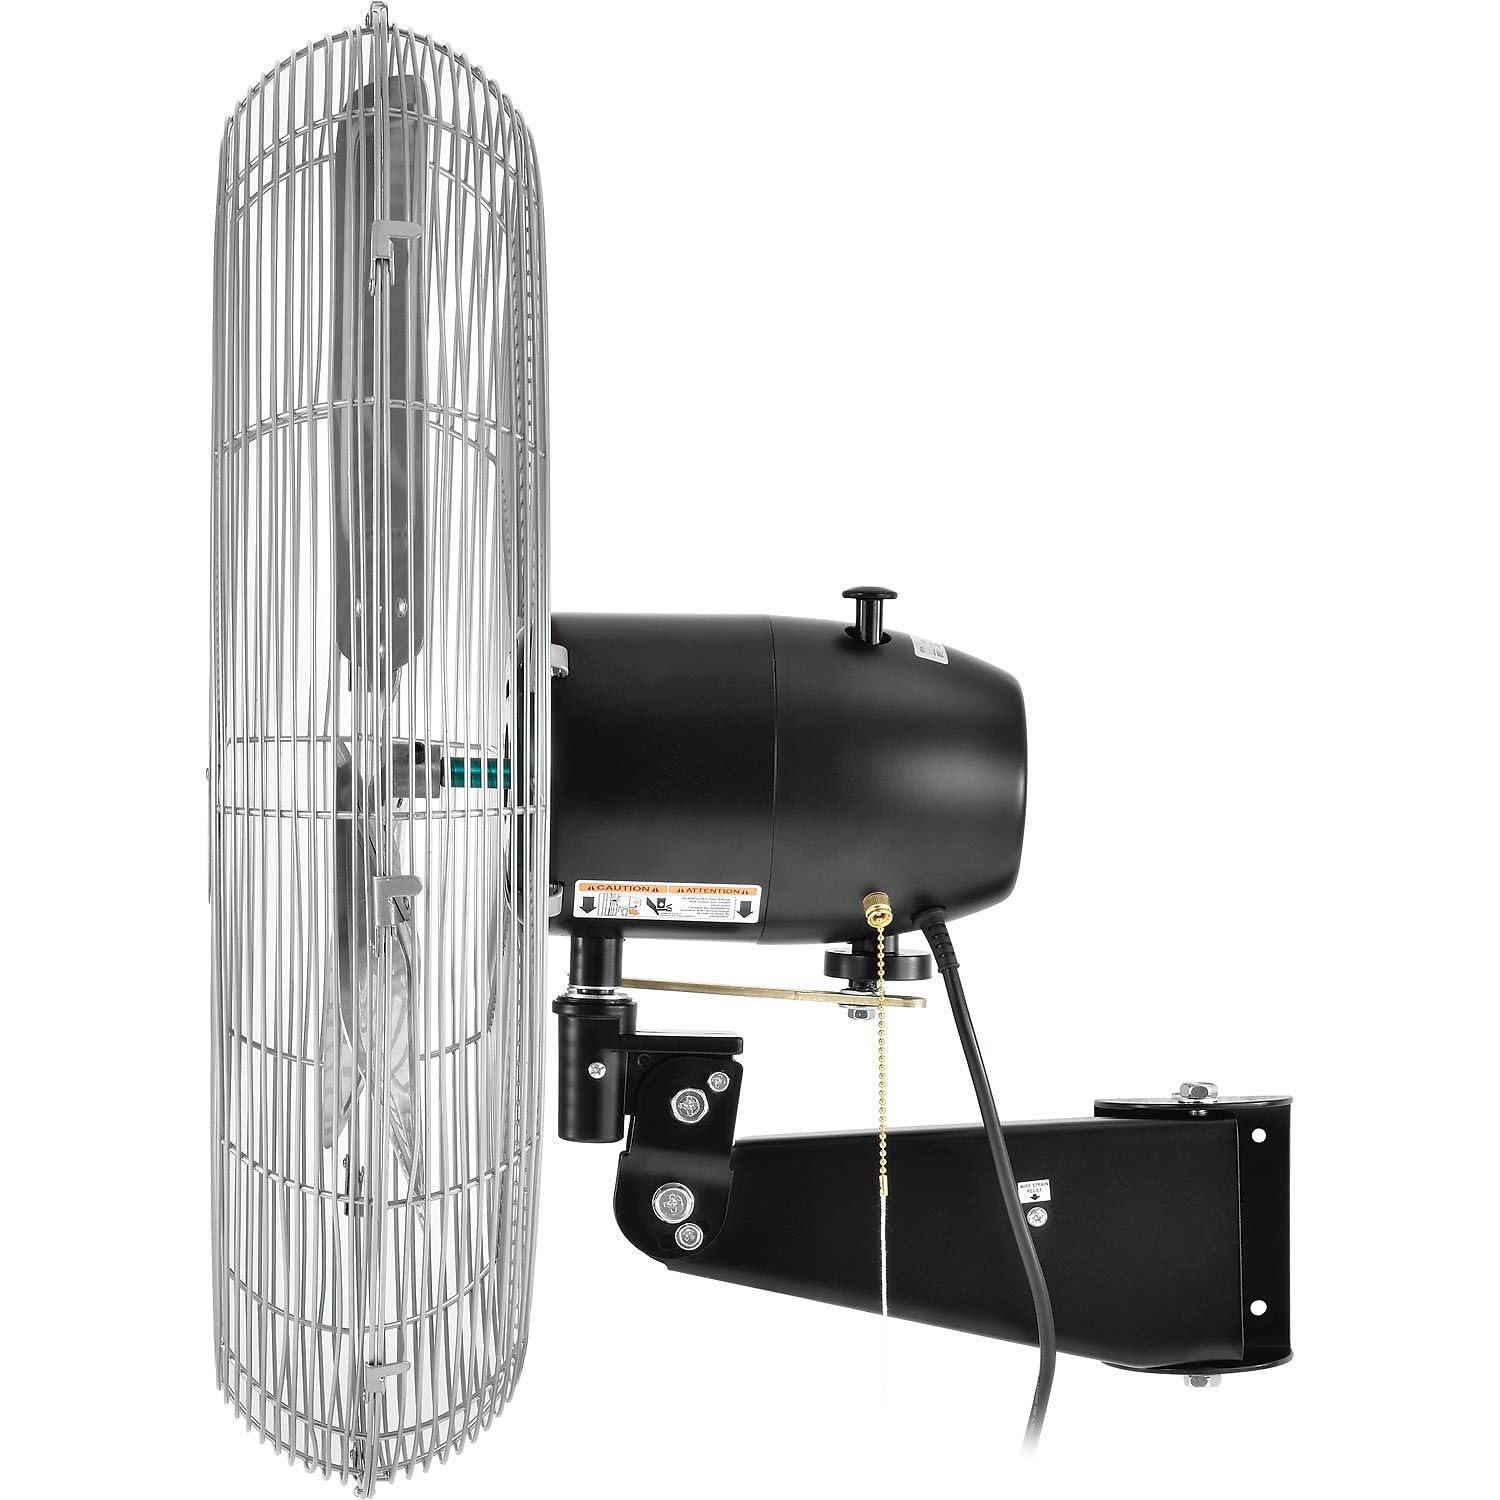
Figure 3: Side view of the fan, showing the black motor housing and the adjustable mounting arm. This perspective clearly illustrates how the fan connects to the wall bracket and allows for vertical tilting.

Figure 4: Detailed view of the fan's tilting mechanism, showing the pivot point and adjustment bolts. This allows the user to direct airflow up or down.
5. Operating Instructions
Once installed, your Global Industrial Deluxe Wall Mount Fan is ready for operation.
5.1 Powering On/Off and Speed Control
The fan features a convenient pull chain for controlling power and speed settings.
- Plug the fan's power cord into a grounded 120V AC outlet.
- Pull the chain once for Low speed.
- Pull the chain a second time for Medium speed.
- Pull the chain a third time for High speed.
- Pull the chain a fourth time to turn the fan OFF.

Figure 5: Close-up of the fan's pull chain, which is used to cycle through the three speed settings and turn the fan off. The chain is attached to the motor housing.
5.2 Oscillation Function
The fan can oscillate to cover a wider area or remain stationary for direct airflow.
- To activate oscillation: Locate the oscillation knob/button on the motor housing (refer to Figure 3 for general location). Push it down to engage the oscillation mechanism. The fan head will move in an 80° arc.
- To stop oscillation: Pull the oscillation knob/button up. The fan head will stop oscillating and remain in a fixed position.
5.3 Tilting the Fan Head
The fan head can be tilted vertically to direct airflow precisely where needed.
- Loosen the adjustment knob/bolt on the side of the fan's mounting arm (refer to Figure 4).
- Carefully tilt the fan head to the desired angle.
- Tighten the adjustment knob/bolt firmly to secure the fan head in position.
6. Maintenance
Regular maintenance will ensure the longevity and optimal performance of your fan.
6.1 Cleaning
WARNING: Always unplug the fan before cleaning.
- Use a soft, damp cloth to wipe down the exterior surfaces of the fan. Do not use abrasive cleaners or solvents.
- To clean the fan blades, you may need to remove the front guard. This typically involves unlatching clips or unscrewing fasteners around the guard's perimeter.
- Use a vacuum cleaner with a brush attachment or a soft cloth to remove dust and debris from the blades and motor housing.
- Ensure all parts are completely dry before reassembling the guard and plugging the fan back in.

Figure 6: Close-up view of a metal clip securing the fan guard. These clips allow for removal of the guard for cleaning the fan blades.
6.2 Storage
- If storing the fan for an extended period, clean it thoroughly and cover it to protect it from dust.
- Store in a cool, dry place.
7. Troubleshooting
Before contacting customer support, please refer to the following troubleshooting guide:
| Problem | Possible Cause | Solution |
|---|---|---|
| Fan does not turn on. | No power to the unit. Pull chain not activated. | Check if the fan is plugged into a live outlet. Pull the chain multiple times to cycle through speeds. |
| Fan makes unusual noise. | Loose parts or debris in guard. Fan not mounted securely. | Unplug fan, check for obstructions, tighten any loose screws. Ensure mounting bracket is secure. |
| Oscillation not working. | Oscillation knob/button not engaged. Mechanism jammed. | Push down the oscillation knob/button. Unplug fan, check for obstructions around the oscillation mechanism. |
| Reduced airflow. | Dirty blades or guard. | Unplug fan, clean blades and guard as per maintenance section. |
8. Specifications
Key technical specifications for the Global Industrial Deluxe Wall Mount Fan:
- Model: B0018R1L98
- Brand: Global Industrial
- Diameter: 30 inches (Blade Diameter)
- Airflow: 10,000 CFM (Cubic Feet per Minute) at 1100 RPM
- Motor: 1/2 HP, PSC-type ball bearing motor
- Speeds: 3 (Low, Medium, High)
- Oscillation: 80° arc, with safety-clutch mechanism
- Tilting Head: Yes, adjustable for precise airflow placement
- Power Source: AC (120V, 60Hz, 250W)
- Noise Level: 75 dB
- Product Dimensions: Approximately 20"D x 33"W x 31.5"H
- Color: Black/Silver
- Use Environment: Indoor Use Only

Figure 7: Diagram illustrating the 30-inch blade diameter of the fan, providing a visual reference for its size.
9. Warranty and Support
For warranty information and customer support, please refer to the documentation provided at the time of purchase or visit the official Global Industrial website. Keep your purchase receipt as proof of purchase.
For further assistance, you may contact Global Industrial customer service directly. Contact details are typically available on their official website or product packaging.
Ask a question about this manual
Ask about setup, troubleshooting, compatibility, parts, safety, or missing instructions. Manuals+ will review the question and use this page’s manual context to help answer it.