
1. Introduction
This manual provides comprehensive instructions for the setup, operation, and maintenance of your Cricut Expression 2 Electric Cutting Machine. Designed for crafters, this machine allows you to cut various materials with precision for a wide range of projects, enhancing your creative endeavors.
2. Product Overview and Key Features
The Cricut Expression 2 is an advanced electronic cutting machine that offers enhanced features for creative projects. It allows for precise cutting of materials from 0.75 inches up to 23.5 inches.
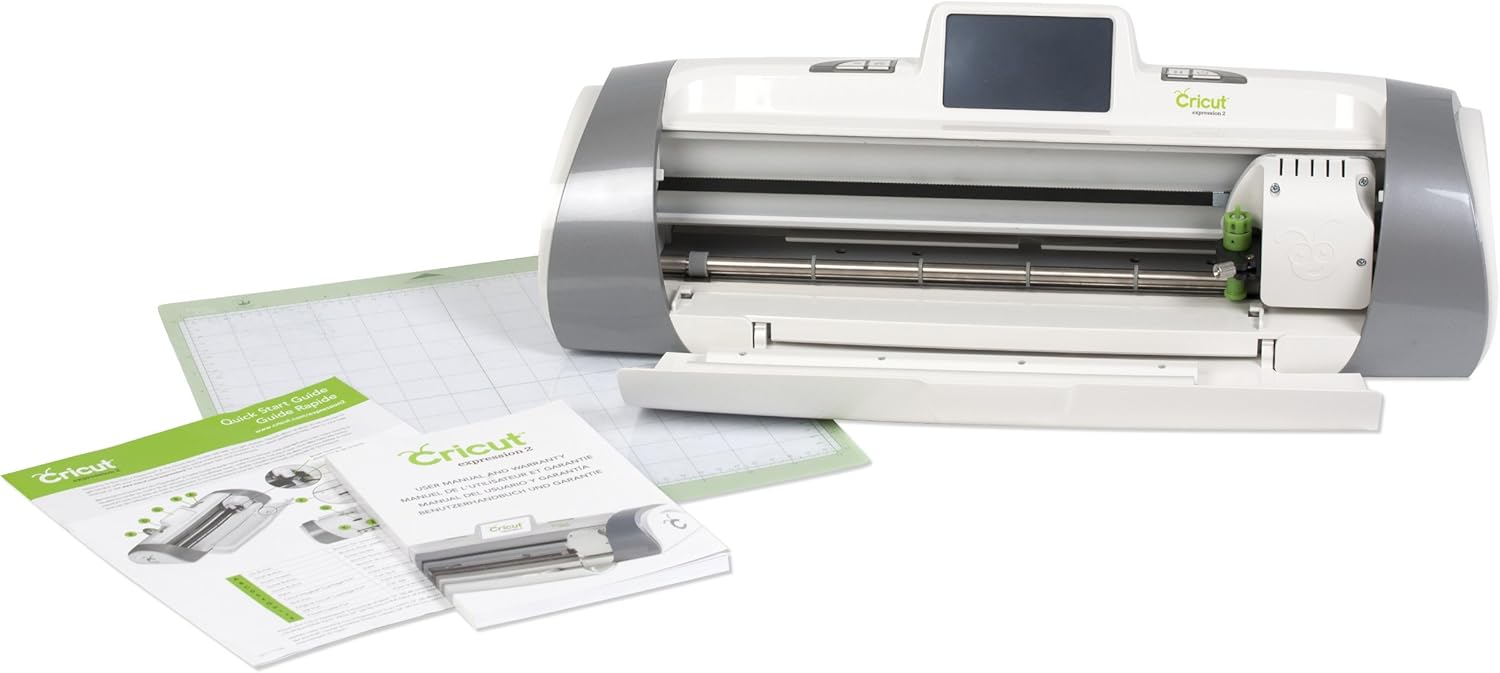
Image: Cricut Expression 2 machine shown with a cutting mat and accompanying quick start guide and user manual.
Key Features:
- Full-Color LCD Touch Screen: Enables project creation directly on the machine without a computer connection. Provides a visual preview of image placement and detailed image views.
- Cricut Craft Room Compatibility: Connect to the free online Cricut Craft Room design software for computer-based design and access to the Cricut image library.
- Customizable Settings: Adjust pressure and speed settings for various materials, ensuring optimal cutting results.
- Image Manipulation: Features independent image sizing, rotation, and vertical/horizontal flipping.
- Pre-loaded Content: Includes two pre-loaded cartridges with 3 fonts, 40 phrases, and 110 layered images.
- Material Versatility: Cuts cardstock, vinyl, vellum, fabric, chipboard, and thin foils.
- Efficient Cutting: Auto Fill and Quantity features for cutting multiple images, and Fit to Page for maximizing image size.
3. Setup
- Unpacking: Carefully remove all components from the packaging. Retain packaging for future transport or storage.
- Power Connection: Connect the power adapter to the machine's power port and then to a standard electrical outlet.
- Initial Power On: Press the power button located on the machine to turn it on.
- Cricut Sync and Software Update: Before connecting to Cricut Craft Room, it is recommended to connect the machine to a computer via the included USB cable and ensure Cricut Sync software is installed and updated. This process ensures the machine's firmware is current and allows for proper communication with the design software.
- Cartridge Insertion: If using physical cartridges, gently insert the desired Cricut cartridge into the designated slot on the machine.
4. Operating Instructions
4.1. Using the LCD Touch Screen
- Navigate the full-color touch screen using the included stylus or your finger to select images, fonts, and phrases.
- Adjust image size, rotation, and placement directly on the screen to arrange your design on the virtual mat.
- Select your material type and adjust pressure and speed settings as needed for optimal cutting results.
4.2. Using Cricut Craft Room Software
- Connect the Cricut Expression 2 to your computer using the included USB cable.
- Launch the Cricut Craft Room software on your computer.
- Design projects by dragging and dropping images onto the virtual cutting mat. Utilize features like sizing, slanting, rotating, welding, and flipping images to create your desired layout.
- Explore the extensive Cricut image library within the software and purchase digital images for immediate use.
- Once your design is complete, send the project to the machine for cutting.
4.3. Loading Materials and Cutting Process
- Prepare Material: Place your chosen material (e.g., cardstock, vinyl) onto a Cricut cutting mat. Ensure the material adheres firmly and is smooth, without wrinkles.
- Load Mat: Align the cutting mat with the mat guiding brackets on the machine and feed it into the machine until it is securely in place.
- Confirm Settings: Double-check all cutting settings (image, size, material, pressure, speed) on the machine's screen or in Cricut Craft Room.
- Initiate Cut: Press the 'Cut' button to begin the cutting process. The machine will automatically cut your design.
- Unload Mat: Once the cutting is complete, press the 'Unload Mat' button and carefully remove the mat and your cut material.
5. Maintenance
- Cleaning the Machine: Regularly wipe the exterior of the machine with a soft, dry cloth. Keep the cutting area and rollers free of dust and material debris to ensure smooth operation.
- Blade Care: Inspect the blade regularly for dullness or damage. A dull blade can lead to inconsistent or torn cuts. Replace the blade when necessary. Always handle blades with extreme care.
- Cutting Mat Care: To maintain the stickiness of your cutting mats, clean them gently with a baby wipe or mild soap and water. Allow the mat to air dry completely. If the mat loses its adhesive properties, consider using a temporary adhesive spray or replacing the mat.
6. Troubleshooting
- Machine Not Detected by Software:
- Ensure the USB cable is securely connected to both the machine and your computer.
- Try connecting to a different USB port on your computer.
- Restart the Cricut Expression 2 machine and the Cricut Craft Room software.
- Verify that Cricut Sync software is installed, updated, and the machine is registered.
- Inconsistent or Incomplete Cuts:
- Check the blade for dullness or damage; replace if necessary.
- Ensure the cutting mat has sufficient stickiness and the material is firmly adhered without air bubbles.
- Verify that the material settings (pressure, speed) are appropriate for the specific material being cut.
- Clean any debris from the cutting area and blade housing.
- Mat Reading Errors:
- Ensure the mat is correctly aligned and fully inserted into the machine's guiding brackets.
- Restart the machine and the software if the error persists.
- Software Service Errors:
- Check your internet connection for stability.
- Ensure Cricut Craft Room software is up to date.
- If issues persist, consult the official Cricut support website for further assistance and known issues.
7. Specifications
| Feature | Detail |
|---|---|
| Brand | Cricut |
| Model Number | 2001186 |
| Product Dimensions | 23 x 9.4 x 11.3 inches |
| Item Weight | 12.47 pounds |
| Active Surface Area | 288 square inches (12" x 24" cutting capability) |
| Material Compatibility | Paper, Cardstock, Vinyl, Vellum, Fabric, Chipboard, Thin Foils |
| Operation Mode | Automatic |
8. Warranty and Support
The Cricut Expression 2 Electric Cutting Machine comes with a manufacturer's warranty. Please refer to the included warranty documentation for specific details regarding coverage, terms, and conditions.
For further assistance, technical support, or to access additional resources such as FAQs and tutorials, please visit the official Cricut support website. Contact information for customer service can typically be found in the warranty documentation or on the brand's website.


