1. Introduction
Welcome to the world of amateur astronomy with your new Omegon AC 60/700 AZ-1 Refractor Telescope. This manual provides essential information for setting up, operating, and maintaining your telescope to ensure a rewarding observation experience. Designed for beginners, this telescope offers a straightforward approach to exploring both celestial and terrestrial wonders.
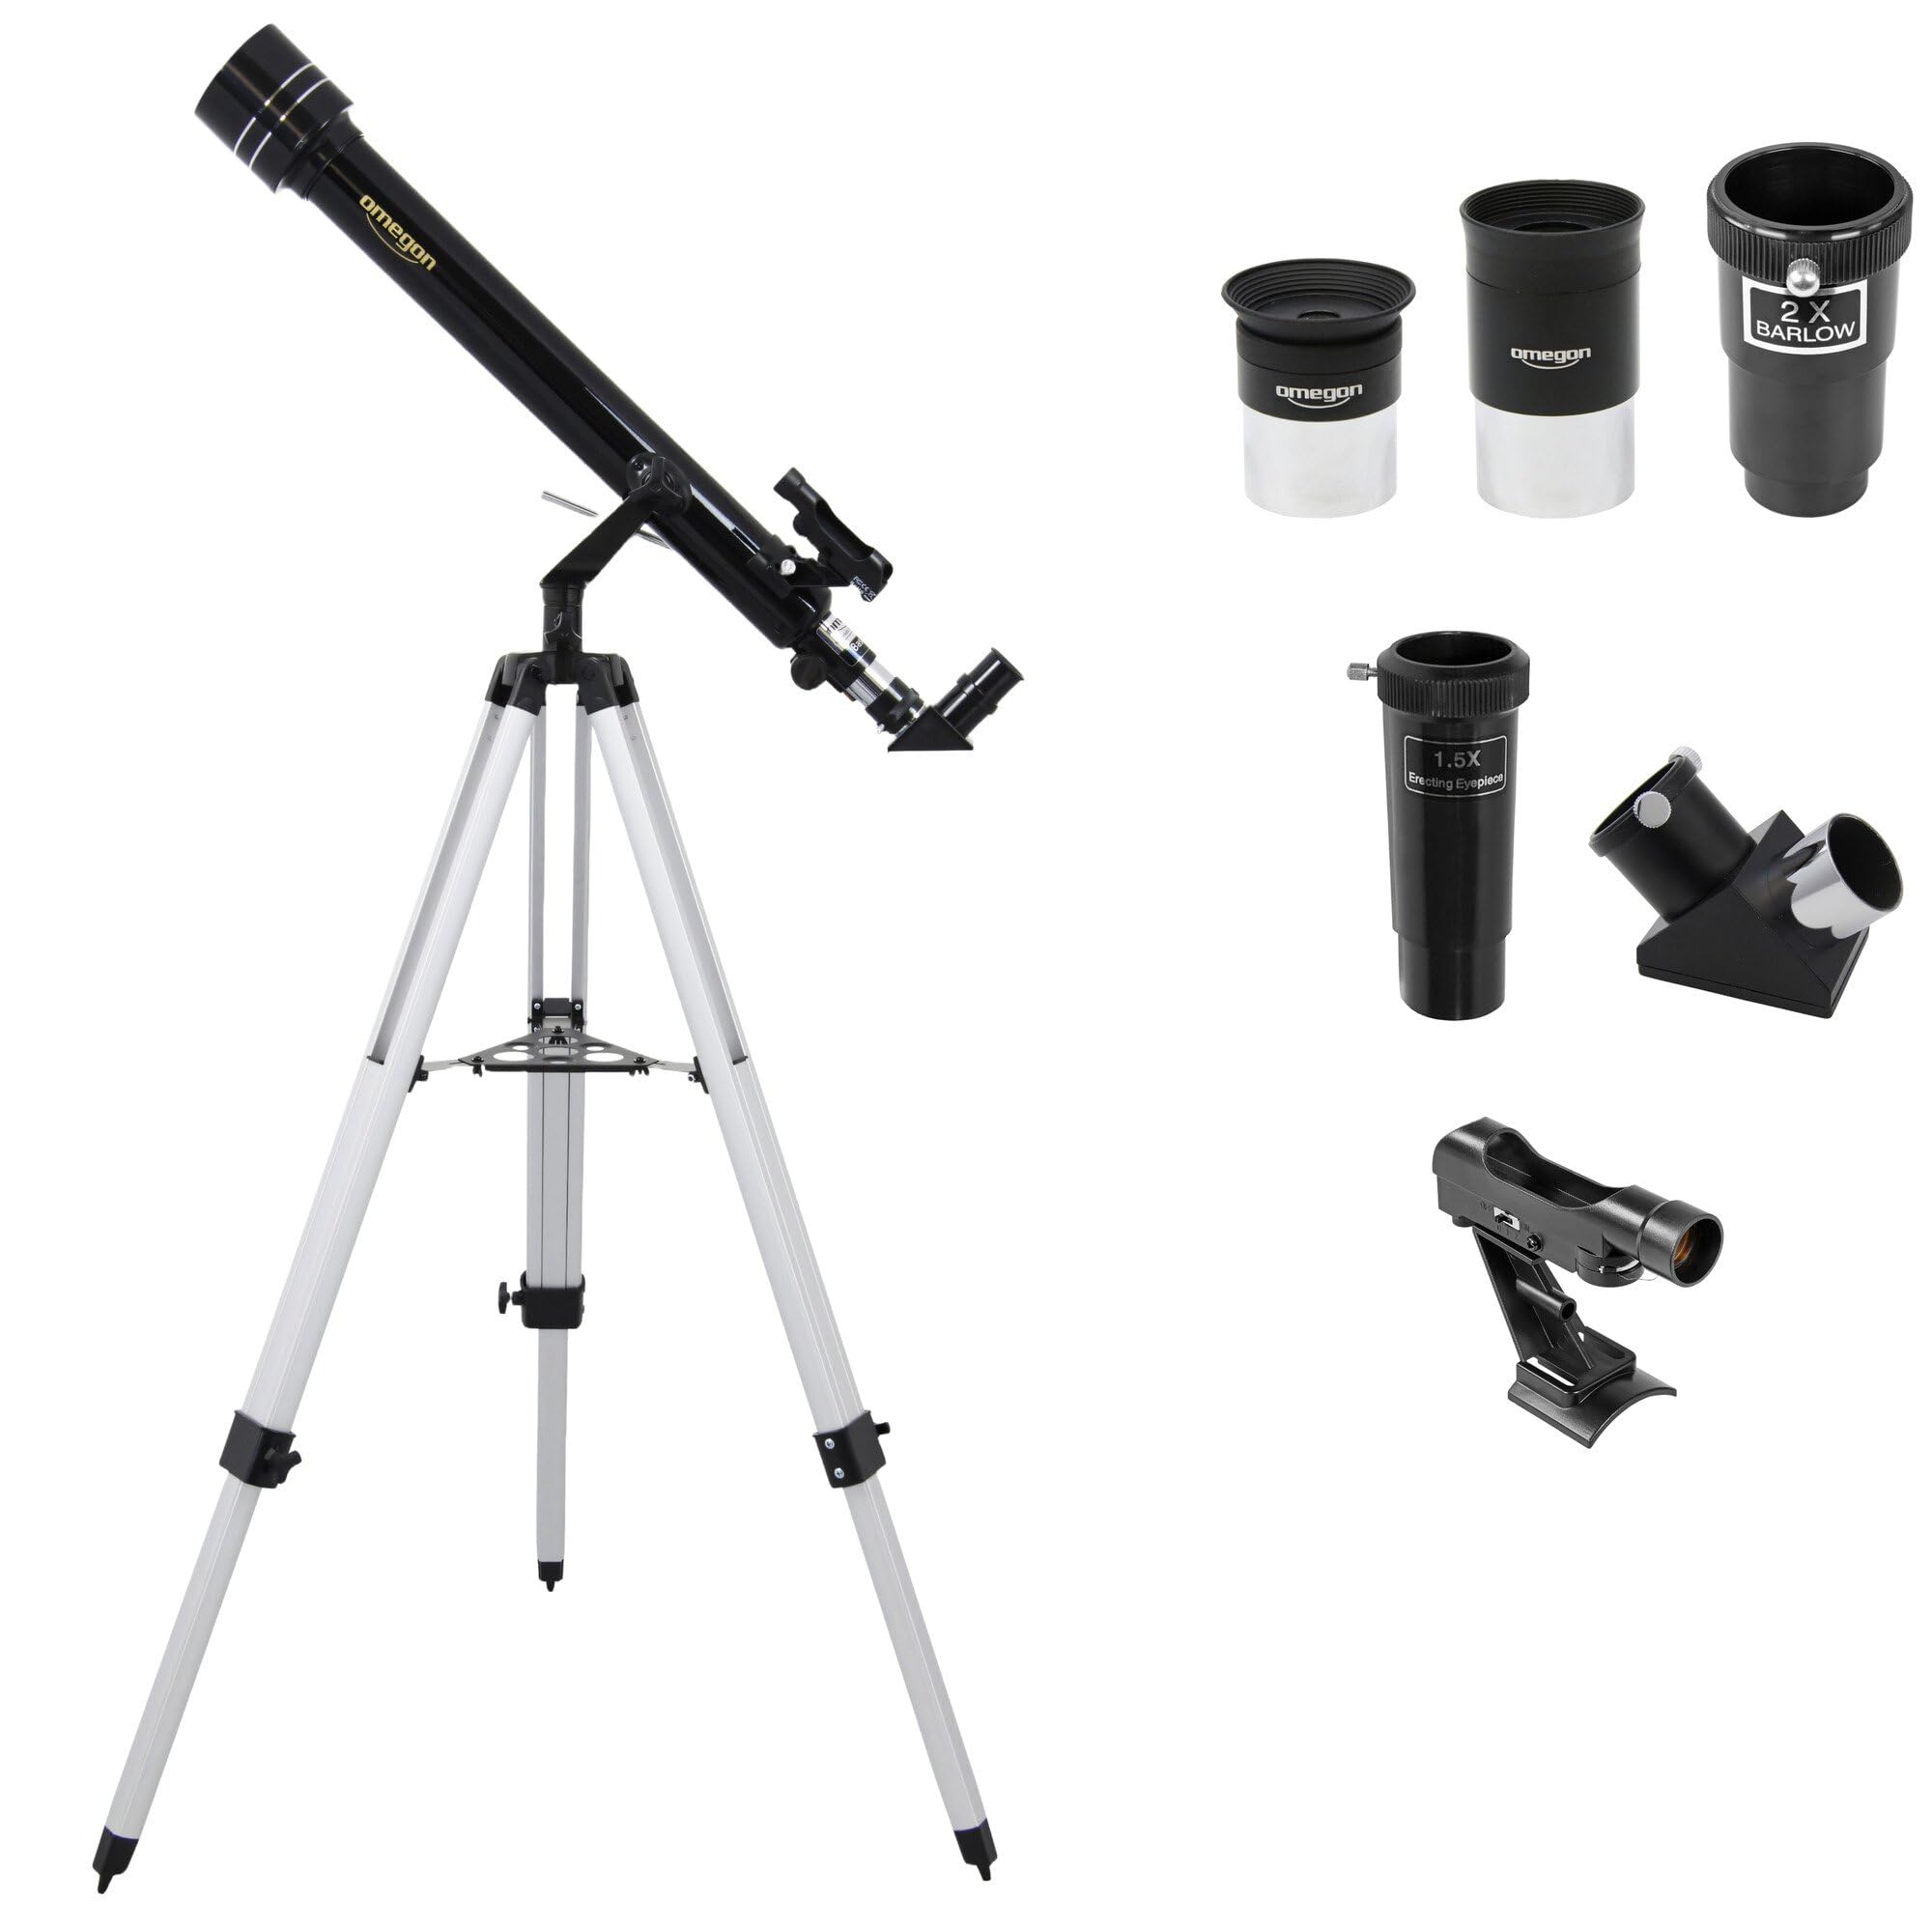
Image: The Omegon AC 60/700 AZ-1 Refractor Telescope, showcasing its main components and tripod.
2. Safety Information
Please read and understand all safety instructions before using your telescope. Failure to do so may result in serious injury or damage to the equipment.
- Never look directly at the sun through the telescope or its finder scope without a professionally manufactured solar filter. Permanent and irreversible eye damage, including blindness, can result.
- Always supervise children when using the telescope.
- Do not leave the telescope unattended in direct sunlight. Sunlight concentrated by the telescope can cause damage to objects or ignite flammable materials.
- Handle optical components with care to avoid scratches or damage.

Image: Close-up view of the telescope tube, highlighting the important solar warning label.
3. Package Contents
Verify that all components listed below are present in your package:
- Omegon AC 60/700 Refractor Telescope Optical Tube
- AZ-1 Alt-Azimuth Mount
- Adjustable Aluminum Tripod
- Eyepieces: 20mm, 12mm, 4mm (1.25-inch)
- Red Dot Finder Scope
- 90-degree Diagonal Mirror (1.25-inch)
- 2x Barlow Lens (1.25-inch)
- 1.5x Erecting Eyepiece (for terrestrial viewing)
4. Setup
Follow these steps to assemble your telescope:
- Set up the Tripod: Extend the legs of the aluminum tripod to a stable height. Secure them using the locking clamps.
- Attach the AZ-1 Mount: Place the AZ-1 alt-azimuth mount onto the tripod head and secure it with the provided screw. Ensure it is firmly attached.
- Mount the Telescope Tube: Locate the mounting rings on the telescope tube. Attach the telescope tube to the AZ-1 mount using the provided screws. Ensure the tube is balanced and securely fastened.
- Install the Red Dot Finder Scope: Slide the red dot finder scope into its bracket on the telescope tube. Tighten the small set screw to hold it in place.
- Insert the Diagonal Mirror: Loosen the set screw on the focuser drawtube. Insert the 90-degree diagonal mirror into the focuser. Tighten the set screw to secure it.
- Insert an Eyepiece: Loosen the set screw on the diagonal mirror. Insert the desired eyepiece (e.g., 20mm for lowest magnification) into the diagonal mirror. Tighten the set screw.

Image: The 90-degree diagonal mirror, used for comfortable viewing angles.
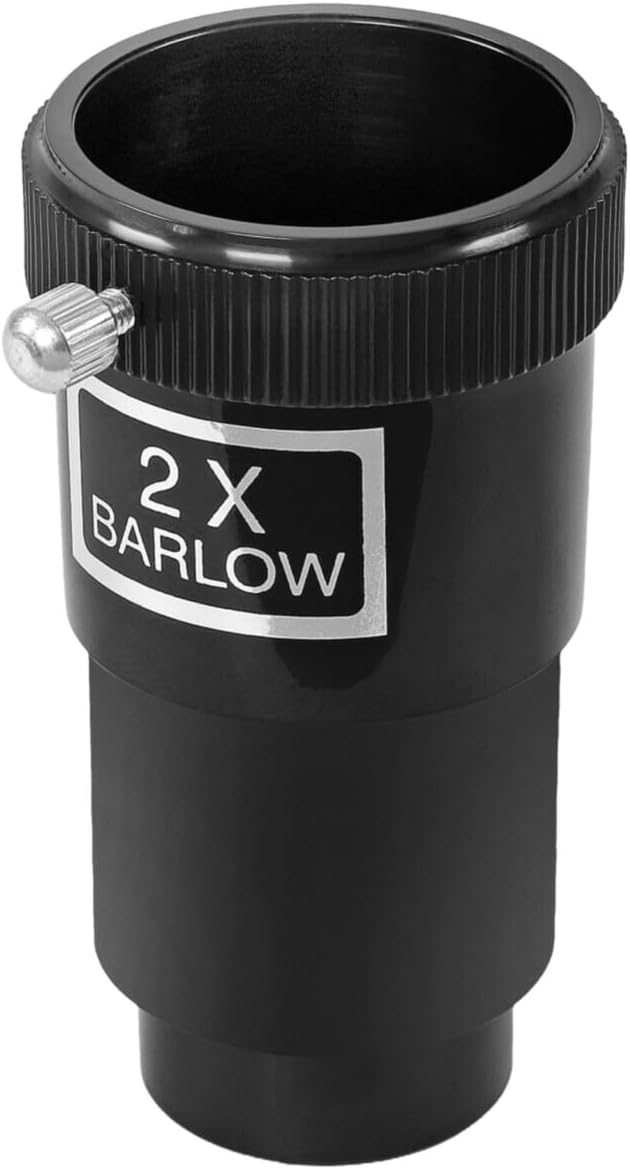
Image: The 2x Barlow lens, which doubles the magnification of any eyepiece.

Image: The red dot finder scope, used to quickly locate objects in the sky.
5. Operating the Telescope
5.1 Aligning the Red Dot Finder Scope
Before observing, align the red dot finder scope with the main telescope. This makes finding objects much easier.
- Point the main telescope at a distant, stationary object (e.g., a treetop or street light) during daylight hours.
- Look through the main telescope with a low-power eyepiece (e.g., 20mm) and center the object in the field of view.
- Turn on the red dot finder. Look through the finder and use its adjustment screws to move the red dot until it is centered on the same object.
5.2 Observing Celestial Objects
- Start with the lowest magnification eyepiece (20mm) to get the widest field of view and make it easier to locate objects.
- Use the red dot finder to point the telescope at your desired celestial object.
- Look through the eyepiece and use the focuser knobs to bring the image into sharp focus.
- Once the object is centered and focused, you can switch to a higher magnification eyepiece (e.g., 12mm or 4mm) for more detailed views.
- To increase magnification further, insert the 2x Barlow lens between the diagonal mirror and the eyepiece.

Image: Illustrative view of the Moon, demonstrating potential observations.

Image: Illustrative view of Jupiter, demonstrating potential planetary observations.
5.3 Observing Terrestrial Objects
For observing objects on Earth, the included 1.5x erecting eyepiece is essential. Without it, images will appear inverted.
- Remove the diagonal mirror.
- Insert the 1.5x erecting eyepiece directly into the focuser drawtube.
- Insert your chosen eyepiece into the erecting eyepiece.
- Focus as usual. The image will now be correctly oriented.
6. Maintenance
Proper care will extend the life and performance of your telescope.
- Cleaning Lenses: Use a soft, clean brush to remove dust. For smudges, use a specialized optical cleaning solution and a microfiber cloth. Apply solution to the cloth, not directly to the lens.
- Cleaning the Telescope Body: Wipe the exterior with a soft, damp cloth. Avoid abrasive cleaners.
- Storage: Store the telescope in a dry, dust-free environment. Use dust caps for the objective lens and focuser when not in use.
- Avoid Extreme Temperatures: Do not expose the telescope to rapid temperature changes or extreme heat/cold.
7. Troubleshooting
Here are solutions to common issues you might encounter:
| Problem | Possible Cause | Solution |
|---|---|---|
| Image is blurry | Out of focus; atmospheric conditions; dirty lens | Adjust focuser knobs; wait for stable air; clean objective lens/eyepiece |
| Cannot find objects | Finder scope not aligned; using too high magnification | Align finder scope (see Section 5.1); start with low power eyepiece |
| Image is upside down/reversed | Normal for astronomical viewing; erecting eyepiece not used for terrestrial | This is normal for astronomical telescopes. For terrestrial viewing, use the 1.5x erecting eyepiece. |
| No image visible | Dust caps still on; eyepiece not inserted correctly | Remove all dust caps; ensure eyepiece is fully inserted and secured |
8. Specifications
Detailed technical specifications for the Omegon AC 60/700 AZ-1 Telescope:
- Optical Design: Refractor
- Aperture: 60 mm
- Focal Length: 700 mm
- Focal Ratio: f/11.67
- Eyepiece Barrel Size: 1.25 inches
- Mount Type: Alt-Azimuth (AZ-1)
- Tripod: Adjustable Aluminum Tripod
- Finder Scope: Reflex (Red Dot)
- Lens Coating: Coated
- Focus Type: Manual Focuser
- Compatible Devices: Eyepieces (1.25-inch), Camera (with adapter, not included)
- Item Weight: 4 kg
- Model Number: 4049467112679

Image: A comparison chart illustrating the relative sizes of various Omegon telescope models, including the AC 60/700.
9. Warranty and Support
For warranty information and technical support, please refer to the documentation provided with your purchase or visit the official Omegon website. Keep your purchase receipt as proof of purchase for any warranty claims.