1. Introduction
This manual provides detailed instructions for the proper installation, operation, and maintenance of your Genuine Kirby Ultimate G and Diamond Edition Nozzle, OEM Part Number 140401. Please read this manual thoroughly before use to ensure safe and efficient operation and to prolong the life of your Kirby vacuum system.

Image: A Kirby vacuum system featuring the Ultimate G and Diamond Edition Nozzle, highlighting its deep cleaning capabilities.
2. Safety Information
Always observe basic safety precautions when using electrical appliances to reduce the risk of fire, electric shock, or injury. This nozzle is designed for use with compatible Kirby vacuum systems only.
- Disconnect Power: Always unplug the vacuum cleaner from the electrical outlet before performing any maintenance, cleaning, or changing accessories.
- Proper Installation: Ensure the nozzle is securely attached to the vacuum system before operation.
- Inspect for Damage: Regularly check the nozzle for any signs of damage, such as cracks or worn parts. Do not use if damaged.
- Keep Hair and Clothing Clear: Keep hair, loose clothing, fingers, and all parts of the body away from openings and moving parts, especially the brush roll.
3. Product Overview
The Kirby Ultimate G and Diamond Edition Nozzle (Part Number 140401) is an essential component for effective floor cleaning with your Kirby vacuum system. It features a robust design and a powerful brush roll for deep cleaning carpets and other floor surfaces.
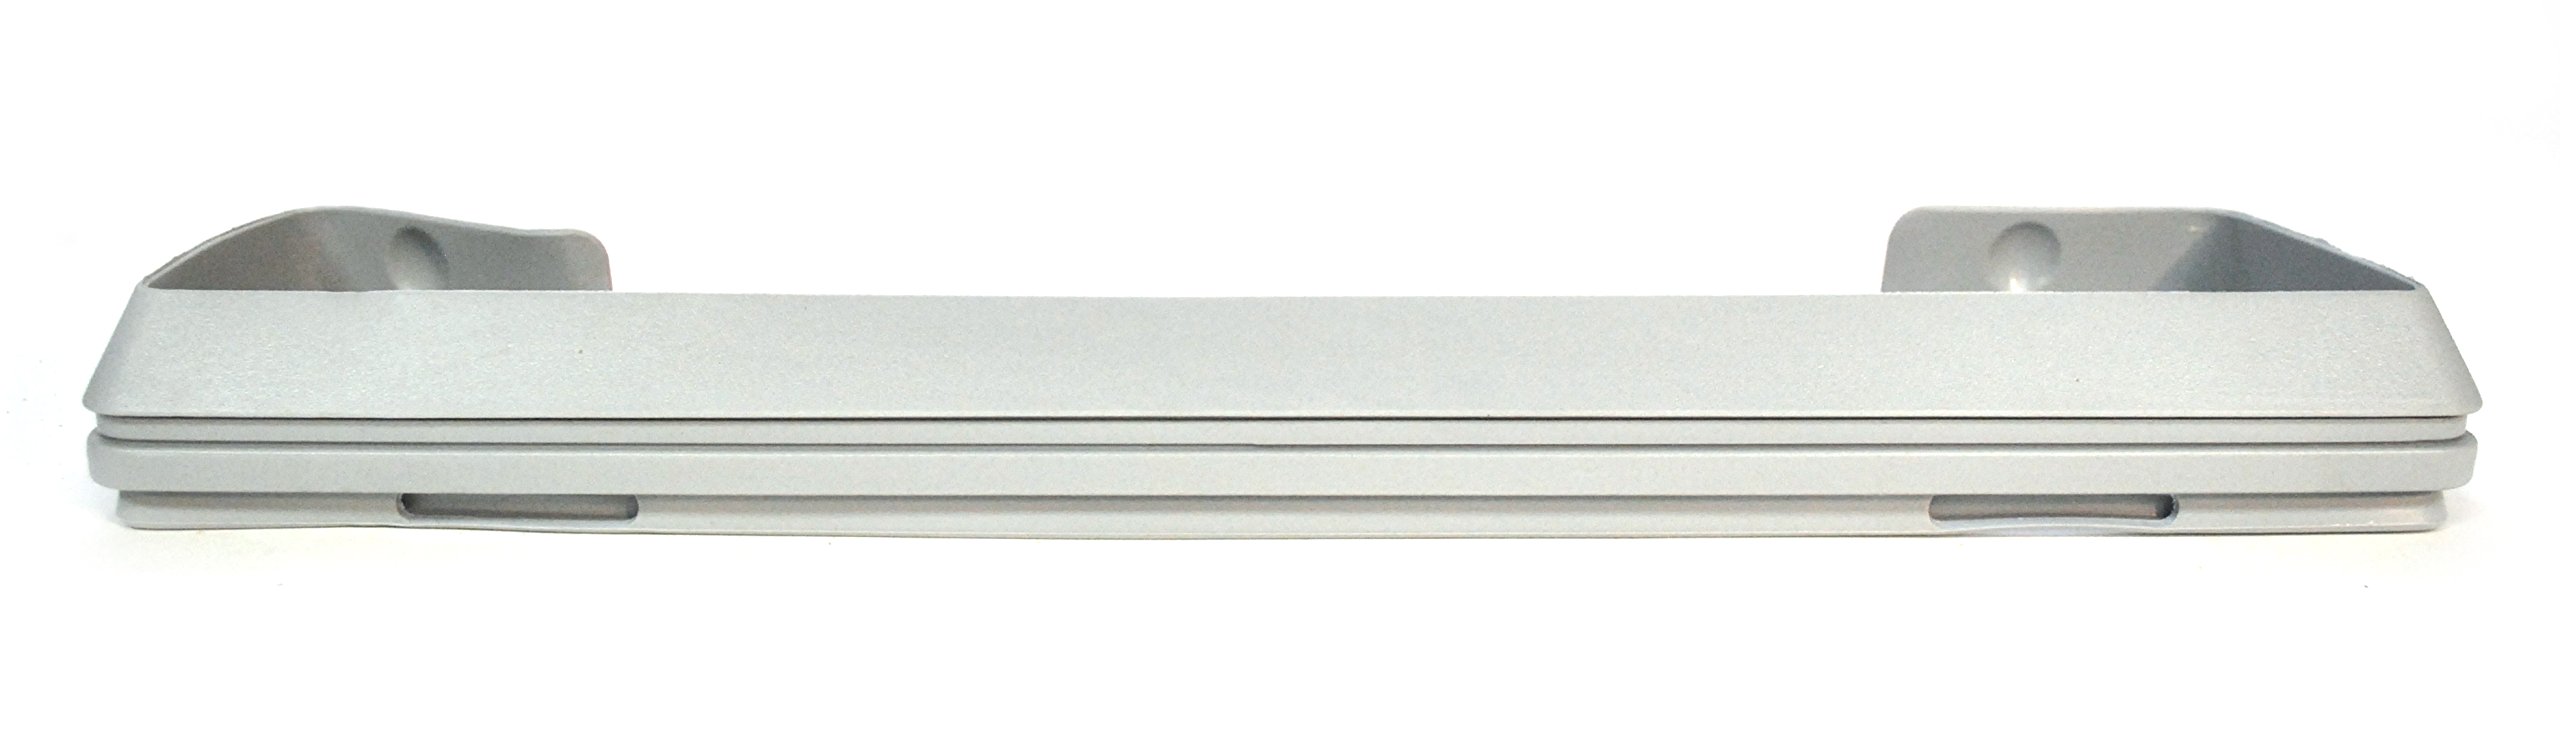
Image: A detailed view of the Kirby Ultimate G and Diamond Edition Nozzle, showcasing its design.
Key Components:
- Nozzle Housing: The main body of the nozzle.
- Brush Roll: A rotating brush that agitates carpet fibers to loosen dirt.
- Belt: Connects the motor to the brush roll, driving its rotation.
- Height Adjustment Lever: Allows adjustment of the nozzle height for different carpet pile lengths.
- Headlight: Illuminates the cleaning path.

Image: A complete Kirby vacuum system displayed with its various attachments and accessories, including the nozzle.
4. Setup and Installation
Follow these steps to properly attach the nozzle to your Kirby vacuum cleaner.
- Prepare the Vacuum: Ensure your Kirby vacuum system is unplugged from the power outlet.
- Align the Nozzle: Position the nozzle so that the connection point aligns with the vacuum's power unit.
- Secure Attachment: Gently push the nozzle onto the power unit until it clicks securely into place. Verify that it is firmly attached and does not wobble.
- Check Height Adjustment: Before operation, adjust the nozzle height to suit your floor type.
5. Operating Instructions
The Kirby Ultimate G and Diamond Edition Nozzle is designed for optimal cleaning performance. Follow these guidelines for effective use.
5.1. Adjusting Nozzle Height
The nozzle height should be adjusted to the appropriate setting for your floor surface. This ensures maximum cleaning efficiency and prevents damage to your floors or the nozzle.
- For thick carpets, set the nozzle to a higher position.
- For low-pile carpets or bare floors, set the nozzle to a lower position.
- Use the height adjustment lever located on the nozzle to change settings.
5.2. Vacuuming Technique
Move the vacuum cleaner slowly and steadily over the surface. Overlapping passes will ensure thorough cleaning. For heavily soiled areas, multiple passes may be necessary.
Video: This video demonstrates the Kirby Vacuum Home Floor Cleaning System in action, showing proper vacuuming techniques for various surfaces.
6. Maintenance
Regular maintenance of your nozzle ensures optimal performance and extends its lifespan. Always unplug the vacuum before performing any maintenance.
6.1. Cleaning the Brush Roll
Over time, hair and debris can accumulate on the brush roll, reducing its effectiveness. It is recommended to clean the brush roll regularly.
- Remove the Nozzle: Detach the nozzle from the vacuum power unit.
- Access Brush Roll: Turn the nozzle over. Locate and unlatch the brush roll cover.
- Remove Brush Roll: Carefully lift out the brush roll.
- Clean Debris: Use scissors or a brush to remove any tangled hair, threads, or debris from the brush roll bristles.
- Reinstall: Place the clean brush roll back into the nozzle, ensuring it is properly seated. Secure the brush roll cover.
Video: This video provides a step-by-step guide on how to change a Kirby vacuum belt, a common maintenance task.
6.2. Replacing the Belt
The drive belt is crucial for the brush roll's operation. If the brush roll stops spinning or the belt is visibly worn or broken, it needs replacement.
- Remove Brush Roll: Follow steps 1-3 from "Cleaning the Brush Roll" to remove the brush roll.
- Remove Old Belt: Carefully remove the old belt from around the brush roll and motor shaft.
- Install New Belt: Loop the new belt around the motor shaft and then around the brush roll. Ensure the belt is properly tensioned.
- Reinstall Brush Roll: Place the brush roll back into the nozzle, making sure the belt is correctly positioned. Secure the brush roll cover.

Image: A package of Kirby filter bags shown alongside a replacement drive belt, essential for vacuum maintenance.
6.3. Installing Filter Bags
For optimal filtration and vacuum performance, regularly replace your Kirby filter bags.
- Open Bag Compartment: Unzip the outer cloth bag of your Kirby vacuum.
- Remove Old Bag: Carefully detach the full filter bag from the bag adapter. Dispose of the old bag responsibly.
- Install New Bag: Take a new Kirby Micron Magic HEPA Filter Bag. Slide the cardboard collar of the new bag onto the bag adapter until it is securely in place.
- Close Compartment: Ensure the bag is fully inside the outer cloth bag and zip it closed.
Video: This video demonstrates the correct procedure for installing Kirby filter bags into the vacuum system.

Image: A 2-pack of Kirby Micron Magic HEPA Filter Plus bags, designed for enhanced filtration.
7. Troubleshooting
If you encounter issues with your Kirby Ultimate G and Diamond Edition Nozzle, refer to the table below for common problems and solutions.
| Problem | Possible Cause | Solution |
|---|---|---|
| Brush roll not spinning | Broken or stretched belt; debris tangled in brush roll. | Replace the belt (see Section 6.2); clean the brush roll (see Section 6.1). |
| Reduced suction | Full filter bag; clogged hose or nozzle; incorrect height setting. | Replace filter bag (see Section 6.3); check and clear any blockages; adjust nozzle height. |
| Nozzle not attaching securely | Improper alignment; damaged connection points. | Ensure correct alignment and firm push until it clicks; inspect for damage and contact support if necessary. |
8. Specifications
- Model Number: 140401
- Product Dimensions: 1 x 1 x 1 inches (approximate)
- Item Weight: 1 pounds (approximate)
- Manufacturer: Kirby
- Compatibility: Various Kirby Ultimate G and Diamond Edition models.
- Part Type: O.E.M. authorized replacement part.
9. Warranty and Support
For warranty information or technical support regarding your Kirby Ultimate G and Diamond Edition Nozzle, please refer to your original Kirby vacuum system documentation or contact Kirby customer service directly.
Kirby Customer Service:
- Visit the official Kirby website for contact details and support resources.
- Refer to the contact numbers provided on your product packaging or original purchase receipt.
Genuine Kirby parts ensure compatibility and maintain the performance of your vacuum system.


