1. Introduction
This manual provides detailed instructions for the setup, operation, and maintenance of your Lomography Diana F+ Medium Format Camera with Flash Kit. The Diana F+ is a reproduction of the classic Diana camera, featuring a plastic lens, two shutter settings (daylight and 'B' for bulb), three aperture settings, and manual focus. It also includes a removable lens for pinhole images, two image formats (12 or 16 square shots on 120 film), an endless panorama feature, and a standard tripod thread with shutter lock for long exposures. The included electronic flash provides additional lighting options.
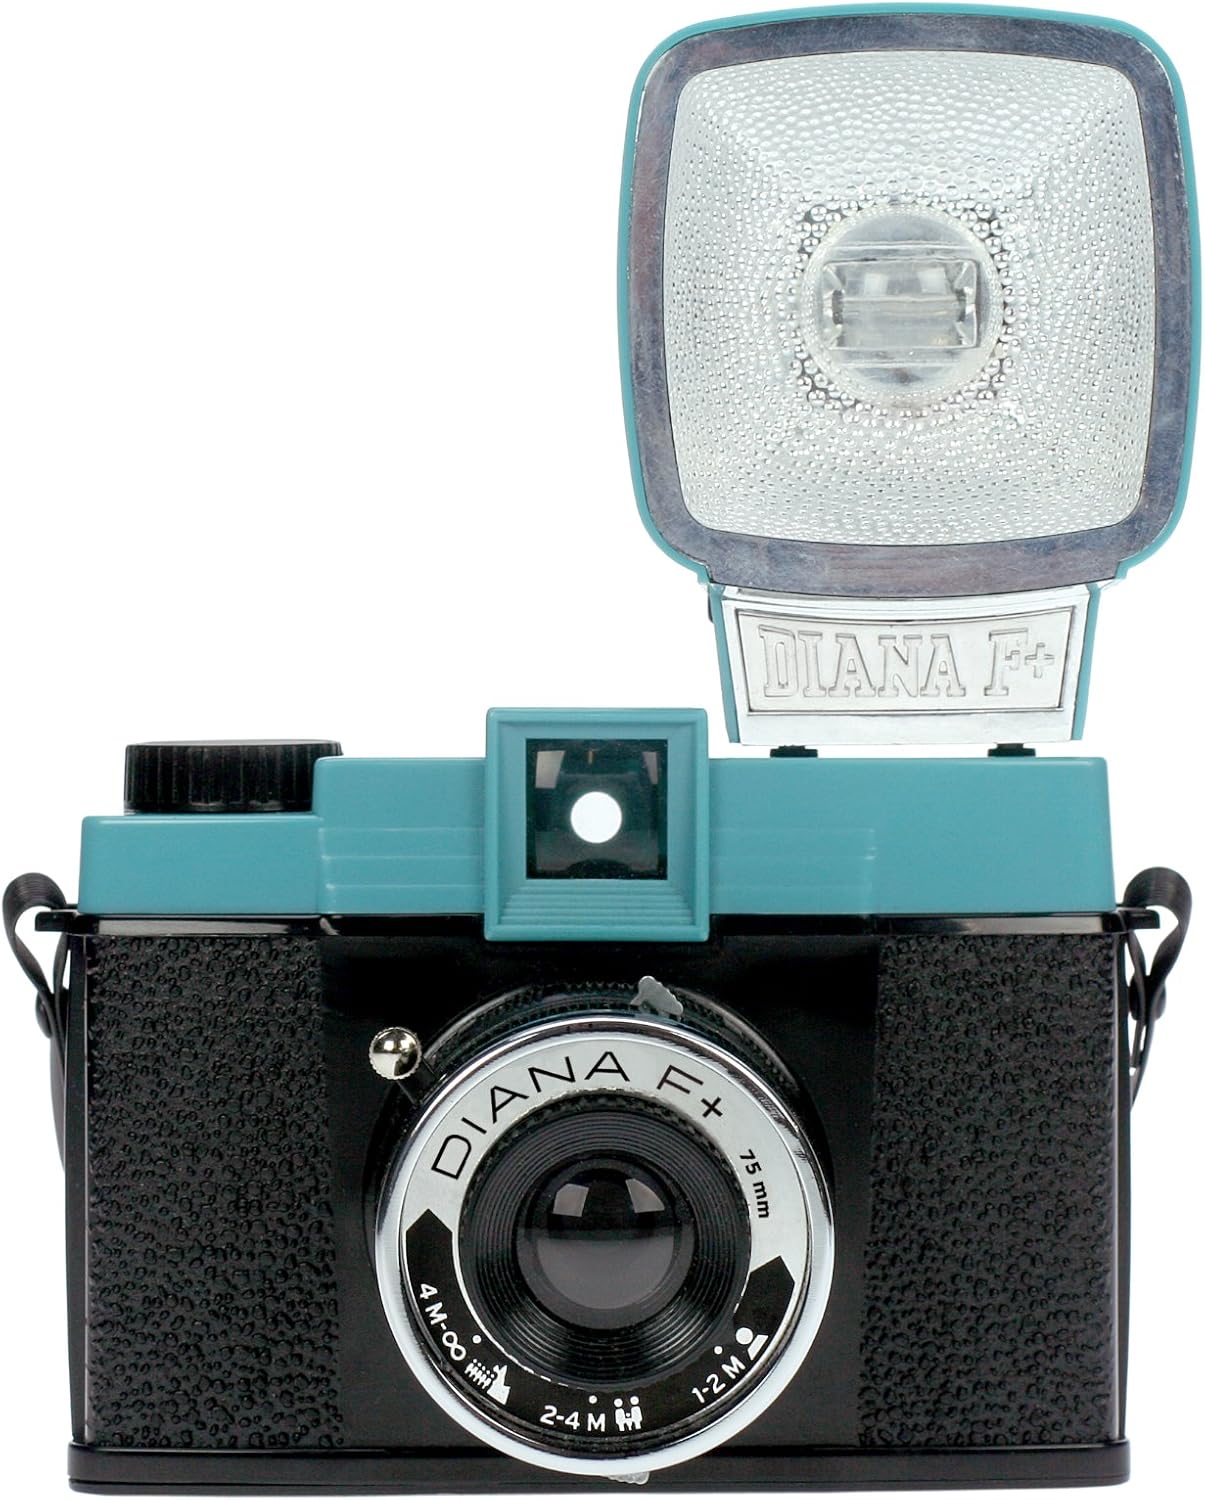
Image 1.1: Front view of the Lomography Diana F+ Medium Format Camera with the electronic flash attached.
2. Setup
2.1 Unpacking and Components
Your Diana F+ package includes the following items:
- Diana F+ Camera Body
- Diana F+ Electronic Flash
- Lens Cap
- Neck Strap
- Instruction Manual (this document)
- Adapters for flash compatibility
2.2 Battery Installation for Flash
The Diana F+ Electronic Flash requires one AA battery for operation. To install the battery:
- Locate the battery compartment on the flash unit.
- Open the compartment cover.
- Insert one AA battery, ensuring correct polarity (+/-).
- Close the battery compartment cover securely.
2.3 Film Loading
The Diana F+ uses 120 medium format film. Proper film loading is crucial for successful photography. Refer to the video below for a visual guide.
Video 2.1: This video demonstrates the process of loading and shooting medium format film with the Diana F+ camera. It shows how to open the camera back, insert the film spool, thread the film leader onto the take-up spool, and close the camera, followed by advancing the film to the first frame.
General steps for film loading:
- Open the camera back by sliding the latch.
- Insert a fresh roll of 120 film into the supply chamber.
- Pull the film leader across to the take-up spool and secure it.
- Ensure the film is taut and aligned.
- Close the camera back firmly until it latches.
- Advance the film using the winding knob until the first frame number appears in the red window on the camera back.
3. Operating the Camera
3.1 Shutter Settings
The Diana F+ offers two shutter speed settings:
- N (Normal/Daylight): For standard daytime photography.
- B (Bulb): Keeps the shutter open for as long as the shutter button is pressed, ideal for long exposures in low light or for creative light painting.
3.2 Aperture Settings
Adjust the aperture using the lever around the lens. The Diana F+ typically has three aperture settings:
- Cloudy (f/8): For overcast conditions or slightly brighter scenes.
- Partly Cloudy (f/11): For general outdoor use with some sun.
- Sunny (f/16): For bright, sunny conditions.
3.3 Manual Focus
The lens features manual zone focusing. Rotate the lens barrel to select the appropriate distance setting:
- 1-2M (1 to 2 meters): For close-up subjects.
- 2-4M (2 to 4 meters): For subjects at medium distance.
- 4M-∞ (4 meters to infinity): For landscapes and distant subjects.
3.4 Using the Electronic Flash
The Diana F+ Flash connects directly to the camera body via a two-pronged plug adapter. It can provide a burst of white or colored light. Color filters may be included for creative effects.

Image 3.1: Side view of the Lomography Diana F+ showing the electronic flash attached to the camera body.
3.5 Advanced Features
- Pinhole Photography: The lens is removable, allowing for pinhole photography by exposing the film directly through a small aperture.
- Multiple Exposures: The Diana F+ allows for multiple exposures on a single frame by simply not advancing the film after taking a shot.
- Endless Panorama: By carefully aligning multiple shots, you can create seamless panoramic images.
- Image Formats: The camera supports both 12 (5.2x5.2cm) and 16 (4.2x4.2cm) square shots on a standard 120 roll, depending on the frame mask used inside the camera.
4. Maintenance
4.1 Cleaning
- Use a soft, lint-free cloth to gently wipe the camera body.
- For the lens, use a specialized lens cleaning cloth and solution. Avoid harsh chemicals.
- Keep the film compartment free of dust and debris.
4.2 Storage
Store the camera in a cool, dry place away from direct sunlight and extreme temperatures. If storing for an extended period, remove the battery from the flash unit to prevent leakage.
5. Troubleshooting
- Film Not Advancing: Ensure the film is correctly loaded and threaded onto the take-up spool. Do not force the winding knob, as this can damage the mechanism. If the film jams, open the camera in a darkroom or changing bag, remove the film, and re-spool it carefully.
- Light Leaks: The Diana F+ is known for its characteristic light leaks, which are often considered part of its charm. Ensure the camera back is securely closed. If excessive, check for any cracks or gaps in the camera body.
- Flash Not Firing: Check if the AA battery in the flash unit is correctly inserted and has sufficient charge. Ensure the flash is properly connected to the camera.
- Blurry Images: Verify that the focus distance on the lens is set appropriately for your subject. For sharpest results, ensure adequate lighting for the chosen aperture and shutter speed.
- No Image on Film: Confirm that the film was loaded correctly and advanced after each shot. Ensure the shutter is functioning and not stuck.
6. Specifications
| Feature | Specification |
|---|---|
| Product Dimensions | 7 x 3.25 x 5 inches |
| Item Weight | 7.8 ounces (220 Grams) |
| Model Number | HP700 |
| Brand | Lomography |
| Special Feature | Built-In Flash (Electronic Flash) |
| Film Format Type | 120 |
| Max Shutter Speed | B seconds (Bulb) |
| Included Components | Diana F+ Camera, Diana F+ Flash |
7. Warranty and Support
For warranty information, technical support, or further inquiries regarding your Lomography Diana F+ camera, please visit the official Lomography website or contact their customer service directly. Keep your purchase receipt as proof of purchase.
Lomography Official Website: www.lomography.com


