1. Product Overview
This manual provides instructions for the safe and proper installation and operation of the Westinghouse 7050600 Feed-Through On/Off Switch. This switch is designed for use with No. 18, SPT-1 lamp wire and is rated for 3 amps. It is UL Listed and CSA Approved for safety, offering a reliable solution for replacing or adding an in-line switch to your lighting fixtures.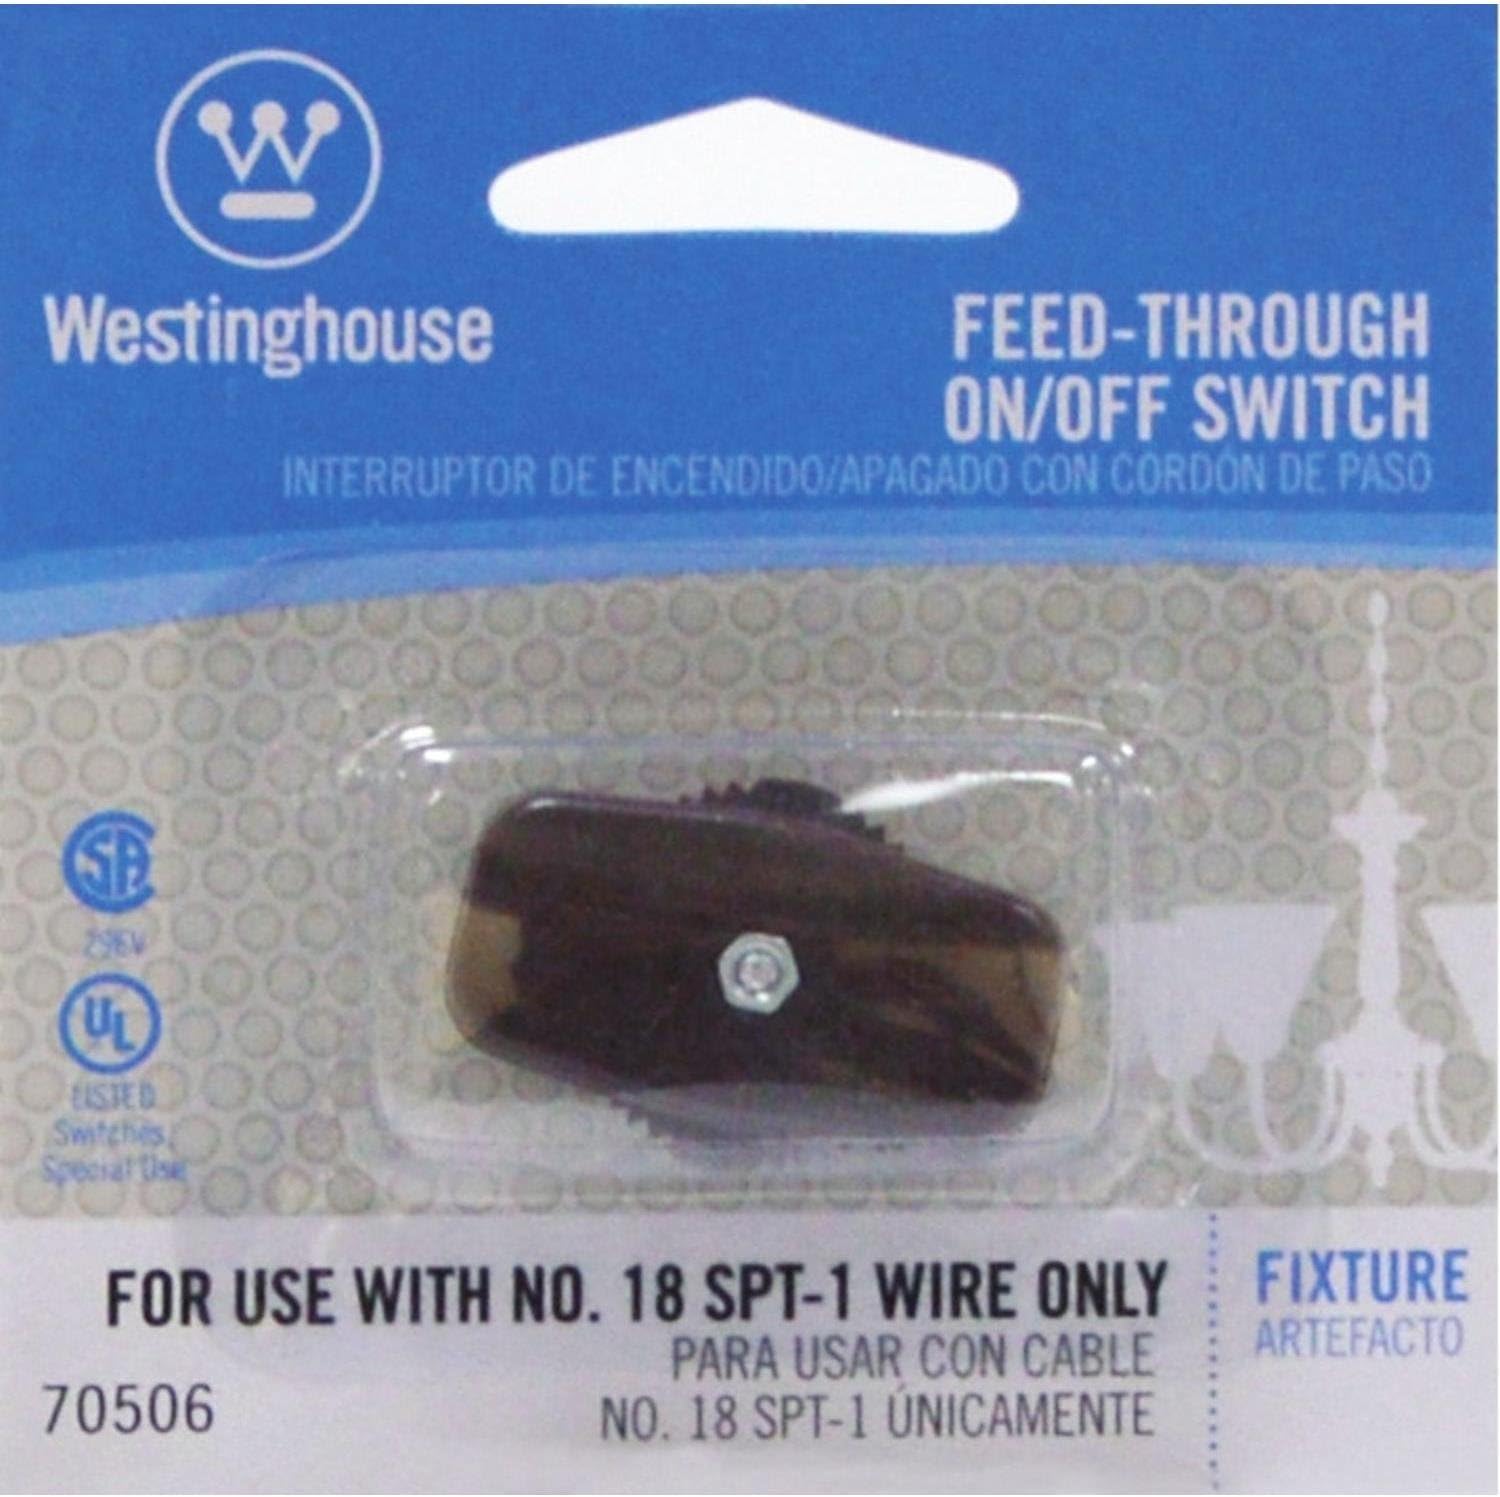
2. Important Safety Instructions
Please read and understand all safety instructions before attempting installation or operation. Failure to follow these instructions may result in electric shock, fire, or other hazards.
- Always disconnect power supply to the lamp or fixture before installing, servicing, or cleaning the switch.
- This switch is designed for use with No. 18, SPT-1 lamp wire only. Do not use with other wire types or gauges, as this may lead to improper function or electrical hazards.
- Ensure the switch's 3 Amp current rating is sufficient for the device it controls. Do not exceed the maximum current rating.
- If you are unsure about electrical wiring procedures, it is recommended that installation be performed by a qualified electrician.
- Do not install or use this switch in wet or damp locations.
- This product is UL Listed and CSA Approved, ensuring it meets recognized safety standards.
3. Package Contents
Verify that all components are present before beginning installation:
- 1 x Westinghouse 7050600 Feed-Through On/Off Switch (Brown)
4. Product Specifications
| Model Number | 7050600 |
| Brand | Westinghouse |
| Operation Mode | ON-OFF |
| Current Rating | 3 Amps |
| Contact Type | Normally Open |
| Connector Type | Blade |
| Terminal Type | Blade |
| Dimensions (L x W x H) | 0.96 x 3.5 x 3.5 inches |
| Circuit Type | 1-way |
| Actuator Type | Hinge Lever |
| Contact Material | Plastic |
| International Protection Rating | CSA |
| Number of Positions | 1 |
| Color | Brown |
| Wire Compatibility | No. 18, SPT-1 lamp wire |
5. Installation Instructions
Follow these steps carefully to install the feed-through on/off switch. This switch is designed for easy installation and requires no wire stripping.

Step-by-Step Guide:
- Turn off power supply. Before starting, ensure the lamp or fixture is unplugged from the wall outlet to prevent electric shock.
- Unscrew nut and separate halves of switch. Carefully open the switch housing by unscrewing the small nut and separating the two plastic halves.
- Put a 5/8" slit down the center of wire where switch is to be located. Identify the desired location for the switch on the lamp cord. Carefully make a 5/8-inch (approximately 1.5 cm) slit down the center of the wire, separating the two conductors.
- Cut the non-ribbed wire at the center of the slit. Examine the two separated conductors. One will typically be smooth, and the other will have a ribbed texture. Cut only the smooth (non-ribbed) wire at the center of the slit. The ribbed wire should remain intact.
- Press the cord into the hollow half of the switch. Place the lamp cord into one half of the switch housing. Ensure the two cut ends of the smooth wire are pushed into the metal terminals at the top of the switch, and the uncut ribbed wire is seated securely in its designated channel.
- Place halves of switch together and squeeze until they touch. Carefully align the two halves of the switch housing and press them firmly together until they meet. Replace the nut and tighten the screw to secure the switch housing.
Important Note: This switch is specifically designed for No. 18, SPT-1 wire only. Using lamp cords with different gauges or insulation thicknesses may prevent proper contact or secure closure, leading to malfunction or safety risks. Always verify your lamp cord type before installation.
6. Operation
Once the Westinghouse 7050600 Feed-Through On/Off Switch is correctly installed, operation is straightforward:
- To turn the connected lamp or fixture ON, simply move the switch lever to the 'ON' position.
- To turn the connected lamp or fixture OFF, move the switch lever to the 'OFF' position.
The switch provides a simple and convenient way to control power to your lighting fixture.
7. Maintenance
The Westinghouse 7050600 Feed-Through On/Off Switch is designed for durability and requires minimal maintenance.
- Cleaning: Keep the switch clean and dry. Wipe with a soft, dry cloth if necessary. Do not use liquid cleaners or immerse the switch in water.
- Inspection: Periodically inspect the switch and the lamp cord for any signs of damage, such as cracks in the housing or frayed wires.
- Repair: Do not attempt to disassemble or repair the switch beyond the initial installation steps. If the switch becomes damaged or malfunctions, replace it with a new one.
8. Troubleshooting
If you experience issues with your feed-through on/off switch, refer to the following common problems and solutions:
- Switch does not turn the lamp on or off:
- Ensure the lamp or fixture is securely plugged into a working power outlet.
- Verify that the lamp bulb is functional and correctly installed.
- Re-open the switch housing (after disconnecting power) and check that the cut ends of the non-ribbed wire are properly seated and making contact with the internal terminals.
- Confirm that only the non-ribbed wire was cut and inserted into the terminals, and the ribbed wire is intact in its channel.
- Loose connection or intermittent power:
- Ensure the nut and screw holding the switch halves together are tightened securely.
- Verify that your lamp cord is indeed No. 18, SPT-1 wire. Thicker wires may not fit properly, preventing the internal contacts from engaging correctly.
- Switch housing does not close properly:
- Check that the lamp cord is correctly positioned within the channels of both switch halves and that no excess wire is preventing closure.
- Confirm that the wire type is No. 18, SPT-1. Larger gauge wires will not allow the housing to close securely.
9. Warranty and Support
For warranty information, technical assistance, or to inquire about replacement parts, please contact Westinghouse customer service. Keep your purchase receipt as proof of purchase for any warranty claims.
Westinghouse Lighting Official Website: www.westinghouselighting.com
Westinghouse is a registered trademark of Westinghouse Electric Corporation and used under license by Westinghouse Lighting Corporation.


