1. Introduction
Welcome to your new Moen S0030 Commercial M-Dura Gooseneck Spout. This manual provides essential information for the proper installation, operation, and maintenance of your spout. Please read these instructions carefully before beginning installation or use to ensure optimal performance and longevity of the product.
2. Product Overview
The Moen S0030 Commercial M-Dura Gooseneck Spout is designed for commercial and institutional applications, offering durability and a functional design. Its chrome finish provides a bright, highly reflective, cool grey metallic look that complements various commercial aesthetics.
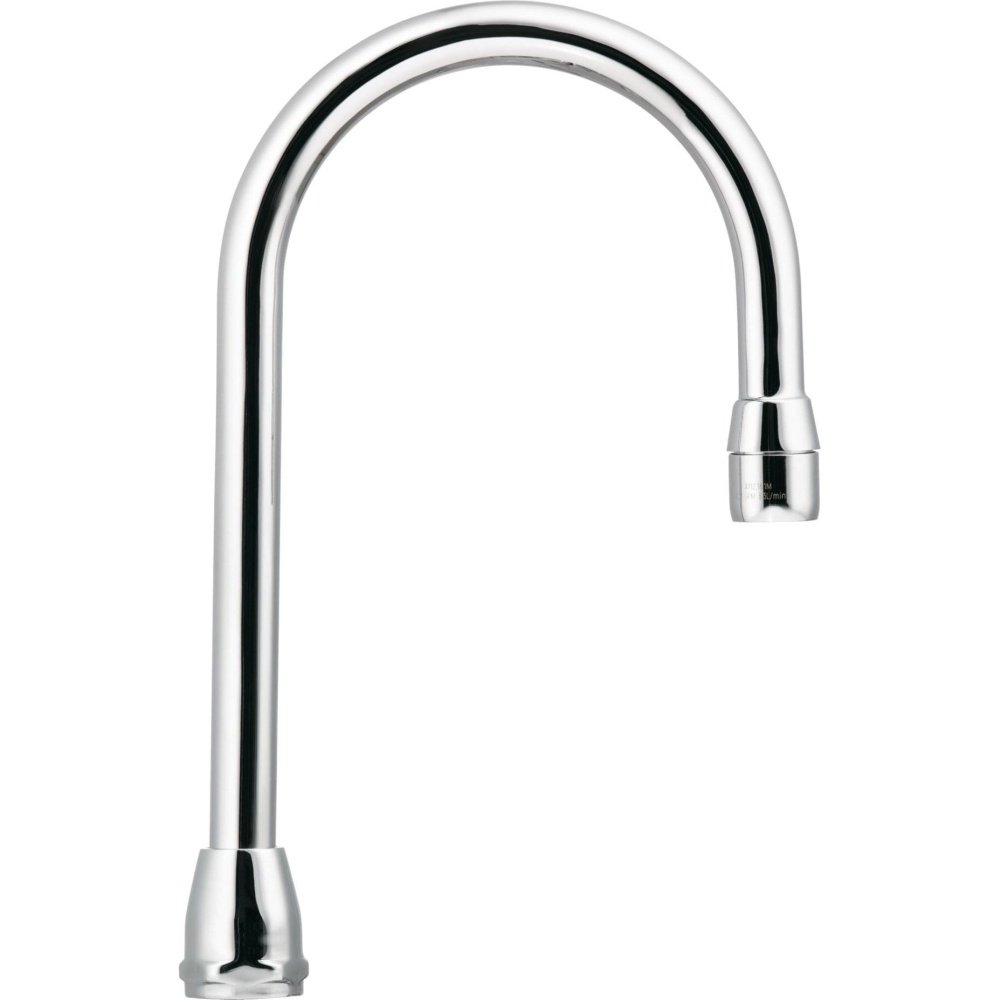
Figure 2.1: Moen S0030 Commercial M-Dura Gooseneck Spout with chrome finish.

Figure 2.2: Moen S0030 Gooseneck Spout in a commercial laboratory environment.
Key Features
- Chrome finish is highly reflective for a mirror-like look that works with any decorating style.
- 5.25-inch reach provides ample clearance for various tasks.
- 5.5-inch height to aerator for convenient use.
- 10-inch overall height.
- Includes 2.2 GPM (8.3 LPM) max. aerator for efficient water flow.
- Comes with a friction washer for optional stationary rigid mounting.
3. Installation Instructions
This section outlines the general steps for installing your Moen S0030 Gooseneck Spout. For best results and to ensure compliance with local plumbing codes, professional installation is recommended.
Tools Required
- Adjustable wrench
- Plumber's putty or silicone sealant
- Thread seal tape (optional, for threaded connections)
- Soft cloth
Step-by-Step Installation
- Prepare Work Area: Ensure the water supply to the installation area is turned off. Clear the area around the sink or mounting surface.
- Remove Existing Spout (if applicable): If replacing an old spout, carefully disconnect any water lines and mounting hardware, then remove the old spout.
- Clean Mounting Surface: Thoroughly clean the surface where the new spout will be installed to ensure a proper seal.
- Apply Sealant: Apply a thin bead of plumber's putty or silicone sealant around the base of the new spout or to the mounting surface, as appropriate for your installation.
- Position Spout: Insert the spout shank through the mounting hole in the sink or countertop. Ensure the spout is correctly oriented.
- Secure Mounting Hardware: From underneath the sink, slide the friction washer (if rigid mounting is desired) and then the mounting washer onto the spout shank. Thread the mounting nut onto the shank and tighten it securely with an adjustable wrench. Do not overtighten.
- Connect Water Lines (if applicable): If your setup requires connecting water lines directly to the spout, ensure all connections are tight and sealed with thread seal tape if necessary.
- Test for Leaks: Turn the water supply back on slowly and check for any leaks around the spout base and connections. Tighten any leaking connections as needed.
4. Operation
The Moen S0030 Gooseneck Spout is designed for straightforward operation, primarily directing water flow. It is typically used in conjunction with a separate faucet handle or valve that controls water temperature and volume.
Water Flow Control
To operate the water flow, use the associated faucet handle or valve. The gooseneck design provides an elevated arc, making it easier to fill or rinse larger items in the sink.
Aerator
The spout is equipped with a 2.2 GPM (8.3 LPM) max. aerator. This component mixes air into the water stream, providing a smooth, splash-free flow and conserving water. The aerator can be easily removed for cleaning or replacement if necessary.
5. Maintenance and Cleaning
Regular maintenance and proper cleaning will help preserve the finish and functionality of your Moen S0030 spout.
Cleaning the Finish
- Use only mild soap and water for cleaning.
- Avoid abrasive cleaners, harsh chemicals, or scouring pads, as these can damage the chrome finish.
- Wipe the spout dry with a soft, clean cloth after each use to prevent water spots and mineral buildup.
Aerator Maintenance
If you notice reduced water flow or an irregular spray pattern, the aerator may be clogged with mineral deposits or debris. To clean:
- Carefully unscrew the aerator from the tip of the spout.
- Disassemble the aerator components and rinse them under running water.
- Use a small brush or toothpick to remove any stubborn deposits. For heavy mineral buildup, soak the components in a solution of equal parts white vinegar and water.
- Reassemble the aerator and screw it back onto the spout, ensuring it is hand-tightened.
6. Troubleshooting
This section addresses common issues you might encounter with your Moen S0030 Gooseneck Spout.
| Problem | Possible Cause | Solution |
|---|---|---|
| Low Water Flow | Clogged aerator | Clean the aerator as described in Section 5. |
| Low Water Flow | Low water pressure in the building | Consult a plumber to check building water pressure. |
| Leak at Spout Base | Loose mounting nut or worn gasket/sealant | Tighten mounting nut. If leak persists, remove spout, clean old sealant, apply new plumber's putty or silicone, and reinstall. |
| Finish Discoloration/Damage | Use of abrasive cleaners or chemicals | Use only mild soap and water for cleaning. Avoid harsh chemicals. |
7. Specifications
Detailed specifications for the Moen S0030 Commercial M-Dura Gooseneck Spout.
| Feature | Detail |
|---|---|
| Brand | Moen |
| Model Number | S0030 |
| Material | Metal |
| Finish Type | Chrome |
| Spout Reach | 5.25 inches |
| Height to Aerator | 5.5 inches |
| Overall Height | 10 inches |
| Flow Rate | 2.2 Gallons Per Minute (GPM) / 8.3 Liters Per Minute (LPM) max. |
| Specification Met | WaterSense |
| Thread Size | 1/4-18 NPT |
| Included Components | Spout |
| UPC | 026508148129 |
8. Warranty Information
The Moen S0030 Commercial M-Dura Gooseneck Spout is backed by Moen's One-Year Limited Warranty. This warranty covers defects in material and manufacturing for a period of one year from the date of purchase. For complete details regarding warranty coverage, limitations, and how to make a claim, please refer to the official Moen warranty documentation included with your product or visit the official Moen website.
9. Customer Support
For further assistance, technical support, or replacement parts, please contact Moen Customer Service. You can also find additional resources, FAQs, and product information on the official Moen website.
Moen Official Website: www.moen.com