Introduction
Thank you for choosing the La Crosse Technology WS8167 Wall Weather Station. This manual provides detailed instructions for the setup, operation, and maintenance of your new weather station. The WS8167 features radio-controlled time and date, displays indoor and outdoor temperatures, and provides weather forecasts using intuitive icons. Please read this manual thoroughly before using the device to ensure proper functionality and longevity.
Package Contents
Upon unpacking, please verify that all items listed below are present and in good condition:
- 1 x La Crosse Technology WS8167 Weather Station Unit
- 1 x Wireless Outdoor Temperature Sensor
- 1 x User Manual (this document)
Product Overview
The La Crosse Technology WS8167 Wall Weather Station consists of a main display unit and a wireless outdoor sensor. The main unit displays time, date, indoor temperature, outdoor temperature, and weather forecast icons. The outdoor sensor transmits temperature data wirelessly to the main unit.
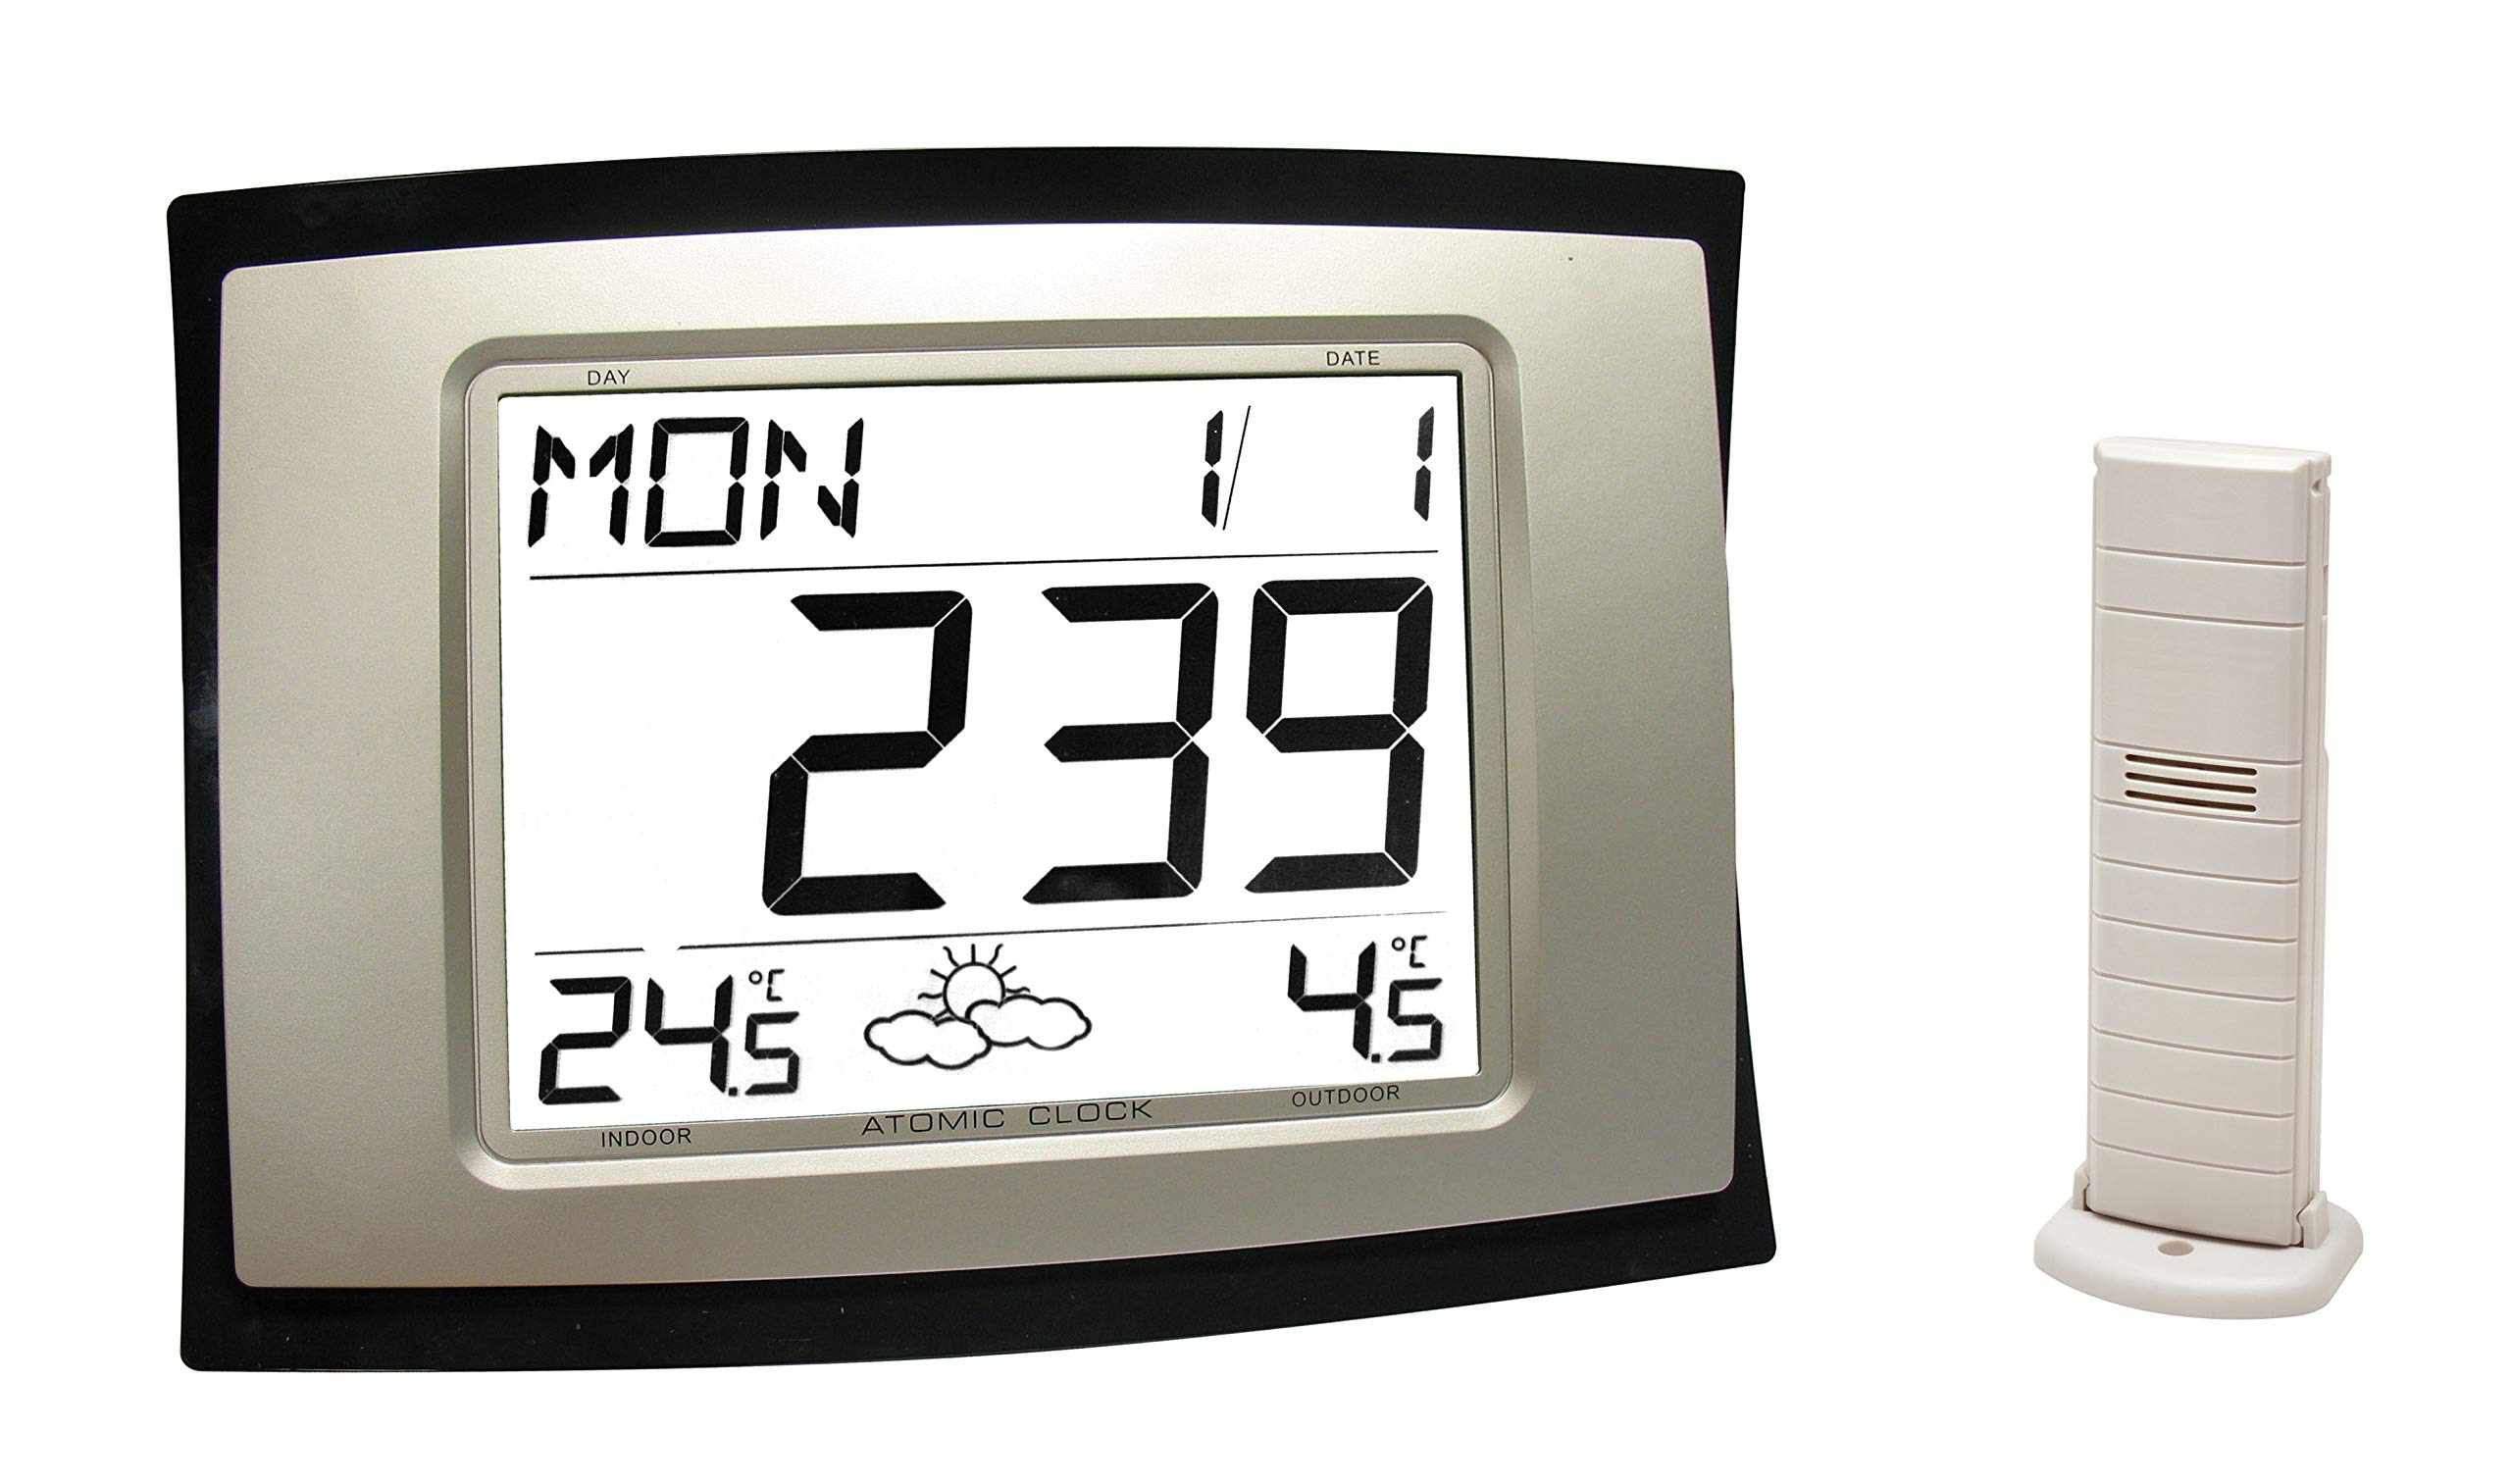
Image Description: A clear image showing the La Crosse Technology WS8167 Weather Station. On the left is the main display unit, a rectangular device with a large digital screen showing the day, date, time, indoor temperature, and an atomic clock indicator. On the right is the slender, off-white wireless outdoor sensor, designed to stand upright on a base.
Setup
1. Battery Installation
The weather station requires 2 AA batteries for operation. Ensure you use fresh, high-quality batteries.
- Main Unit: Open the battery compartment cover on the back of the main unit. Insert 2 AA batteries, observing the correct polarity (+/-) as indicated inside the compartment. Close the cover securely.
- Outdoor Sensor: Open the battery compartment cover on the back of the outdoor sensor. Insert 2 AA batteries, observing the correct polarity (+/-). Close the cover securely.
Note: It is recommended to insert batteries into the outdoor sensor first, then into the main unit, to facilitate immediate synchronization.
2. Sensor Placement
Proper placement of the outdoor sensor is crucial for accurate temperature readings.
- Place the sensor in a shaded area, away from direct sunlight, which can cause artificially high readings.
- Ensure the sensor is protected from direct rain and snow.
- Mount the sensor vertically, approximately 1.5 to 2 meters (5 to 6.5 feet) above the ground.
- Keep the sensor within the effective transmission range (typically up to 100 meters / 330 feet in open air) of the main unit, minimizing obstructions like thick walls or metal objects.
3. Initial Synchronization and Radio Control
After battery installation, the main unit will automatically attempt to synchronize with the outdoor sensor and receive the radio-controlled time signal.
- The outdoor temperature should appear on the main unit's display within a few minutes. If not, press the SEARCH button on the main unit to manually initiate a search for the sensor.
- The radio-controlled time signal (DCF77 for Europe) will be automatically sought. This process can take several minutes to several hours, depending on your location and atmospheric conditions. A signal icon will typically flash during reception and become solid once synchronized.
- Ensure the main unit is placed away from electronic devices that might interfere with the radio signal (e.g., TVs, computers, microwaves).
Operating Instructions
1. Time and Date Display
The main unit displays the current time, day of the week, and date. As it is radio-controlled, the time and date are automatically updated, including daylight saving time adjustments.
- Manual Time Setting: If the radio signal is unavailable, you can manually set the time and date. Refer to the specific buttons on your device (e.g., MODE, SET, +/-) for instructions. Typically, you press and hold a SET or MODE button to enter setting mode, then use +/- buttons to adjust values.
- 12/24 Hour Format: The display may offer a choice between 12-hour (with AM/PM) and 24-hour formats. Consult your device's buttons for switching this setting.
2. Temperature Display
The weather station displays both indoor and outdoor temperatures.
- Indoor Temperature: Measured by a sensor within the main unit.
- Outdoor Temperature: Received wirelessly from the outdoor sensor.
- Temperature Units: You can typically switch between Celsius (°C) and Fahrenheit (°F) by pressing a dedicated button (often labeled °C/°F or similar).
- Min/Max Temperature: The station may record and display the minimum and maximum temperatures for both indoor and outdoor readings over a 24-hour period. Press the MIN/MAX button to view these values.
3. Weather Forecast Interpretation
The weather station provides a forecast for the next 12-24 hours using graphical icons. These forecasts are based on changes in atmospheric pressure and are not as precise as professional weather reports.
- Sunny: Indicates clear skies.
- Partly Cloudy: Suggests a mix of sun and clouds.
- Cloudy: Implies overcast conditions.
- Rainy: Forecasts precipitation.
- Snowy: Forecasts snow (if temperature conditions are appropriate).
The accuracy of the forecast icons improves after the station has been operating for several days and has established a baseline for atmospheric pressure changes.
Maintenance
- Cleaning: Wipe the display and casing with a soft, damp cloth. Do not use abrasive cleaners or solvents.
- Battery Replacement: Replace batteries in both the main unit and the outdoor sensor annually, or when the low battery indicator appears on the display.
- Sensor Check: Periodically check the outdoor sensor for any debris or obstructions that might affect its performance.
- Storage: If storing the unit for an extended period, remove all batteries to prevent leakage.
Troubleshooting
| Problem | Possible Cause | Solution |
|---|---|---|
| No display on main unit. | Batteries are dead or incorrectly inserted. | Replace batteries, ensuring correct polarity. |
| Outdoor temperature not displayed or inaccurate. | Sensor out of range, interference, or dead batteries. |
|
| Radio-controlled time not synchronizing. | Weak signal, interference, or incorrect time zone setting. |
|
| Weather forecast icons seem incorrect. | Station needs more time to learn atmospheric pressure patterns. | Allow the station to operate for several days to establish a baseline. Forecasts are predictions and not always exact. |
Specifications
- Model: WS8167
- Brand: La Crosse Technology
- Power Source: 2 x AA batteries (Main Unit), 2 x AA batteries (Outdoor Sensor)
- Dimensions (Main Unit): Approximately 28 x 21 x 4 cm (11 x 8.3 x 1.6 inches)
- Weight: Approximately 720 grams (1.59 lbs)
- Material: Plastic
- Connectivity: IT+ Technology, 868 MHz wireless transmission
- Special Feature: Large display, Radio-controlled time and date
- Recommended Use: Home
Warranty and Support
La Crosse Technology products are designed for reliability and performance. For warranty information, technical support, or replacement parts, please refer to the contact information provided on the product packaging or visit the official La Crosse Technology website. Keep your purchase receipt as proof of purchase for warranty claims.