1. Introduction
Welcome to the instruction manual for your Camelion CM9398 Universal Charger. This charger is designed to safely and efficiently recharge various types of rechargeable batteries, including AA, AAA, C, D, and 9V. Please read this manual thoroughly before first use to ensure proper operation and to maximize the lifespan of your batteries and charger.
2. Important Safety Instructions
- This charger is intended for indoor use only. Do not expose it to rain or moisture.
- Do not disassemble or modify the charger. Refer all servicing to qualified personnel.
- Keep the charger away from water, high temperatures, and direct sunlight.
- Use this charger only with rechargeable batteries of the specified types (Ni-MH/Ni-Cd). Attempting to charge non-rechargeable batteries may cause them to leak, rupture, or explode.
- Always observe the correct polarity (+/-) when inserting batteries into the charger.
- Do not charge damaged or leaking batteries.
- Unplug the charger from the power outlet when not in use and before cleaning.
- Keep out of reach of children.
3. Product Overview
The Camelion CM9398 is a versatile charger capable of handling multiple battery formats. Its design allows for simultaneous charging of different battery types.
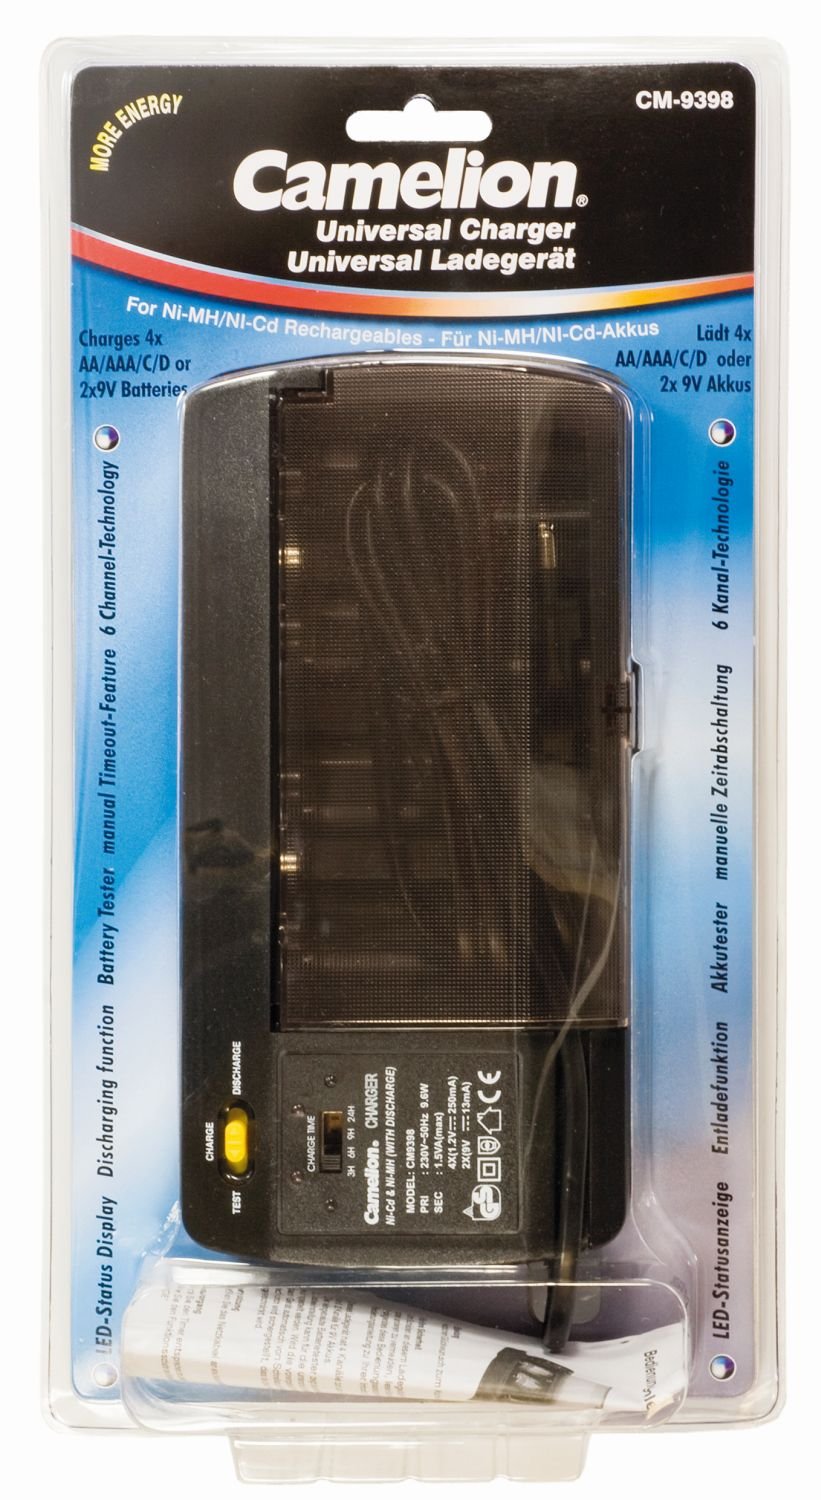
Image: The Camelion CM9398 Universal Charger, showing slots for various battery sizes.
Key Features:
- Compatible with AA, AAA, C, D, and 9V rechargeable batteries.
- Multiple charging slots for simultaneous charging.
- LED indicator lights for charging status.
4. Setup
- Unpack the Charger: Carefully remove the charger from its packaging and inspect it for any signs of damage.
- Connect to Power: Plug the charger's power cord into a standard wall outlet.
5. Operating Instructions
5.1 Inserting Batteries
- Insert rechargeable batteries into the appropriate charging slots.
- Ensure that the positive (+) and negative (-) terminals of the batteries align correctly with the polarity markings in the charger slots. Incorrect insertion can prevent charging or damage the batteries/charger.
5.2 Charging Process
- Once batteries are correctly inserted and the charger is plugged in, the indicator lights for the respective slots will illuminate, indicating that charging has begun.
- Important Note on Charging: This charger operates on a timer-based charging system. It does not feature automatic charge termination based on battery capacity or full charge detection. Users must monitor charging times according to battery specifications to prevent overcharging, which can reduce battery lifespan or cause damage.
5.3 Calculating Charging Times
To determine the appropriate charging duration, refer to your battery's capacity (measured in mAh) and the charger's output current for each battery type. Overcharging can damage batteries and is not covered by warranty.
Example: If your AA battery has a capacity of 2000mAh and the charger provides a charging current of 200mA for AA batteries, the theoretical charging time would be approximately 10 hours (2000mAh / 200mA = 10 hours). Always add a small buffer (e.g., 10-20%) to account for charging inefficiencies, but avoid excessive overcharging.
5.4 Removing Batteries
Once the calculated charging time has elapsed, disconnect the charger from the power outlet and carefully remove the charged batteries from their slots.
6. Maintenance
- Cleaning: Disconnect the charger from the power source before cleaning. Use a soft, dry cloth to wipe the exterior of the charger. Do not use liquid cleaners or solvents.
- Storage: Store the charger in a cool, dry place away from direct sunlight and extreme temperatures when not in use.
- Inspection: Periodically check the charger and its power cord for any signs of damage.
7. Troubleshooting
7.1 Charger Not Working
- Check Power Connection: Ensure the charger is securely plugged into a working wall outlet.
- Check Batteries: Verify that batteries are inserted correctly with the correct polarity.
7.2 Batteries Not Charging
- Are Batteries Rechargeable? Confirm that you are attempting to charge Ni-MH or Ni-Cd rechargeable batteries, not alkaline or other non-rechargeable types.
- Check Polarity: Double-check that batteries are inserted with the correct positive (+) and negative (-) orientation.
- Faulty Batteries: Some batteries may be too old or damaged to accept a charge. Try charging different batteries to isolate the issue.
- Indicator Lights: The charger uses indicator lights. Refer to the product packaging or manufacturer's website for specific interpretations of light patterns, as detailed information is not provided in this manual.
8. Specifications
| Brand | Camelion |
| Model Number | 20009398 (CM9398) |
| Compatible Battery Types | AA, AAA, C, D, 9V (Ni-MH/Ni-Cd) |
| Color | Black |
| Manufacturer | CAMELION |
| ASIN | B0014IXZ5E |
| Warranty | 1 Year Manufacturer's Warranty |
9. Warranty and Support
This Camelion CM9398 Universal Charger comes with a 1-year manufacturer's warranty from the date of purchase. This warranty covers defects in materials and workmanship under normal use.
For warranty claims, technical support, or any questions regarding your charger, please visit the official Camelion website or contact their customer service department. Please have your proof of purchase and the product model number (CM9398 or 20009398) ready when contacting support.