1. Product Overview
The ShaverAid HQ4 Replacement Shaver Heads are designed to restore the performance of your electric shaver. This set includes three high-quality replacement heads, engineered to provide a close and comfortable shave. These heads are not manufactured by Norelco but are compatible with a wide range of Philips Norelco models.
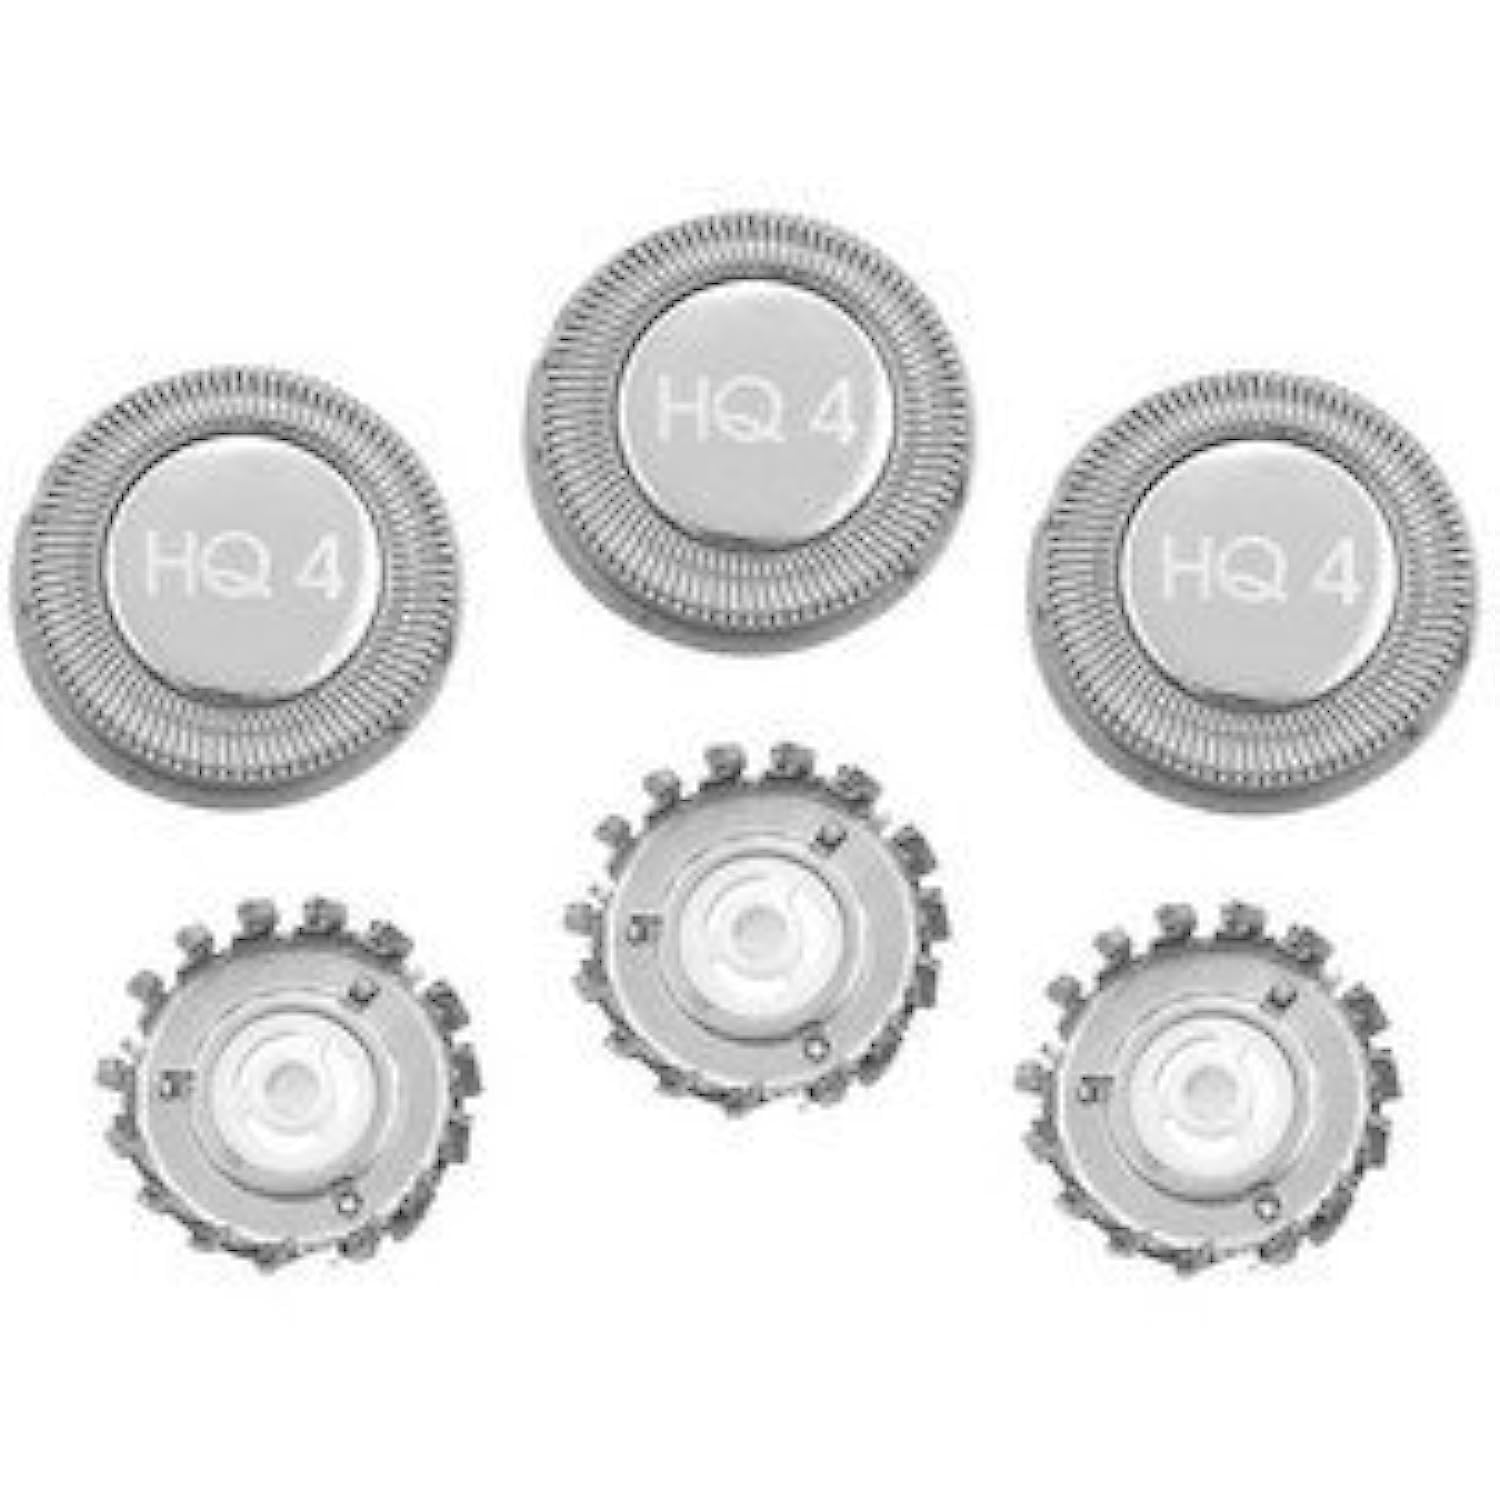
Image 1: ShaverAid HQ4 Replacement Shaver Heads. This image displays the three circular replacement heads, each marked with "HQ 4", along with their corresponding three-bladed rotary cutters. The components are shown separately, illustrating the design of the replacement parts.
2. Safety Information
Using this product may impact the original manufacturer's warranty. Always follow the original manufacturer's instructions for safe use and maintenance of your shaver.
- Ensure the shaver is turned off and unplugged before attempting to replace heads.
- Handle blades with care to avoid injury.
- Keep replacement heads out of reach of children.
- Dispose of old shaver heads responsibly.
3. Compatibility
These ShaverAid HQ4 replacement heads are designed to replace Philips Norelco HQ4, Norelco HQ4 Plus, 1915XL, and 1915XR shaver heads. They are compatible with a wide range of Philips Norelco electric shaver models, including but not limited to:
- 500 Series: 5812XL, 5625X, 5426LC, 500RL, 501RL, 505RL
- 200/300/400 Series: 200SC, 300SX, 3405LC, 3601X, 3605X, 400DX, 410DB, 4601X, 4602X, 4625X
- 3800 Series: 3801XL, 3805XL, 3865XL
- 4800 Series: 4805XL, 4807XL, 4816XL, 4817XL, 4821XL, 4825XL, 482XL, 4845XL, 484XL, 4865XL, 486XL, 4885XL
- 600 Series: 600RX, 605RX, 665RX
- 700 Series: 700RL, 705RL, 710RL, 715RL, 720RL, 725RL, 750RL
- 800 Series: 800RX, 805RX, 815RX, 825RX, 835RX, 850RX, 875RX, 885RX, 895RX
- 900 Series: 900RX, 905RX, 915RX, 935RX, 945RX, 950RX, 955RX, 965RX, 968RX, 985RX
- HP Series: HP1318, HP1319, HP1327D, HP1328E, HP1328S, HP1337C, HP1601, HP1602, HP1604, HP1605, HP1606, HP1608
If your shaver model is not listed, please compare your existing shaver heads with the images provided or consult your shaver's original manual for HQ4 compatibility.
4. Installation Instructions
Replacing your shaver heads is a straightforward process. Follow these steps carefully:
- Preparation: Ensure your electric shaver is turned off and unplugged from any power source.
- Open Shaver Head Unit: Depending on your shaver model, you will either press a release button or twist the retaining ring to open the shaver head unit.
- Remove Old Heads: Carefully lift out the old shaver heads (cutters and combs). Note their orientation if possible, though the new heads are typically designed for easy fitment.
- Clean Shaver: While the heads are removed, take the opportunity to thoroughly clean any hair clippings or debris from the shaver's internal components using a small brush.
- Insert New Heads: Place the new ShaverAid HQ4 replacement heads into the shaver head unit. Ensure each cutter is properly seated within its corresponding comb. The heads should fit snugly.
- Secure Shaver Head Unit: Close the shaver head unit, ensuring it clicks securely into place.
- Lubrication (Optional but Recommended): Apply a small drop of shaver oil (not included) to each new head before the first use and after cleaning. This helps reduce friction and prolongs blade life.

Image 2: Detailed view of ShaverAid HQ4 Replacement Shaver Heads. This image provides a closer look at the individual components, highlighting the precision-engineered rotary cutters and the protective outer foils, essential for effective shaving.
5. Operating Instructions
Once the new ShaverAid HQ4 heads are installed, your shaver is ready for use. For best results:
- Ensure your face is clean and dry before shaving.
- Move the shaver in small, circular motions against the direction of hair growth.
- Apply gentle pressure; excessive force is not necessary and can cause irritation.
- For optimal performance, allow your skin a few weeks to adjust to new shaver heads.
6. Maintenance
Regular cleaning and maintenance will extend the life of your ShaverAid HQ4 replacement heads and ensure consistent shaving performance.
- Daily Cleaning: After each shave, open the shaver head unit and tap out any loose hair clippings. You can also rinse the heads under warm running water if your shaver is waterproof.
- Thorough Cleaning: Periodically, disassemble the shaver heads (cutters and combs) and clean them thoroughly with the provided brush or by rinsing under water. Allow all parts to air dry completely before reassembling.
- Lubrication: Apply a small drop of shaver oil to each cutter and comb assembly once a week, or as needed, especially after thorough cleaning. This lubrication helps maintain smooth operation and sharpness.
- Replacement Schedule: For optimal shaving performance, it is recommended to replace shaver heads every 12-18 months, or sooner if you notice a decrease in cutting efficiency or increased irritation.
7. Troubleshooting
| Problem | Possible Cause | Solution |
|---|---|---|
| Shaver not cutting effectively / pulling hairs. | Heads are dull or clogged with hair/debris. Insufficient lubrication. | Thoroughly clean the shaver heads. Apply shaver oil. Ensure heads are correctly installed. If problem persists, heads may need replacement. |
| Increased skin irritation after shaving. | New heads require an adjustment period. Incorrect shaving technique. Heads are dirty. | Allow a few weeks for skin to adjust. Ensure gentle, circular motions. Clean heads regularly. |
| Shaver motor seems to labor or slow down. | Heads are not properly lubricated, causing drag. Excessive hair buildup. | Apply shaver oil to the heads. Perform a thorough cleaning to remove all hair clippings. |
8. Specifications
- Product Type: Replacement Shaver Heads
- Brand: Shaver Aid
- Model: HQ4 (Replaces Norelco HQ4, HQ4 Plus, 1915XL, 1915XR)
- Color: Silver
- Package Dimensions: 3.4 x 3.4 x 0.5 inches
- Item Weight: 0.35 ounces
- UPC: 744539000758
- Manufacturer: Goodmans
9. Warranty and Support
For any questions regarding the ShaverAid HQ4 Replacement Shaver Heads, please contact the retailer or manufacturer directly. Specific warranty information may vary by seller. Please retain your proof of purchase for any support inquiries.
Note: As stated in the safety information, using this product may affect the original manufacturer's warranty of your shaver. This product is a replacement part and is not manufactured by Norelco.