
SANIFLO 005
SANIFLO Residential EPA Certified White Toilet Tank (Model 005) Instruction Manual
Comprehensive guide for installation, operation, and maintenance.
1. Introduction
This manual provides detailed instructions for the SANIFLO Residential EPA Certified White Toilet Tank, Model 005. It covers essential information regarding product features, technical specifications, installation procedures, operational guidelines, maintenance tips, and troubleshooting common issues. Please read this manual thoroughly before installation and use to ensure proper function and longevity of your toilet tank.
2. Product Features
- Certifications: Meets or exceeds ANSI/ASME A112.19.2M and CAN/CSA B45 requirements, IAPMO/UPC certificate of listing, and is EPA WaterSense labeled for hydraulic performance and fixture dimensions.
- Durable Material: Constructed from vitreous china for long-lasting durability and a classic aesthetic.
- Efficient Flushing System: Features a zero re-fill fill valve that is easily adjustable and a flush valve with a silicone flapper seal.
- Water Level Mark: Includes a water level mark applied to the overflow tube for precise water management.
- Complete Installation Hardware: Supplied with bowl screws, washers, and wing nuts for convenient setup.
- Insulated Design: The tank is insulated, which can help prevent condensation in humid environments.

Image 1: A side view of the SANIFLO Toilet Tank, highlighting its vitreous china construction and high gloss finish. The accompanying text notes its durability and compatibility with both round and elongated Saniflo toilet bowls.
3. Technical Specifications
| Specification | Detail |
|---|---|
| Model Number | 005 |
| Material | Vitreous China |
| Color | White |
| Product Dimensions | Approximately 18" x 9" x 17" (L x W x H) |
| Item Weight | Approximately 24.9 pounds (11.3 Kilograms) |
| Installation Type | Floor Mounted |
| Water Consumption | 1.6 Gallons per Flush (GPF) |
| Flush Type | Direct Flush Toilets |
| UPC | 859925002053, 775937000057 |
Note: Dimensions and weight are approximate and may vary slightly.
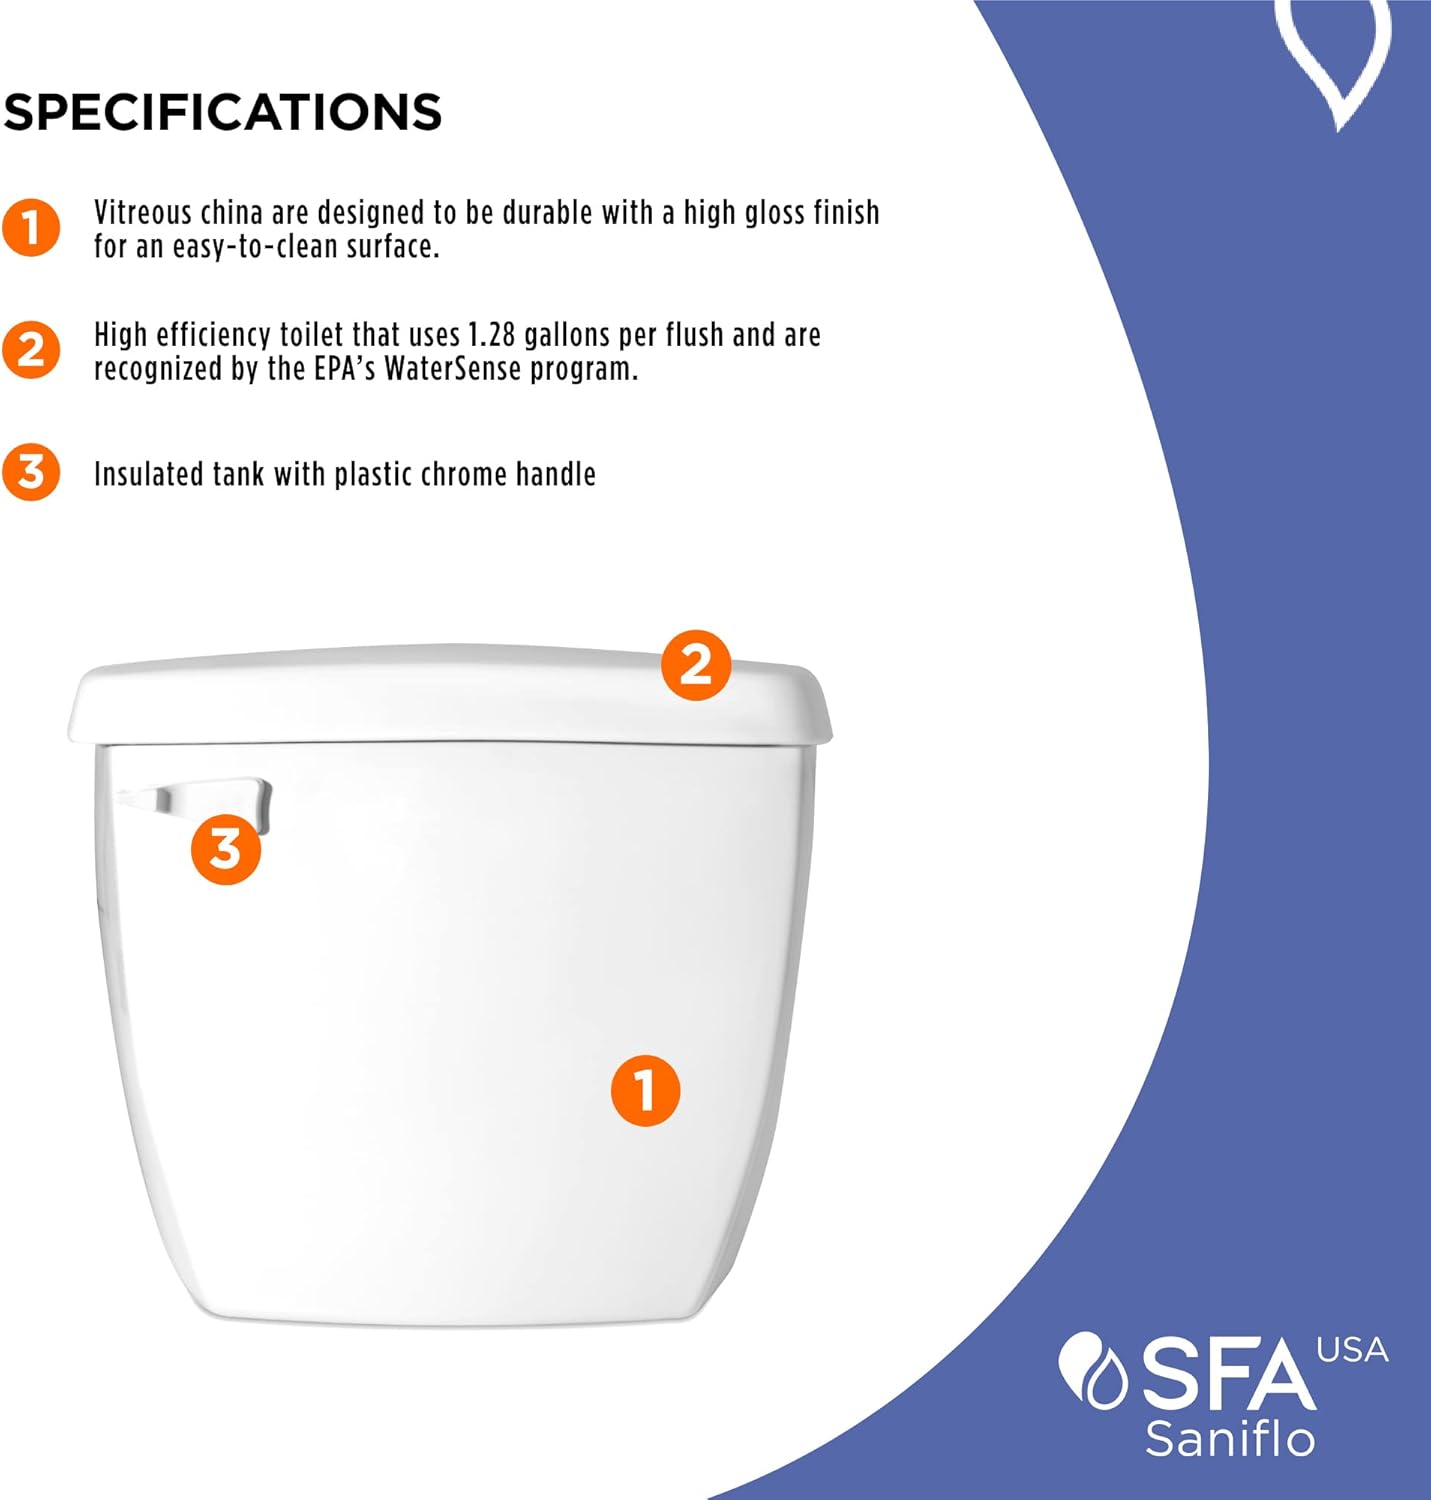
Image 2: A diagram illustrating key specifications of the SANIFLO Toilet Tank. It points out the vitreous china material, high efficiency (1.28 GPF, EPA WaterSense), and the insulated tank with a plastic chrome handle.

Image 3: A technical drawing showing the dimensions of the SANIFLO Toilet Tank and a compatible toilet bowl. This diagram provides measurements for height, width, and depth, useful for planning installation.
4. Setup and Installation
This section outlines the general steps for installing your SANIFLO toilet tank. It is recommended to consult a qualified plumber for professional installation to ensure compliance with local codes and optimal performance.
4.1. Before You Begin
- Ensure all necessary tools and materials are available.
- Turn off the main water supply to the bathroom.
- Remove the old toilet tank if replacing an existing unit. Clean the area thoroughly.
- Inspect the new SANIFLO tank for any visible damage before installation.
4.2. Installation Steps
- Position the Tank: Carefully place the SANIFLO toilet tank onto the back of the toilet bowl, aligning the bolt holes.
- Secure the Tank: Insert the provided bowl screws through the tank and bowl holes. Secure with washers and wing nuts from underneath the bowl. Tighten evenly to prevent cracking the vitreous china, but do not overtighten.
- Connect Water Supply: Attach the water supply line to the fill valve on the underside of the tank. Ensure a watertight connection using appropriate plumbing tape or sealant if necessary.
- Install Flush Lever: Attach the flush lever to the tank, connecting it to the flush valve mechanism inside. Ensure smooth operation.
- Restore Water Supply: Slowly turn on the main water supply. Check for any leaks around the connections. Allow the tank to fill.
- Test Flush: Perform several test flushes to ensure proper operation of the fill valve, flush valve, and water level. Adjust the fill valve if the water level is not at the marked line.
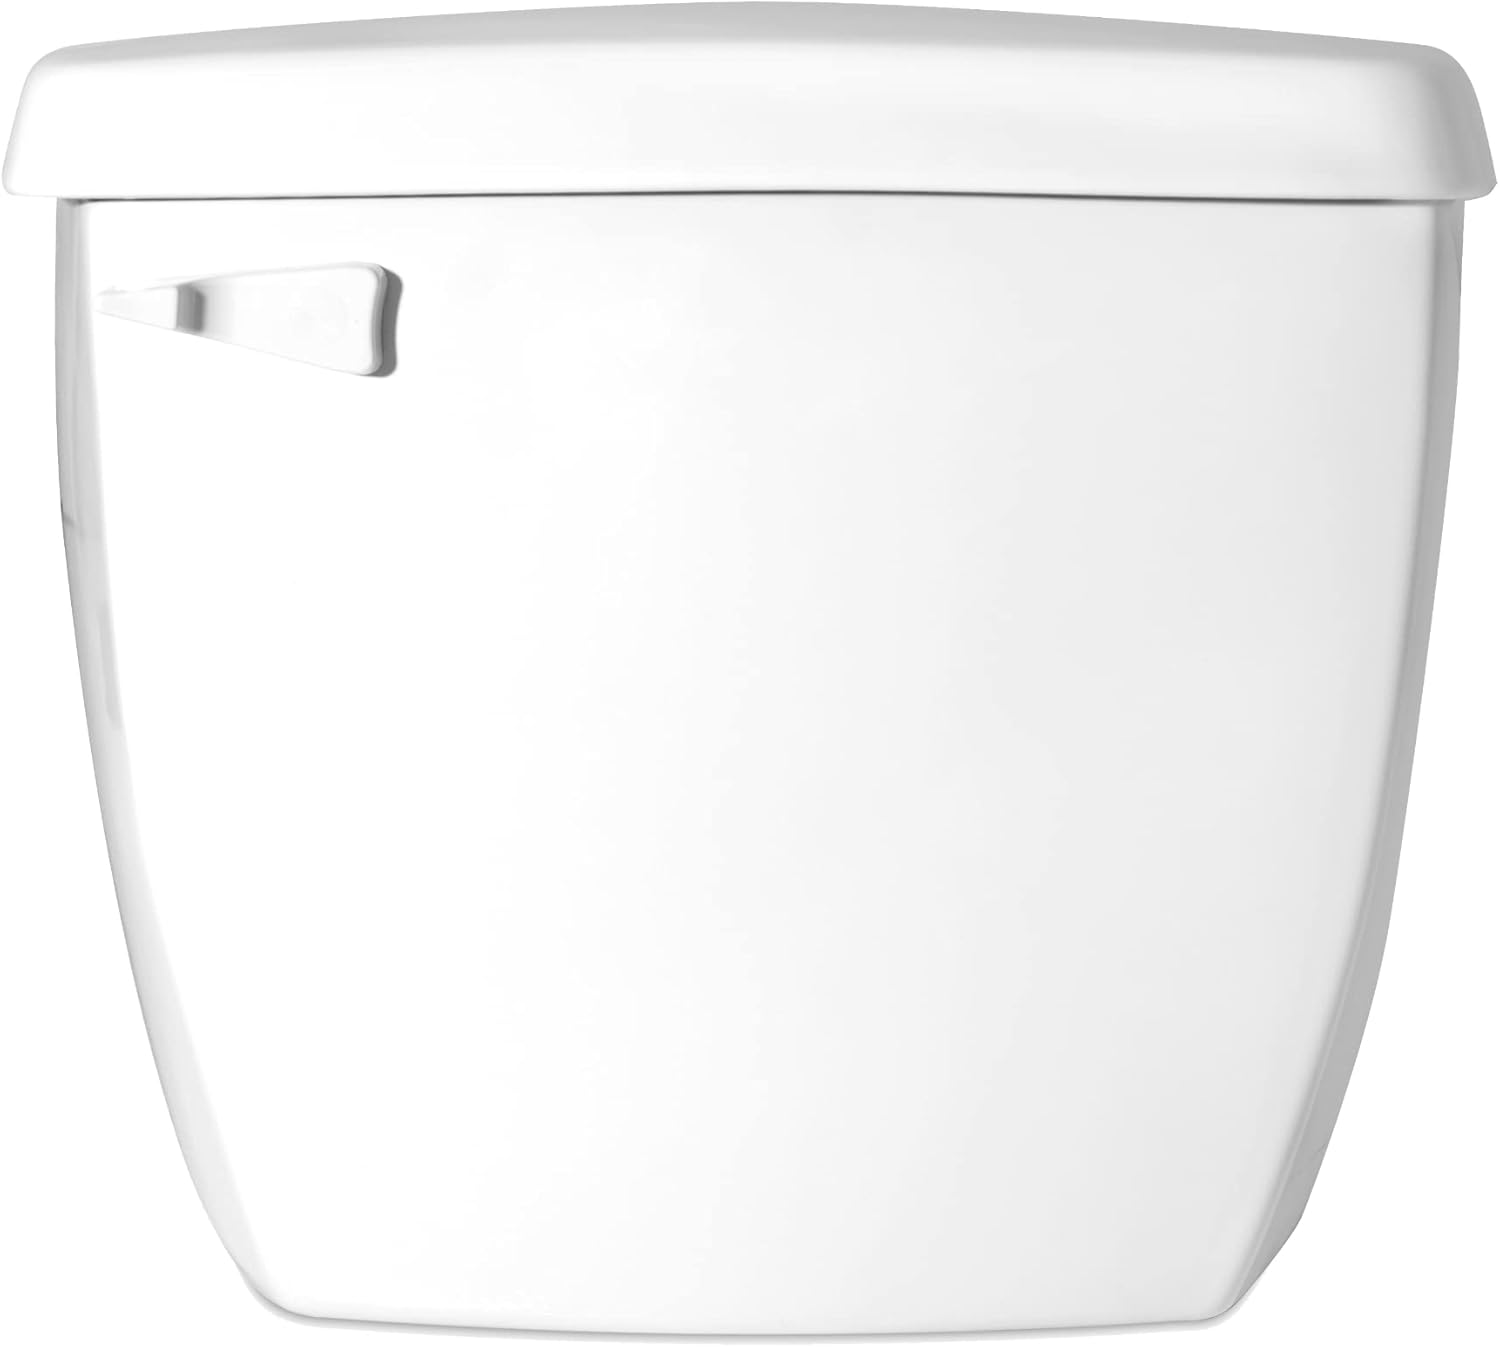
Image 4: Front view of the SANIFLO Toilet Tank, Model 005, in white vitreous china. This image shows the overall design and the flush lever on the side.

Image 5: Back view of the SANIFLO Toilet Tank, showing the manufacturer's label and the connection points for the water supply and toilet bowl. This view is helpful for understanding plumbing connections.

Image 6: The SANIFLO Toilet Tank installed as part of a complete toilet unit in a modern bathroom setting, demonstrating its integration with a toilet bowl and surrounding fixtures.
5. Operation
The SANIFLO toilet tank operates by storing water for flushing and releasing it into the toilet bowl when the flush lever is activated. The internal mechanisms are designed for efficient water usage and reliable performance.
5.1. Flushing
- To flush, press down firmly on the flush lever located on the side of the tank.
- The flush valve will open, allowing water to flow from the tank into the bowl, initiating the flush cycle.
- Once the flush is complete, the flush valve will close, and the fill valve will begin refilling the tank to the appropriate water level.
5.2. Water Level
The tank is designed to refill to a specific water level, indicated by a mark on the overflow tube. This ensures optimal flushing performance and water conservation (1.6 GPF). If the water level is consistently too low or too high, adjustments to the fill valve may be necessary.
6. Maintenance
Regular maintenance helps ensure the longevity and efficient operation of your SANIFLO toilet tank.
6.1. Cleaning
- Exterior Cleaning: Clean the exterior of the vitreous china tank with a soft cloth and mild, non-abrasive cleaner. Avoid harsh chemicals that could damage the finish.
- Interior Cleaning: It is recommended to not use harsh cleaning ingredients or in-tank cleaners. Products containing chlorine can damage the internal components, including the silicone flapper seal and fill valve.
- For internal cleaning, a soft brush and plain water or a mild, non-chlorine-based toilet bowl cleaner (applied directly to the bowl, not the tank) can be used.
6.2. Component Inspection
- Periodically inspect the fill valve and flush valve for wear or damage.
- Check the silicone flapper seal for proper seating and any signs of deterioration. Replace if necessary to prevent leaks.
- Ensure all connections, especially the water supply line, are secure and free of leaks.
7. Troubleshooting
This section addresses common issues you might encounter with your toilet tank. For problems not listed here, or if solutions do not resolve the issue, contact SANIFLO customer support or a qualified plumber.
| Problem | Possible Cause | Solution |
|---|---|---|
| Tank not filling | Water supply turned off; clogged fill valve; faulty fill valve. | Check water supply valve; clean or replace fill valve. |
| Tank continuously runs/leaks | Flapper not sealing properly; fill valve set too high; faulty fill valve. | Inspect/replace flapper; adjust fill valve water level; replace fill valve. |
| Weak flush | Low water level in tank; clogged rim jets in bowl (not tank related, but affects flush). | Adjust fill valve to increase water level; clean bowl rim jets. |
| Condensation on tank exterior | High humidity and cold water in tank. | This tank is insulated to minimize condensation. If it occurs, ensure bathroom ventilation is adequate. |
8. Product Information Video
Video 7: An official SANIFLO video demonstrating the ease of installing a complete bathroom, including a toilet with a SANIFLO tank and macerating pump system. This video illustrates how SANIFLO products can facilitate bathroom additions without extensive floor modifications.
9. Warranty and Support
All SANIFLO products come with a standard 2-year warranty from the date of purchase. An additional 2 years of warranty coverage can be obtained by registering your product, extending the total warranty period to 4 years. This warranty program is designed to provide peace of mind regarding potential issues.
For warranty claims, technical assistance, or further inquiries, please contact SANIFLO customer support through their official website or authorized service centers. Keep your proof of purchase and product registration details handy.
Related documents005


Ask a question about this manual
Ask about setup, troubleshooting, compatibility, parts, safety, or missing instructions. Manuals+ will review the question and use this page’s manual context to help answer it.