1. Introduction
This instruction manual provides essential information for the proper installation and maintenance of your Leviton 84026 2-Gang Standard Size Magnetic Stainless Steel Wallplate. Please read these instructions thoroughly before beginning installation to ensure safe and correct usage.
The Leviton 84026 wallplate is designed for 2-gang flush mount applications, featuring a 2.15-inch diameter device receptacle opening. It is constructed from magnetic stainless steel, offering durability and a smooth finish.
2. Safety Information
WARNING: Risk of Electric Shock. Turn off power at the circuit breaker or fuse box before installation.
- Always ensure power is disconnected before handling electrical components.
- If you are unsure about any part of the installation process, consult a qualified electrician.
- This product is intended for indoor use only.
- Do not install in wet or damp locations.
- Ensure all connections are secure and comply with local electrical codes.
3. Package Contents
Verify that all components are present before beginning installation:
- 1 x Leviton 84026 2-Gang Standard Size Magnetic Stainless Steel Wallplate
- Color-matched metal mounting screws
4. Installation Instructions
- Turn Off Power: Locate the circuit breaker or fuse that controls the power to the outlet or switch where the wallplate will be installed. Turn off the power completely. Verify power is off using a voltage tester.
- Remove Old Wallplate (if applicable): Carefully unscrew and remove the existing wallplate.
- Prepare New Wallplate: The Leviton 84026 wallplate ships with a protective film (blue or clear) to prevent scratches during shipping and handling. This film must be removed prior to installation for optimal appearance.
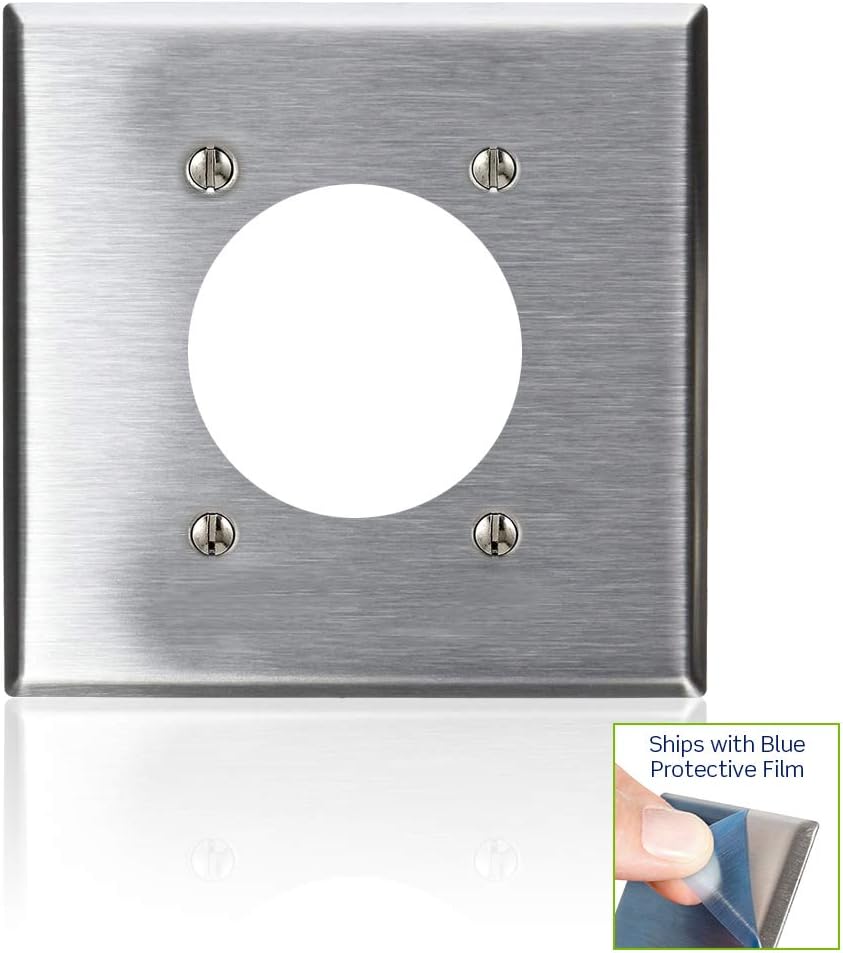
Image: A Leviton 2-Gang Stainless Steel Wallplate with a corner of the blue protective film being peeled off, revealing the brushed stainless steel underneath. This demonstrates the protective film removal process.

Image: A close-up view of a finger carefully peeling the blue protective film from the edge of a stainless steel wallplate, highlighting the smooth finish beneath.
- Position Wallplate: Align the new Leviton 84026 wallplate over the electrical device(s) and the wall box. Ensure the openings on the wallplate match the device configuration.
- Secure Wallplate: Use the provided color-matched metal mounting screws to attach the wallplate to the electrical device(s) and/or wall box. Do not overtighten the screws, as this can damage the wallplate or the device.
- Restore Power: Once the wallplate is securely installed, restore power at the circuit breaker or fuse box.
5. Maintenance
To maintain the appearance and functionality of your Leviton stainless steel wallplate:
- Cleaning: Wipe the wallplate with a soft, damp cloth. For stubborn marks, a mild, non-abrasive cleaner suitable for stainless steel can be used. Avoid harsh chemicals, abrasive pads, or scouring powders, as these can scratch the finish.
- Inspection: Periodically check the wallplate for any signs of damage or loose screws. Tighten screws as needed, but do not overtighten.
6. Troubleshooting
- Wallplate does not fit over device:
- Ensure you have the correct wallplate configuration (e.g., 2-gang, 2.15-inch diameter receptacle opening) for your electrical device. Verify the device is properly seated in the wall box.
- Scratches or dull appearance:
- Confirm that the protective film has been completely removed from the wallplate. If the film was removed, scratches may indicate improper handling or cleaning with abrasive materials. Stainless steel can be polished with appropriate stainless steel cleaners if needed.
- Screws do not tighten:
- Ensure you are using the provided screws and that the screw holes on the electrical device are not stripped. If stripped, the device itself may need replacement.
7. Specifications
| Feature | Detail |
|---|---|
| Model Number | 84026 |
| Material | Magnetic Stainless Steel |
| Configuration | 2-Gang, 2.15-inch Diameter Device Receptacle |
| Size | Standard |
| Product Dimensions (W x H) | 0.07" x 0.14" (Note: These dimensions appear to be for thickness/depth, not width/height of the plate itself. Refer to product packaging for full plate dimensions.) |
| Item Weight | 2.81 ounces |
| Installation Type | Screw-In |
| Finish Type | Smooth |
| Certifications | UL Listed, CSA Certified |
8. Warranty & Support
Warranty Information
This Leviton product is covered by a manufacturer's warranty. For specific details regarding the warranty period and terms, please refer to the documentation included with your purchase or visit the official Leviton website.
Customer Support
For technical assistance, installation questions, or to report any issues with your Leviton product, please contact Leviton Customer Support:
- Website: www.leviton.com
- Refer to the Leviton website for contact phone numbers and email support options specific to your region.


