1. Introduction
The Logitech ClearChat Pro USB Headset is designed to provide clear audio and communication for your computer. Featuring a noise-cancelling microphone and laser-tuned audio drivers, this headset connects via USB for a simple plug-and-play experience. This manual provides instructions for setup, operation, maintenance, and troubleshooting to ensure optimal performance.
2. Setup
2.1 Connecting the Headset
To set up your Logitech ClearChat Pro USB Headset, simply plug the USB connector into an available USB port on your computer. The headset is designed for plug-and-play functionality and should be automatically recognized by most operating systems (Windows, macOS).
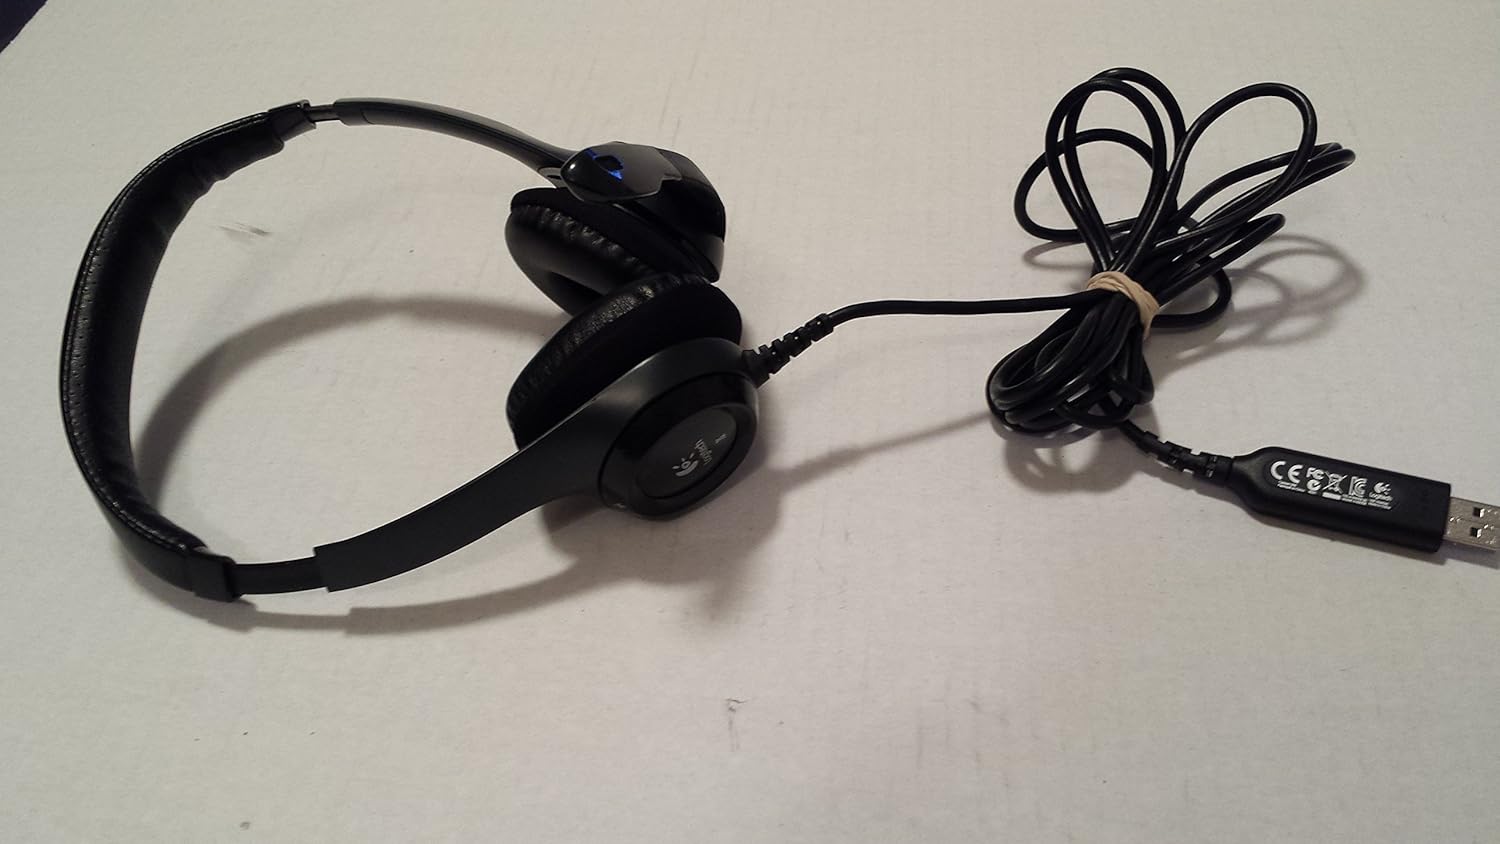
Image: The USB connector of the headset, showing its design and regulatory information. This is the part that plugs into your computer's USB port.
Once connected, your computer's operating system will typically install the necessary drivers automatically. You may need to select the headset as your default audio input and output device in your computer's sound settings.

Image: The complete Logitech ClearChat Pro USB Headset, illustrating its over-ear design and the attached USB cable ready for connection.
3. Operating Instructions
3.1 Adjusting the Headset
The headset features an adjustable headband to ensure a comfortable fit. Gently extend or retract the headband slides until the earcups rest comfortably over your ears. The earcups are designed for an over-ear fit.

Image: A view of the headset from above, showing the padded headband and the adjustable mechanism for a personalized fit.
3.2 Using the Microphone
The headset includes a flexible boom microphone with noise-cancelling technology to reduce background noise for clearer voice transmission. Position the microphone approximately 1-2 inches from your mouth for optimal clarity.
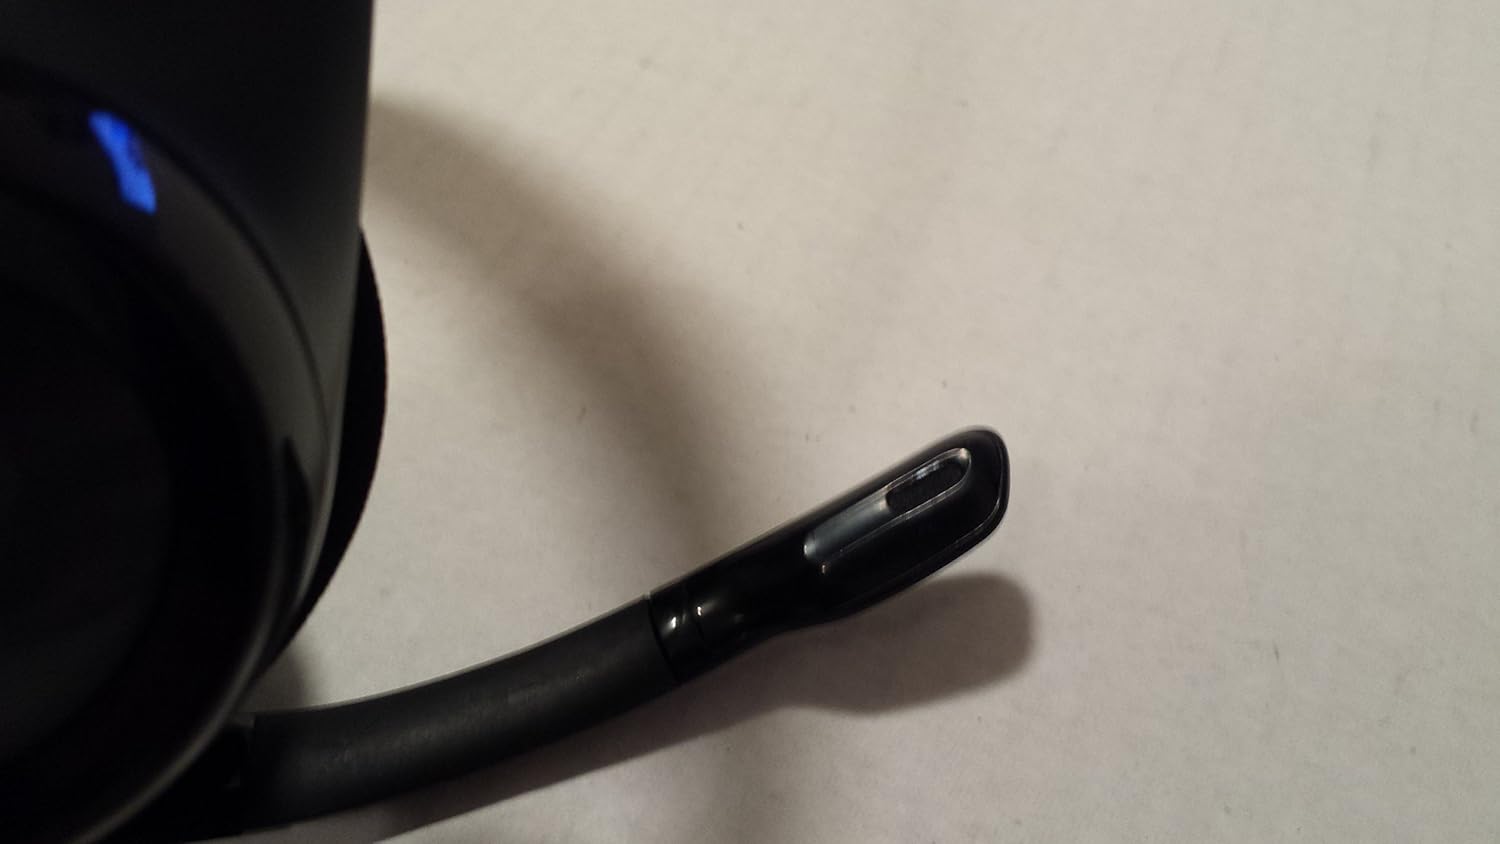
Image: A detailed view of the microphone tip, which can be adjusted for optimal voice capture.
3.3 Mute Function
The microphone features a mute indicator. When the microphone is muted, the indicator light will illuminate. Refer to the inline controls on the headset cable for the mute button.
4. Maintenance
4.1 Cleaning
To clean your headset, use a soft, dry cloth. For earcups, a slightly damp cloth can be used, but ensure no moisture enters the speaker grilles. Do not use harsh chemicals or abrasive cleaners.

Image: A close-up of the headset's earcups, illustrating the soft padding for comfort and highlighting areas that may require cleaning.
4.2 Storage
When not in use, store the headset in a clean, dry place away from extreme temperatures and direct sunlight. Avoid wrapping the cable too tightly to prevent damage.
5. Troubleshooting
5.1 No Sound or Microphone Not Working
- Check USB Connection: Ensure the USB connector is fully inserted into a working USB port on your computer. Try a different USB port.
- Verify System Settings: Go to your computer's sound settings (e.g., Windows Sound Control Panel, macOS Sound Preferences) and confirm that the Logitech ClearChat Pro USB Headset is selected as the default playback and recording device.
- Check Mute Status: Ensure the microphone is not muted. The mute indicator light should be off for the microphone to be active.
- Restart Computer: Sometimes a simple restart can resolve driver or software conflicts.
- Test on Another Computer: If possible, test the headset on another computer to determine if the issue is with the headset or your computer's configuration.
6. Specifications
| Model | ClearChat Pro USB Headset |
| Connectivity | USB (1.1 and 2.0 compatible) |
| Cable Length | 8-foot |
| Headset Frequency Response | 20 Hz - 20 kHz |
| Microphone Frequency Response | 100 Hz - 10 kHz |
| Microphone Input Sensitivity | -62 dBV/bar, -42 dBV/Pa +/- 3 dB |
| Microphone Features | Noise-Cancelling, Flexible Boom |
| Audio Features | Laser-tuned audio drivers, SoundSwitch equalizer |
| Color | Black |
| Ear Placement | Over Ear |
7. Warranty and Support
For detailed warranty information and technical support, please refer to the official Logitech website or contact Logitech customer service. Keep your purchase receipt as proof of purchase for warranty claims.