1. Introduction and Overview
The Definitive Technology ProSub 800 is a high-performance powered subwoofer designed to enhance your audio experience with deep, impactful bass. It features a 300-watt amplifier driving an 8-inch front-mounted direct-radiating woofer, pressure-coupled to an 8-inch Low Bass Radiator. This design provides a net radiating area greater than a single 10-inch woofer, delivering superior speed, pitch definition, and control for both music and movie soundtracks.
This manual provides essential information for setting up, operating, and maintaining your ProSub 800 to ensure optimal performance and longevity.

Figure 1: Front view of the Definitive Technology ProSub 800 Subwoofer with its grille.

Figure 2: Angled view of the Definitive Technology ProSub 800 Subwoofer, showcasing its compact design.
2. Understanding Bass Radiator Technology
The ProSub 800 utilizes Definitive Technology's Bass Radiator technology to achieve powerful and accurate low-frequency reproduction. This system employs an active driver and a passive bass radiator within a sealed enclosure. The air pressure generated by the active driver's movement causes the passive radiator to move, effectively increasing the bass output and efficiency without requiring additional amplifier power or a larger enclosure.
Video 1: An explanation of how Definitive Technology's Bass Radiator technology works to produce enhanced low frequencies.
3. Setup and Installation
3.1 Unpacking
Carefully remove the subwoofer from its packaging. Inspect the unit for any signs of damage. Retain all packaging materials for future transport or service needs.
3.2 Placement
The placement of your subwoofer significantly impacts its performance. Experiment with different locations in your room to find the best balance of bass response and integration with your main speakers. The ProSub 800's design allows for flexible placement without easily revealing its location due to its efficient bass radiation.
- Corner Placement: Often provides the most bass output, but can sometimes sound boomy.
- Front of Room: Placing the subwoofer near your front main speakers can improve integration and soundstage coherence.
- Mid-Wall Placement: Can offer a more balanced bass response.
Ensure the subwoofer is placed on a stable, level surface. The ProSub 800 includes integrated feet with rubber tips for secure placement and height adjustment on uneven floors.
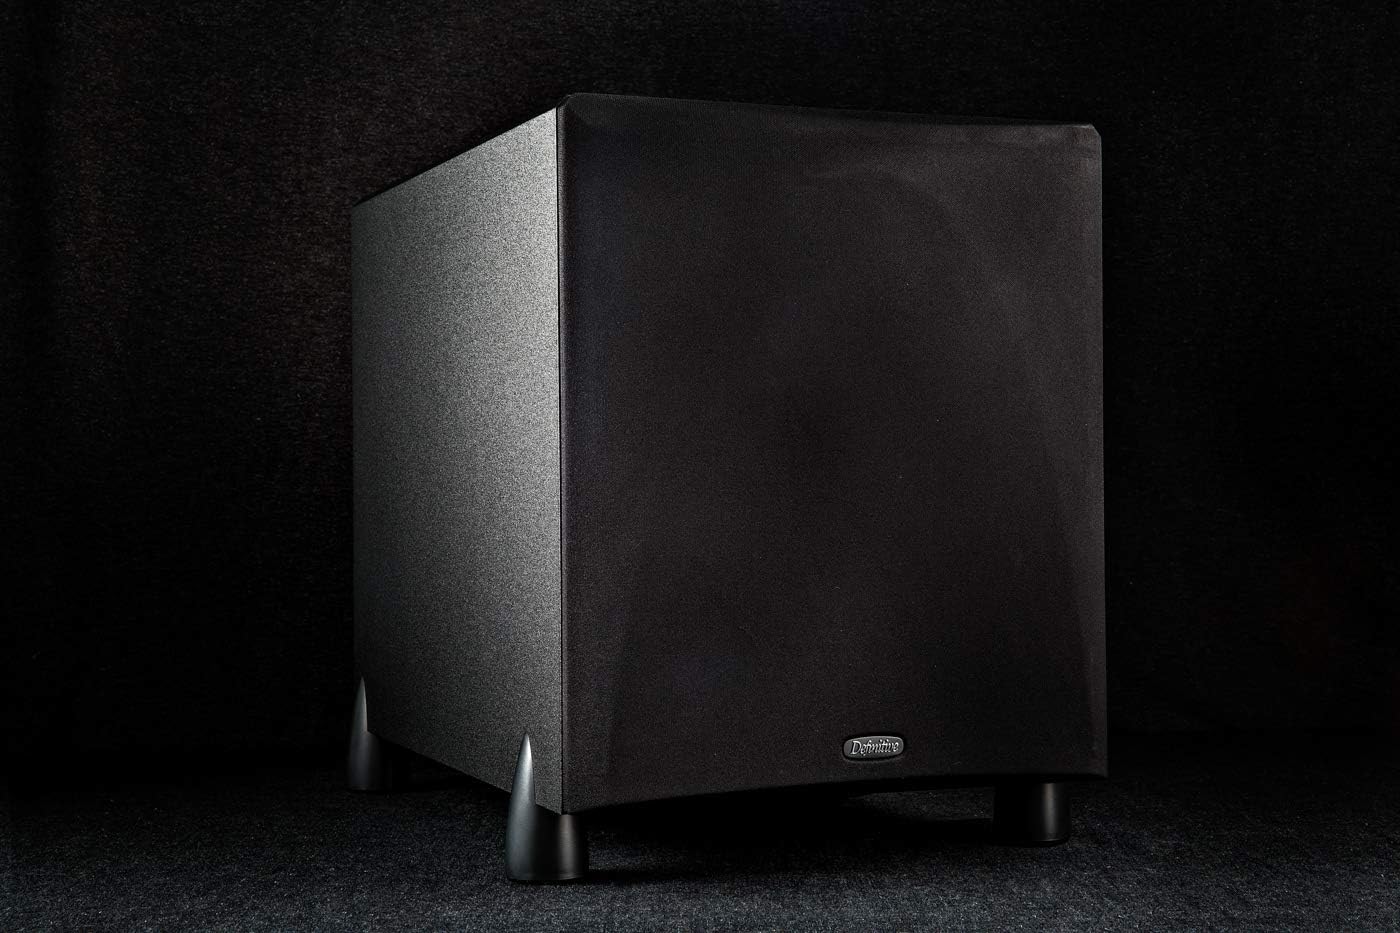
Figure 3: Example placement of the ProSub 800 in a home audio environment.
3.3 Connections
The ProSub 800 offers various connection options for integration with any stereo or multi-channel audio system.
- Low-Level Input (LFE): For receivers or processors with a dedicated subwoofer pre-out (LFE output). Connect a single RCA cable from your receiver's LFE output to the LFE input on the subwoofer. This bypasses the subwoofer's internal low-pass crossover.
- High-Level Inputs/Outputs: For receivers without a dedicated LFE output, or for stereo systems. Connect your main amplifier's speaker outputs to the subwoofer's "High Level In" terminals, and then connect the subwoofer's "High Level Out" terminals to your main speakers.
Ensure all connections are secure before powering on the unit.

Figure 4: Rear panel connections and controls of the ProSub 800.
4. Operating Instructions
4.1 Power On/Off
The ProSub 800 features a signal-sensing auto on/off function. When an audio signal is detected, the subwoofer will automatically power on. After a period of inactivity, it will enter standby mode. Ensure the main power switch (if present) is in the 'On' position for the auto function to work.
4.2 Volume Control
Adjust the subwoofer's volume using the conveniently located side-mounted control knob. Start with a low volume and gradually increase it until the bass blends seamlessly with your main speakers without overpowering them.

Figure 5: The side-mounted volume control for easy access.
4.3 Low Pass Crossover Adjustment
The ProSub 800 includes a continuously adjustable low-pass filter control, ranging from 40 Hz to 150 Hz. This allows you to set the upper frequency limit for the subwoofer, ensuring a smooth transition between the subwoofer and your main speakers. If using the LFE input, this control is bypassed, and the crossover is managed by your receiver or processor.
Adjust the crossover frequency to match the low-frequency capabilities of your main speakers. A good starting point is often around 80 Hz, but fine-tuning may be necessary for optimal sound integration.
5. Maintenance
To ensure the longevity and optimal performance of your ProSub 800, follow these maintenance guidelines:
- Cleaning: Use a soft, dry cloth to clean the cabinet. Avoid abrasive cleaners, solvents, or strong detergents, as these can damage the finish.
- Dusting: Regularly dust the grille and cabinet to prevent dust buildup, which can affect sound quality and component lifespan.
- Placement Environment: Avoid placing the subwoofer in direct sunlight, near heat sources, or in areas with high humidity. Ensure adequate ventilation around the unit.
- Handling: When moving the subwoofer, lift it carefully to avoid dropping or damaging the feet or cabinet.
6. Troubleshooting
If you experience issues with your ProSub 800, consult the following troubleshooting tips:
- No Sound:
- Check if the subwoofer is plugged into a working power outlet and the power switch is on.
- Verify that the audio cables are securely connected to both the subwoofer and your receiver/processor.
- Ensure the volume control on the subwoofer is not set to minimum.
- If using LFE input, check your receiver's settings to ensure the subwoofer output is enabled and volume is adjusted.
- If using high-level inputs, ensure your main amplifier is powered on and sending a signal.
- Distorted or Boomy Bass:
- Reduce the subwoofer's volume.
- Adjust the low-pass crossover frequency. A lower setting might improve clarity.
- Experiment with subwoofer placement. Moving it away from corners or walls can reduce boominess.
- Check for loose connections or damaged cables.
- Subwoofer Does Not Turn On Automatically:
- Ensure the auto on/off feature is enabled (if applicable via a switch, though the description mentions signal sensing).
- Increase the input signal level from your receiver/processor, as the auto-on feature requires a sufficient signal to activate.
If the issue persists after trying these steps, please refer to the Support section for further assistance.
7. Specifications
| Feature | Detail |
|---|---|
| Driver Complement | One high-definition 8" woofer pressure coupled to one 8" low bass radiator |
| Frequency Response | 20 Hz – 150 Hz |
| Internal Amplifier Power | 300 watts |
| Auto On / Off | Signal Sensing |
| Power Requirements | 110 volts Alternating Current (US) |
| High Level Inputs | Two pairs of 5-way binding posts |
| High Level Outputs | Two pairs of 5-way binding posts |
| Low Level Inputs | One LFE input (for SW preout only) |
| High Pass Crossover | Non Variable 6 dB/octave @ 80 Hz (Available only with high level inputs and outputs) |
| Low Pass Crossover | 24 dB/octave, continuously variable from 40 Hz – 150 Hz (Available with high level inputs only) |
| Dimensions (W x D x H) | 10-5/16" W x 15-3/4" D x 12-7/8" H (26.2 x 40.0 x 32.7 cm) |
| Weight | 26 lbs (11.8 kg) |
| Color | Black |
| Model Name | ProSub 800 |
| Manufacturer | Definitive Technology |
8. Warranty Information
The Definitive Technology ProSub 800 comes with the following limited warranty:
- Amplifier: 3 years
- Speaker Components: 5 years
Please retain your proof of purchase for warranty claims. For full warranty terms and conditions, refer to the official product registration card included with your subwoofer or visit the Definitive Technology website.
9. Support
For technical assistance, service, or additional information regarding your Definitive Technology ProSub 800, please contact Definitive Technology customer support. You can find contact details on the official Definitive Technology website or through the documentation provided with your product.
Online Resources: Visit the Definitive Technology Store on Amazon