Intermatic HB35R
Intermatic HB35R Outdoor Electromechanical Timer User Manual
Model: HB35R
Introduction
This manual provides instructions for the safe and efficient operation of your Intermatic HB35R Outdoor Electromechanical Timer. This device is designed to automate the on/off cycles of outdoor electrical appliances, such as lighting, to conserve energy and enhance convenience. Please read this manual thoroughly before installation and use.
Important Safety Information
Failure to follow these safety instructions may result in electric shock, fire, or property damage.
- Read all instructions carefully before installing or operating the timer.
- To avoid shock hazard, the timer must be installed VERTICALLY and at least 3 ft. (0.9 meters) ABOVE ground level.
- Do not exceed the maximum electrical rating of the timer: 10 Amps, 1200 Watts.
- When using with extension cord devices, ensure the combined load does not exceed the timer's 10 Amp rating.
- Always ensure the timer is securely plugged into a properly grounded outdoor electrical outlet.
- This timer is designed for outdoor use and features a rain-tight case. Ensure the cover is properly closed to maintain weather resistance.
- Do not immerse the timer in water or expose it to direct water jets.
Product Features
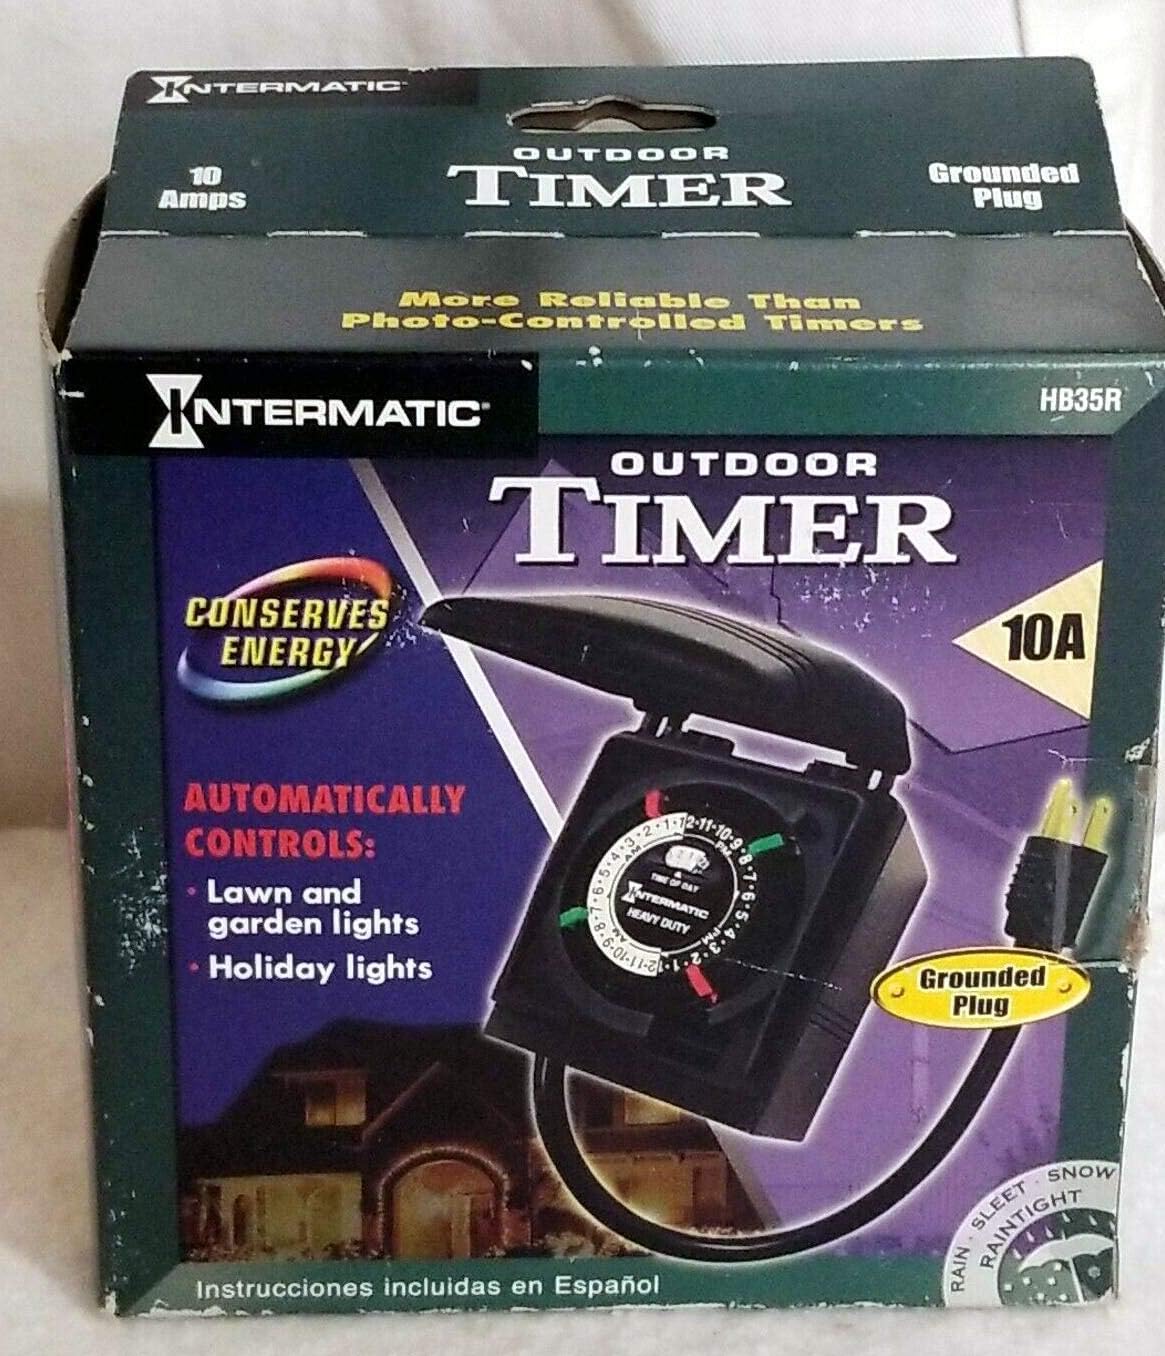
Image: Front view of the Intermatic HB35R Outdoor Electromechanical Timer packaging, showing the timer unit, its grounded plug, and key features like "Conserves Energy" and "Automatically Controls: Lawn and garden lights, Holiday lights."
- Daily Programming: Offers 2 On/Off settings per day for automated control.
- Weather-Resistant Design: Features a weather-proof cover and rain-tight case for outdoor durability.
- Grounded Connection: Includes a grounded cord and receptacle for safety.
- Manual Override: A convenient switch allows for instant ON/OFF control without altering programmed settings.
- Wide Operating Temperature: Functions reliably in temperatures ranging from -40°C to +40°C (-40°F to 104°F).
Setup and Installation
- Unpack the Timer: Carefully remove the HB35R timer from its packaging. Inspect for any visible damage.
- Choose a Location: Select an appropriate outdoor location for the timer. It is crucial that the timer is installed vertically and at least 3 feet (0.9 meters) above ground level to ensure proper water drainage and electrical safety.
- Plug In the Timer: Insert the timer's grounded plug into a suitable outdoor grounded electrical outlet. Ensure the outlet is protected from direct weather exposure if possible, even though the timer is rain-tight.
- Connect Your Device: Plug the appliance or lighting fixture you wish to control into the timer's receptacle. Verify that the total wattage of the connected device(s) does not exceed 1200 Watts (10 Amps).
Operating Instructions
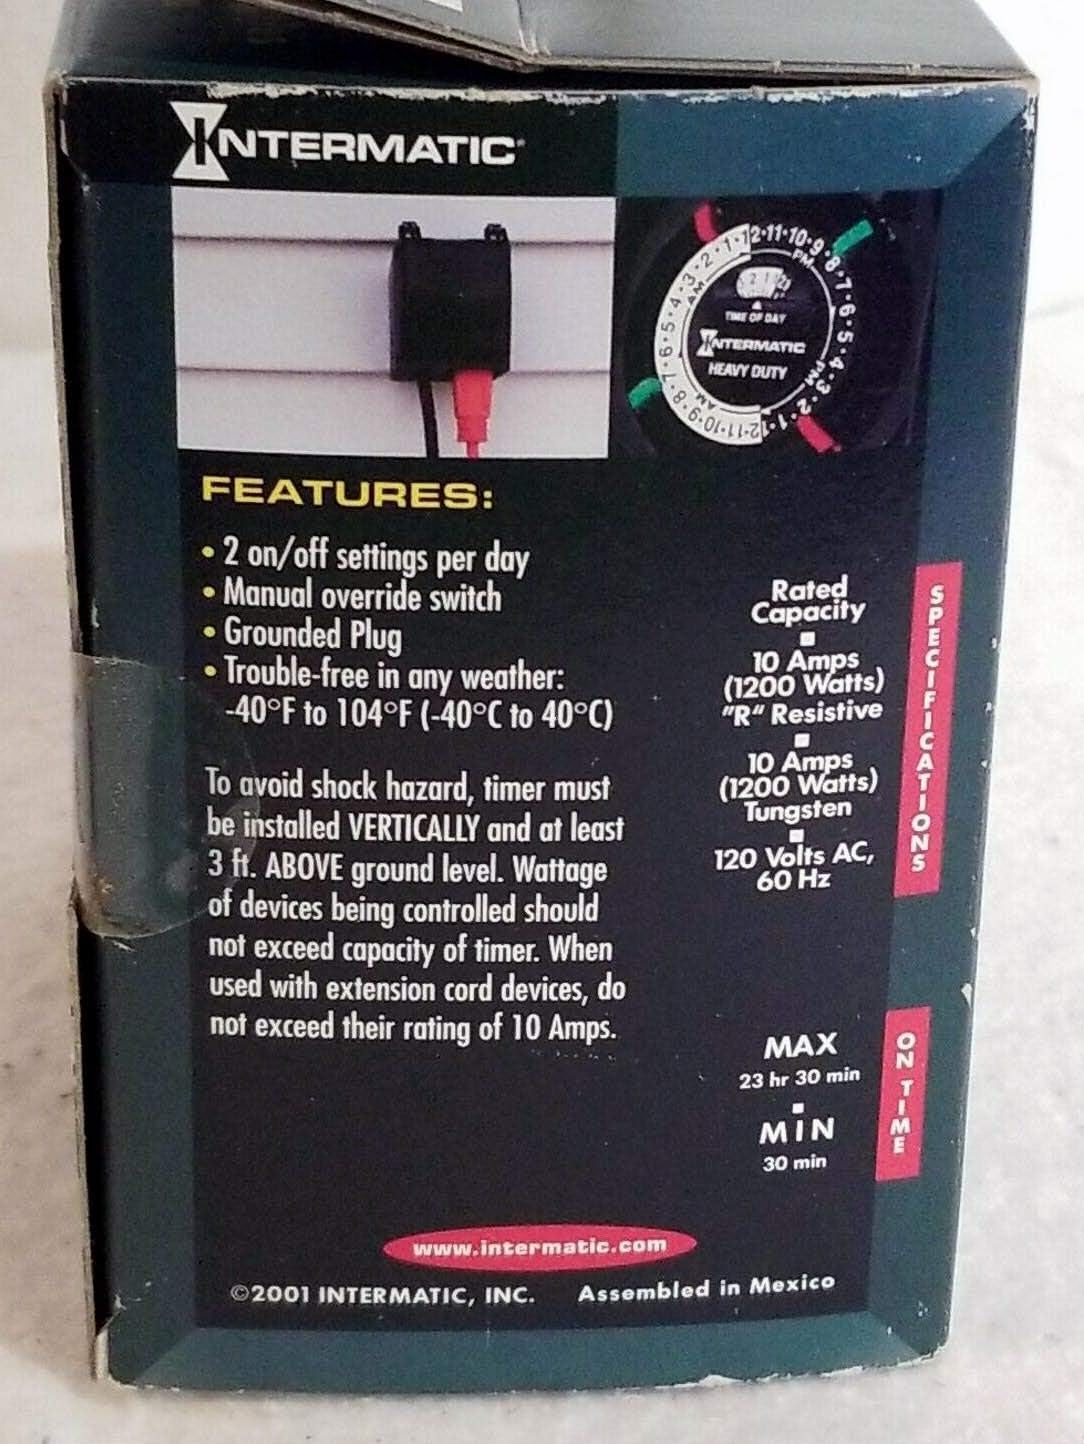
Image: Back view of the Intermatic HB35R Outdoor Electromechanical Timer packaging, detailing features like "2 on/off settings per day" and "Manual override switch," along with electrical specifications.
- Set Current Time: Gently rotate the timer's dial clockwise until the current time of day aligns with the "TIME OF DAY" arrow located at the top of the dial. The dial represents a 24-hour cycle (e.g., 12 is noon, 24 is midnight).
- Set ON/OFF Times: The timer includes small, colored trippers (pins) around the edge of the dial. Typically, green trippers are for "ON" times and red trippers are for "OFF" times. The HB35R supports up to two ON/OFF cycles per day.
- To set an "ON" time, push an "ON" tripper into the dial at the desired start time.
- To set an "OFF" time, push an "OFF" tripper into the dial at the desired end time.
- Manual Override: The timer is equipped with a manual override switch. This switch allows you to instantly turn the connected device ON or OFF, bypassing the programmed schedule without affecting the set ON/OFF times on the dial. Simply toggle the switch to the desired position. The timer will resume its programmed schedule at the next set ON or OFF time.
Maintenance
- Periodically inspect the timer, its power cord, and the plug for any signs of damage, fraying, or wear. Replace if damaged.
- Keep the timer clean by wiping its exterior with a soft, damp cloth. Do not use harsh chemicals or abrasive cleaners.
- Ensure the weather-proof cover is always properly closed when the timer is not being adjusted to maintain its rain-tight integrity.
- During periods of non-use, store the timer in a dry, protected area.
Troubleshooting
- Device not turning ON/OFF as programmed:
- Check if the timer is securely plugged into a live, functioning outdoor outlet.
- Verify that the connected device is working correctly by plugging it directly into an outlet.
- Ensure the ON/OFF trippers are correctly positioned and firmly engaged on the timer dial.
- Check the position of the manual override switch. It should be in the 'Auto' position for programmed operation.
- Confirm the current time is accurately set on the dial.
- Timer losing time or running inaccurately:
- Ensure the timer is receiving continuous power. Power interruptions can cause the electromechanical timer to lose accurate timekeeping.
- If frequent power outages occur, consider resetting the current time after each outage.
- Trippers are difficult to move or missing:
- Handle trippers gently. If a tripper is lost or damaged, contact Intermatic customer support for replacement parts. Do not attempt to force or modify trippers.
Specifications
| Feature | Detail |
|---|---|
| Model | HB35R |
| Electrical Rating (Tungsten/Incandescent) | 10 Amps, 1200 Watts |
| Electrical Rating (Resistive) | 10 Amps, 1200 Watts |
| Voltage | 120 Volts AC, 60 Hz |
| On/Off Settings | 2 per day |
| Operating Temperature | -40°C to +40°C (-40°F to 104°F) |
| Material | Plastic |
| Item Weight | 9.6 ounces |
| Manufacturer | INTERMATIC INC |
Warranty and Support
For detailed warranty information, technical assistance, or to purchase replacement parts, please visit the official Intermatic website or contact their customer service department. It is recommended to keep your purchase receipt as proof of purchase for any warranty claims.
Intermatic Official Website: www.intermatic.com
Ask a question about this manual
Ask about setup, troubleshooting, compatibility, parts, safety, or missing instructions. Manuals+ will review the question and use this page’s manual context to help answer it.