Introduction
This manual provides detailed instructions for the setup, operation, maintenance, and troubleshooting of your Sony Dream Machine Clock Radio Model ICF-C218. Please read this manual thoroughly before using the product to ensure proper function and longevity.
Product Features
- Automatic time setting and calendar adjustment.
- Automatic Daylight Saving Time / Summer Time adjustment.
- Battery backup system to maintain correct time during power outages.
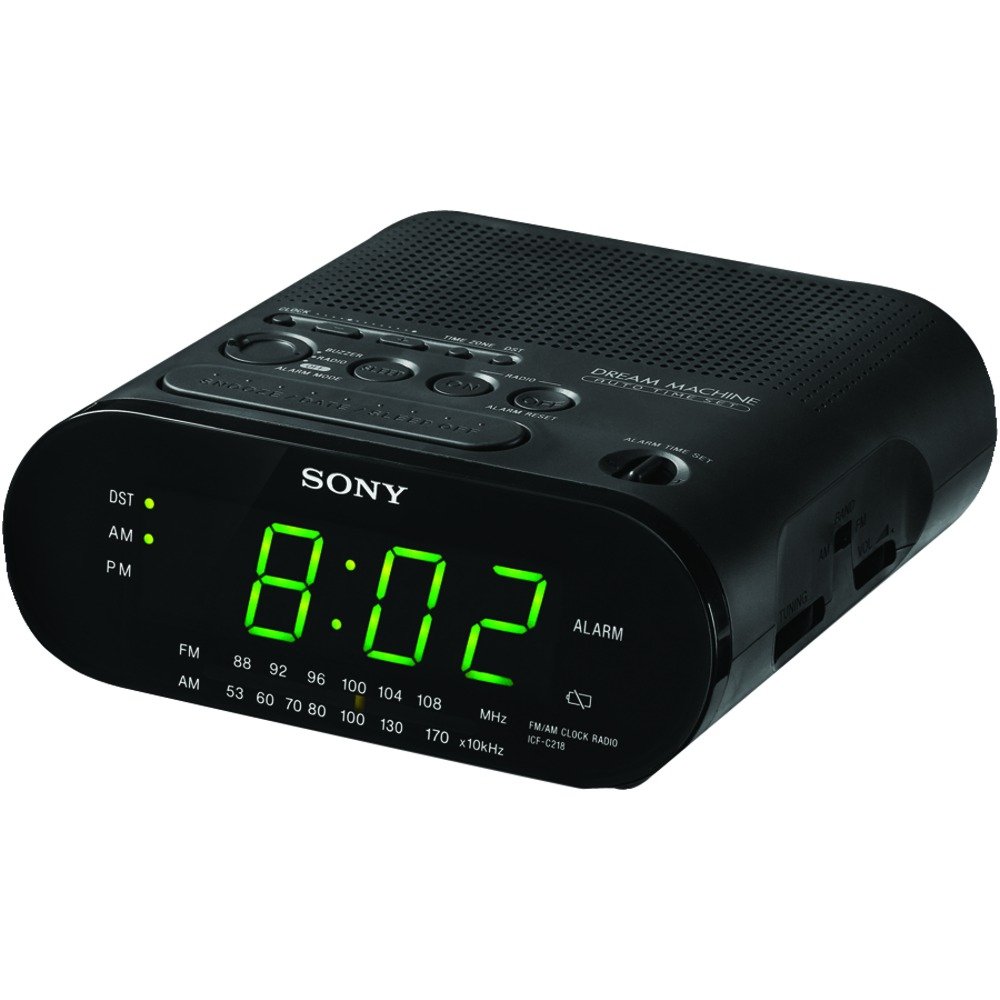
- Clear 0.9-inch green LED display for easy readability.
- Easy-to-use alarm setting with an extendable snooze function.
- Integrated AM/FM radio.
Setup
Unpacking and Initial Inspection
Carefully remove the clock radio from its packaging. Inspect the unit for any signs of damage. If any damage is found, do not use the product and contact your retailer.
Power Connection
Connect the AC power cord to a standard wall outlet. The unit is designed to operate on AC power. For backup during power interruptions, install one CR2 battery (not included) in the battery compartment located on the bottom of the unit. This battery preserves the time and alarm settings.
Automatic Time Setting
Upon initial connection to AC power, the clock radio will attempt to set the time automatically. Ensure the unit is placed in an area with good reception for this feature to function correctly. You may need to manually adjust the time zone.
Daylight Saving Time (DST) Adjustment
The unit is equipped with an automatic Daylight Saving Time adjustment feature. This will automatically adjust the time forward or backward by one hour as required by your region's DST schedule. If your region does not observe DST, you may need to disable this feature or manually adjust the time twice a year.
Operating Instructions
Setting the Current Time
- Press and hold the TIME SET button. The time display will begin to flash.
- While holding TIME SET, press the HOUR button to adjust the hour. Observe the AM/PM indicator.
- While holding TIME SET, press the MINUTE button to adjust the minutes.
- Release the TIME SET button to confirm the setting.
Setting the Alarm
- Press and hold the ALARM SET button. The alarm time display will begin to flash.
- While holding ALARM SET, press the HOUR button to adjust the alarm hour.
- While holding ALARM SET, press the MINUTE button to adjust the alarm minutes.
- Release the ALARM SET button to confirm the alarm setting.
- Select your desired alarm mode (Buzzer or Radio) using the ALARM MODE switch.
Snooze Function
When the alarm sounds, press the large SNOOZE / DATE / SLEEP OFF button to temporarily silence the alarm for approximately 10 minutes. The alarm will sound again after the snooze period. To cancel the snooze and turn off the alarm for the day, press the ALARM RESET button.
Radio Operation
- To turn on the radio, press the RADIO ON button.
- Select the desired band (AM or FM) using the BAND switch.
- Tune to your desired station using the TUNING dial located on the side of the unit.
- Adjust the volume using the VOLUME dial.
- To turn off the radio, press the RADIO OFF button.
Maintenance
Cleaning the Unit
Wipe the exterior of the clock radio with a soft, dry cloth. Do not use abrasive cleaners or solvents, as they may damage the finish. Avoid spraying liquids directly onto the unit.
Battery Replacement
The battery backup requires one CR2 battery. If the time display flashes or the time is incorrect after a power outage, the battery may need to be replaced. To replace the battery, open the battery compartment cover on the bottom of the unit, remove the old battery, and insert a new CR2 battery, observing the correct polarity. Close the compartment cover securely.
Troubleshooting
| Problem | Solution |
|---|---|
| Clock display is blank or incorrect. | Ensure the AC power cord is securely plugged into a working outlet. Check the battery backup; replace the CR2 battery if it is old or depleted. |
| Alarm does not sound. | Verify that the alarm time is set correctly and the ALARM MODE switch is set to either BUZZER or RADIO. Ensure the radio volume is not set to minimum if using the radio alarm. |
| Poor radio reception. | Adjust the position of the unit to improve reception. For FM, extend the wire antenna fully. For AM, rotate the unit for best reception. Avoid placing near electronic devices that may cause interference. |
| Time is incorrect after Daylight Saving Time. | The unit has an automatic DST adjustment. If your region does not observe DST, you may need to manually adjust the time or check the DST setting if available. |
Specifications
| Feature | Detail |
|---|---|
| Brand | Sony |
| Model Number | ICF-C218 |
| Display Type | Digital LED (Green, 0.9-inch) |
| Power Source | AC Power |
| Battery Backup | 1 CR2 battery (not included) |
| Product Dimensions | Approx. 6.1"W x 6"D x 2.54"H |
| Item Weight | 1.09 Pounds |
| Special Features | Alarm, Built-in Clock, Automatic DST |
Warranty and Support
Warranty information for the Sony Dream Machine Clock Radio Model ICF-C218 is not provided within this manual. For details regarding warranty coverage, technical support, or service, please refer to the documentation included with your purchase or visit the official Sony support website.
Please note the legal disclaimer from the product information: All sales are final, no returns.


