1. Introduction
This manual provides essential instructions for the safe and efficient operation of your BLACK+DECKER B2250 All-In-One Automatic Breadmaker. This appliance is designed to bake 1-1/2 to 2-pound loaves of bread by automatically controlling temperature, kneading, and baking times. Please read all instructions thoroughly before first use and retain this manual for future reference.
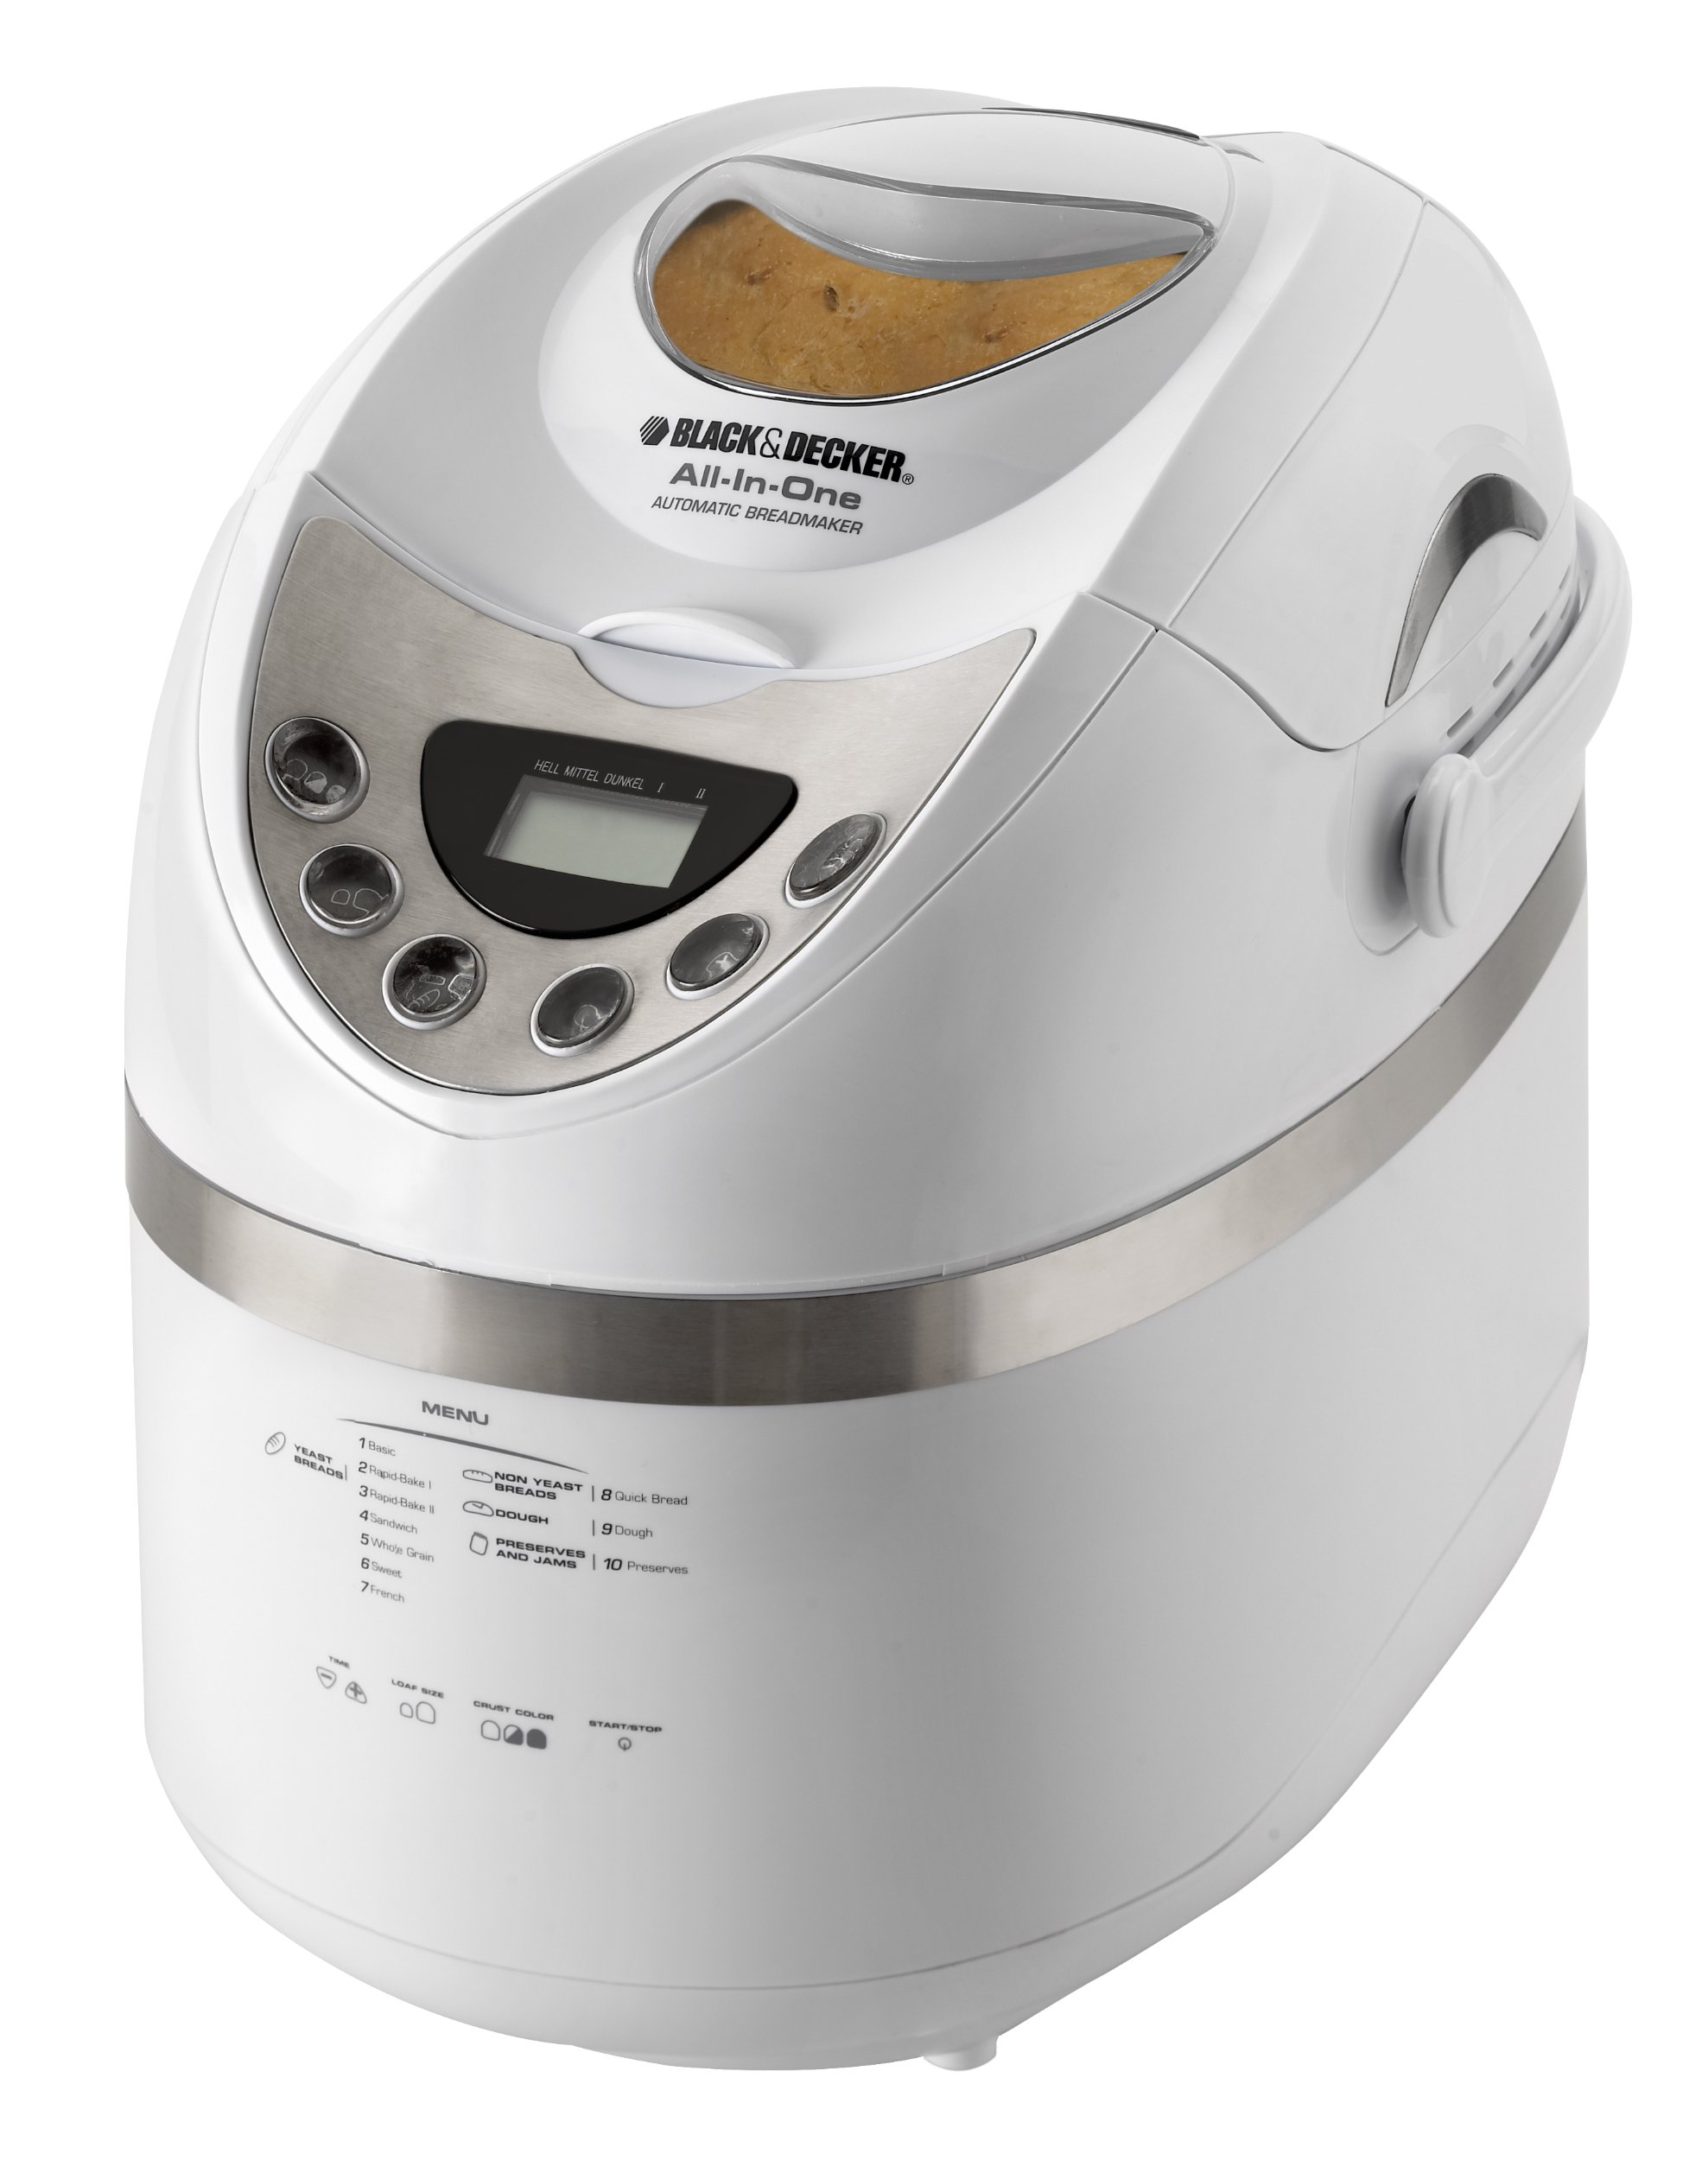
Image of the Black & Decker B2250 Automatic Breadmaker, showing its white exterior, control panel, and viewing window.
2. Important Safety Instructions
When using electrical appliances, basic safety precautions should always be followed to reduce the risk of fire, electric shock, and/or injury to persons, including the following:
- Read all instructions.
- Do not touch hot surfaces. Use handles or knobs.
- To protect against electric shock, do not immerse cord, plugs, or appliance in water or other liquid.
- Close supervision is necessary when any appliance is used by or near children.
- Unplug from outlet when not in use and before cleaning. Allow to cool before putting on or taking off parts.
- Do not operate any appliance with a damaged cord or plug or after the appliance malfunctions or has been damaged in any manner.
- The use of accessory attachments not recommended by the appliance manufacturer may cause injuries.
- Do not use outdoors.
- Do not let cord hang over edge of table or counter, or touch hot surfaces.
- Do not place on or near a hot gas or electric burner, or in a heated oven.
- Extreme caution must be used when moving an appliance containing hot oil or other hot liquids.
- To disconnect, turn any control to “off,” then remove plug from wall outlet.
- Do not use appliance for other than intended use.
3. Product Components
The BLACK+DECKER B2250 Automatic Breadmaker includes the following main components and accessories:
- Main Unit: Features a cool-touch housing and a viewing window to monitor the baking process.
- Control Panel: User-friendly interface with a digital display for program selection and settings.
- Nonstick Baking Pan: Removable pan for easy bread removal and cleaning.
- Kneading Paddle: Detachable paddle for mixing ingredients.
- Measuring Cup: For accurate liquid measurements.
- Measuring Spoon: For accurate dry ingredient measurements.
4. Setup
- Unpacking: Carefully remove the breadmaker and all accessories from the packaging. Retain packaging for storage or shipping if needed.
- Initial Cleaning: Before first use, wash the nonstick baking pan, kneading paddle, measuring cup, and measuring spoon in warm, soapy water. Rinse thoroughly and dry completely. Wipe the exterior of the breadmaker with a damp cloth.
- Placement: Place the breadmaker on a stable, flat, heat-resistant surface, away from direct sunlight and heat sources. Ensure adequate ventilation around the appliance.
- Power Connection: Plug the power cord into a grounded electrical outlet. The digital display will illuminate.
5. Operating Instructions
Follow these steps for baking bread with your automatic breadmaker:
- Insert Kneading Paddle: Place the kneading paddle onto the shaft inside the baking pan.
- Add Ingredients: Add ingredients to the baking pan in the order specified by your recipe (typically liquids first, then dry ingredients, with yeast last). Ensure all ingredients are at room temperature.
- Place Baking Pan: Insert the baking pan into the breadmaker, ensuring it is securely locked in place. Close the lid.
- Select Program: Use the control panel to select one of the 10 available menu items (e.g., Basic, French, Whole Wheat). Refer to your recipe book for recommended programs.
- Choose Loaf Size and Crust Shade: Select the desired loaf size (1-1/2 or 2 pounds) and crust shade (light, medium, dark) using the respective buttons on the control panel.
- Set Delay Timer (Optional): If you wish to delay the start of the baking process, use the delay timer function. The breadmaker can be programmed up to 13 hours in advance.
- Start Baking: Press the START/STOP button to begin the selected program. The breadmaker will automatically proceed through kneading, rising, and baking cycles.
- Keep Warm Function: After baking is complete, the breadmaker will automatically switch to a 60-minute keep warm cycle.
- Remove Bread: Once the cycle is complete, unplug the breadmaker. Using oven mitts, carefully remove the hot baking pan. Invert the pan to release the bread onto a wire rack to cool. Remove the kneading paddle from the loaf if it remains embedded.
6. Care and Maintenance
Proper care ensures the longevity and performance of your breadmaker.
- Cleaning the Baking Pan and Paddle: After each use, allow the pan and paddle to cool. Fill the pan with warm, soapy water and let it soak for 10-15 minutes to loosen any stuck-on dough. Wash with a soft sponge and rinse thoroughly. Do not use abrasive cleaners or metal utensils, as these can damage the nonstick coating.
- Cleaning the Exterior: Wipe the exterior of the breadmaker with a dry cloth. For stubborn stains, use a slightly damp cloth, then dry immediately. Do not immerse the breadmaker in water or any other liquid.
- Cleaning the Viewing Window: Wipe the viewing window with a soft, damp cloth.
- Storage: Ensure the breadmaker is clean and dry before storing. Store in a cool, dry place.
7. Troubleshooting
If you encounter issues with your breadmaker, refer to the following common solutions:
| Problem | Possible Cause | Solution |
|---|---|---|
| Bread does not rise | Expired yeast, incorrect water temperature, too much salt/sugar. | Check yeast expiration, use lukewarm water (105-115°F), ensure correct ingredient measurements. |
| Dense or heavy bread | Too much flour, not enough liquid, old yeast. | Measure ingredients precisely, ensure fresh yeast. |
| Bread sticks to pan | Pan not properly greased (if recipe requires), damaged nonstick coating. | Ensure pan is clean and undamaged. Allow bread to cool slightly before removing. |
| Loud noise during operation | Kneading paddle not properly seated, breadmaker on an uneven surface. | Ensure paddle is securely attached. Place breadmaker on a stable, flat surface. |
8. Specifications
- Model Number: B2250
- Brand: BLACK+DECKER
- Capacity: 1-1/2 to 2 Pounds
- Material: Plastic
- Color: White
- Product Dimensions: 18.58 x 12.36 x 14.8 inches
- Item Weight: 15.4 pounds
- UPC: 050875530515
- Features: 10 Menu Items, 3 Crust Shades, 13-hour Delay Timer, 60-minute Keep Warm, Viewing Window, Cool-Touch Housing
- Product Care Instructions: Wipe with Dry Cloth
9. Warranty and Support
For warranty information and customer support, please refer to the warranty card included with your product or visit the official BLACK+DECKER website. You may also contact their customer service directly for assistance with product operation, parts, or service.


