1. Introduction
This manual provides essential information for the safe installation, operation, and maintenance of your Richmond 6EP20-1 Electric Water Heater. Please read all instructions carefully before beginning installation or use. Retain this manual for future reference.
2. Safety Information
WARNING: Improper installation, adjustment, alteration, service, or maintenance can cause property damage, injury, or death. Refer to this manual. For assistance or additional information, consult a qualified installer, service agency, or the manufacturer.
- Electrical Hazard: Ensure the power supply is disconnected before performing any service or maintenance. Installation must comply with all local electrical codes.
- Scalding Hazard: Water temperatures over 125°F (52°C) can cause severe burns instantly or death from scalds. Exercise caution when using hot water.
- Water Pressure: Install a temperature and pressure (T&P) relief valve as required by local codes. Do not block or plug the T&P valve.
- Professional Installation: It is highly recommended that this water heater be installed by a qualified plumber and electrician.
3. Product Overview
The Richmond 6EP20-1 is a 20-gallon electric water heater designed for efficient hot water delivery. Its compact, space-saving design makes it suitable for various installation locations.
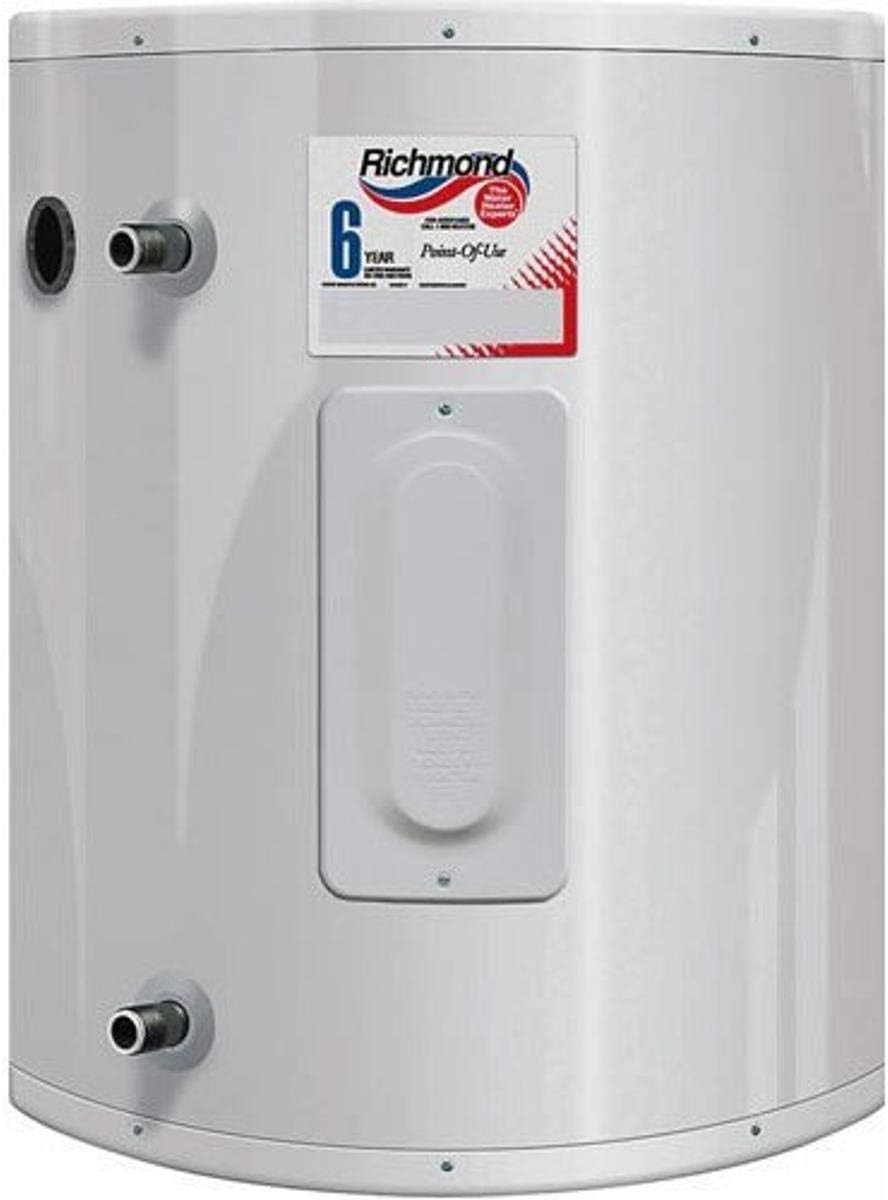
This image displays the Richmond 6EP20-1 Electric Water Heater. It is a compact, white cylindrical unit designed for point-of-use applications. Visible features include the Richmond brand logo, a '6 Year Point-Of-Use' warranty label, and the water inlet and outlet ports on the side of the tank. An access panel for electrical components is also visible.
4. Specifications
| Feature | Specification |
|---|---|
| Brand | Richmond |
| Model Number | 6EP20-1 |
| Tank Capacity | 20 Gallons |
| Wattage | 2000 Watts |
| Voltage | 120 Volts |
| Dimensions (L x W x H) | 23.3" x 21.3" x 28" |
| Item Weight | 69 pounds |
| Mounting Type | Wall |
| Special Feature | Space Saving Design |
| Country of Origin | United States |
5. Installation (Setup)
Installation of this electric water heater requires knowledge of plumbing and electrical systems. It is strongly recommended that installation be performed by a qualified professional.
5.1. Location Selection
- Choose a location as close as possible to the area of highest hot water demand to minimize heat loss.
- Ensure the location provides adequate space for maintenance and service.
- The floor or mounting surface must be capable of supporting the weight of the water heater when full.
- Install in an area where leakage will not result in damage to the adjacent area or to the lower floors of the structure. A drain pan is recommended.
5.2. Plumbing Connections
- Connect the cold water inlet to the dip tube connection (typically marked blue or 'C').
- Connect the hot water outlet to the hot water supply line (typically marked red or 'H').
- Install a temperature and pressure (T&P) relief valve in the designated opening. Route the discharge pipe from the T&P valve to an open drain.
- Flush the tank thoroughly before connecting the power supply to remove any sediment and ensure the tank is full of water.
5.3. Electrical Connections
- Ensure the power supply matches the water heater's requirements (120 Vac, 2000 W).
- Connect the water heater to a dedicated circuit with appropriate overcurrent protection as per local electrical codes.
- All wiring must be properly grounded.
- Access the electrical junction box (behind the removable panel) to make connections.
6. Operation
Once installed and filled with water, your Richmond 6EP20-1 Electric Water Heater is ready for operation.
6.1. Initial Startup
- Ensure the tank is completely filled with water before turning on the power. Open a hot water faucet in your home until water flows steadily, indicating the tank is full and air has been purged.
- Restore electrical power to the water heater at the circuit breaker.
- Allow approximately 30-60 minutes for the water to heat to the factory preset temperature.
6.2. Temperature Adjustment
The water heater's thermostat is typically located behind the access panel. To adjust the temperature:
- WARNING: Disconnect power to the water heater at the circuit breaker before removing the access panel.
- Carefully remove the access panel.
- Adjust the thermostat dial to your desired temperature. A setting of 120°F (49°C) is generally recommended for safety and energy efficiency.
- Replace the access panel and restore power.
7. Maintenance
Regular maintenance helps ensure the longevity and efficient operation of your water heater.
7.1. Drain and Flush Tank (Annually)
- Turn off the power supply to the water heater.
- Close the cold water inlet valve.
- Open a hot water faucet in your home to relieve pressure.
- Connect a hose to the drain valve at the bottom of the tank and route it to a suitable drain.
- Open the drain valve and allow the tank to empty. Flush until water runs clear.
- Close the drain valve, remove the hose, and refill the tank before restoring power.
7.2. Test T&P Relief Valve (Annually)
- Lift the lever on the T&P relief valve to allow water to discharge for a few seconds.
- Release the lever. Water should stop flowing. If it continues to flow, the valve may be faulty and needs replacement.
- WARNING: Stand clear of the discharge outlet to avoid contact with hot water.
7.3. Anode Rod Inspection (Every 3-5 Years)
The anode rod protects the tank from corrosion. It should be inspected periodically and replaced if significantly depleted. This procedure is best performed by a qualified service technician.
8. Troubleshooting
This section provides solutions to common issues you might encounter.
| Problem | Possible Cause | Solution |
|---|---|---|
| No hot water | No power to heater; tripped circuit breaker; faulty thermostat or heating element. | Check circuit breaker; ensure power is on. If problem persists, contact a qualified electrician. |
| Not enough hot water | Thermostat set too low; excessive hot water usage; faulty heating element. | Adjust thermostat to a higher setting (see Section 6.2); reduce hot water demand; contact a qualified technician for element inspection. |
| Water leaking from tank | Loose plumbing connections; faulty T&P valve; tank corrosion. | Tighten connections; inspect T&P valve (see Section 7.2); if tank corrosion, replacement may be necessary. Contact a professional. |
| Water has unusual odor | Bacterial growth in tank (often due to anode rod reaction). | Drain and flush tank thoroughly (see Section 7.1). Consider replacing the anode rod with a different type (e.g., zinc). |
9. Warranty and Support
The Richmond 6EP20-1 Electric Water Heater comes with a 6-year limited warranty on the tank and parts. Please refer to the warranty document included with your purchase for full terms and conditions.
For technical support, service, or warranty claims, please contact Richmond customer service. Have your model number (6EP20-1) and date of purchase available when contacting support.


