1. Introduction
This manual provides instructions for the safe and effective use of the Midtronics PBT-200 12V Advanced Automotive Battery and Electrical System Tester. The PBT-200 is designed to accurately assess the condition of 12-volt automotive batteries and evaluate the vehicle's cranking and charging systems. It utilizes conductance technology for fast, accurate, and safe testing.
Key features include:
- Accurate battery test decisions in seconds.
- Displays available power in Cold Cranking Amps (CCA).
- Capable of detecting bad cells.
- Tests discharged batteries.
- High/low voltage capture.
- Voltmeter mode for testing both the starter and the charging system.
2. Safety Information
Always read and understand all safety warnings and instructions before using this product.
- Eye Protection: Always wear ANSI-approved eye protection when working near automotive batteries.
- Ventilation: Ensure adequate ventilation when working with batteries, as they can produce explosive gases.
- Avoid Sparks: Do not create sparks or allow flames near the battery.
- Proper Connection: Connect the tester clamps correctly to avoid reverse polarity. The PBT-200 includes reverse polarity protection.
- Cleanliness: Keep the tester clean and dry. Do not immerse in water.
- Children: Keep the device out of reach of children.
3. Product Overview

Figure 3.1: Midtronics PBT-200 Battery Diagnostic Tool
The Midtronics PBT-200 is a handheld device featuring a digital display and intuitive controls. It is equipped with heavy-duty red and black clamps for secure connection to battery terminals.
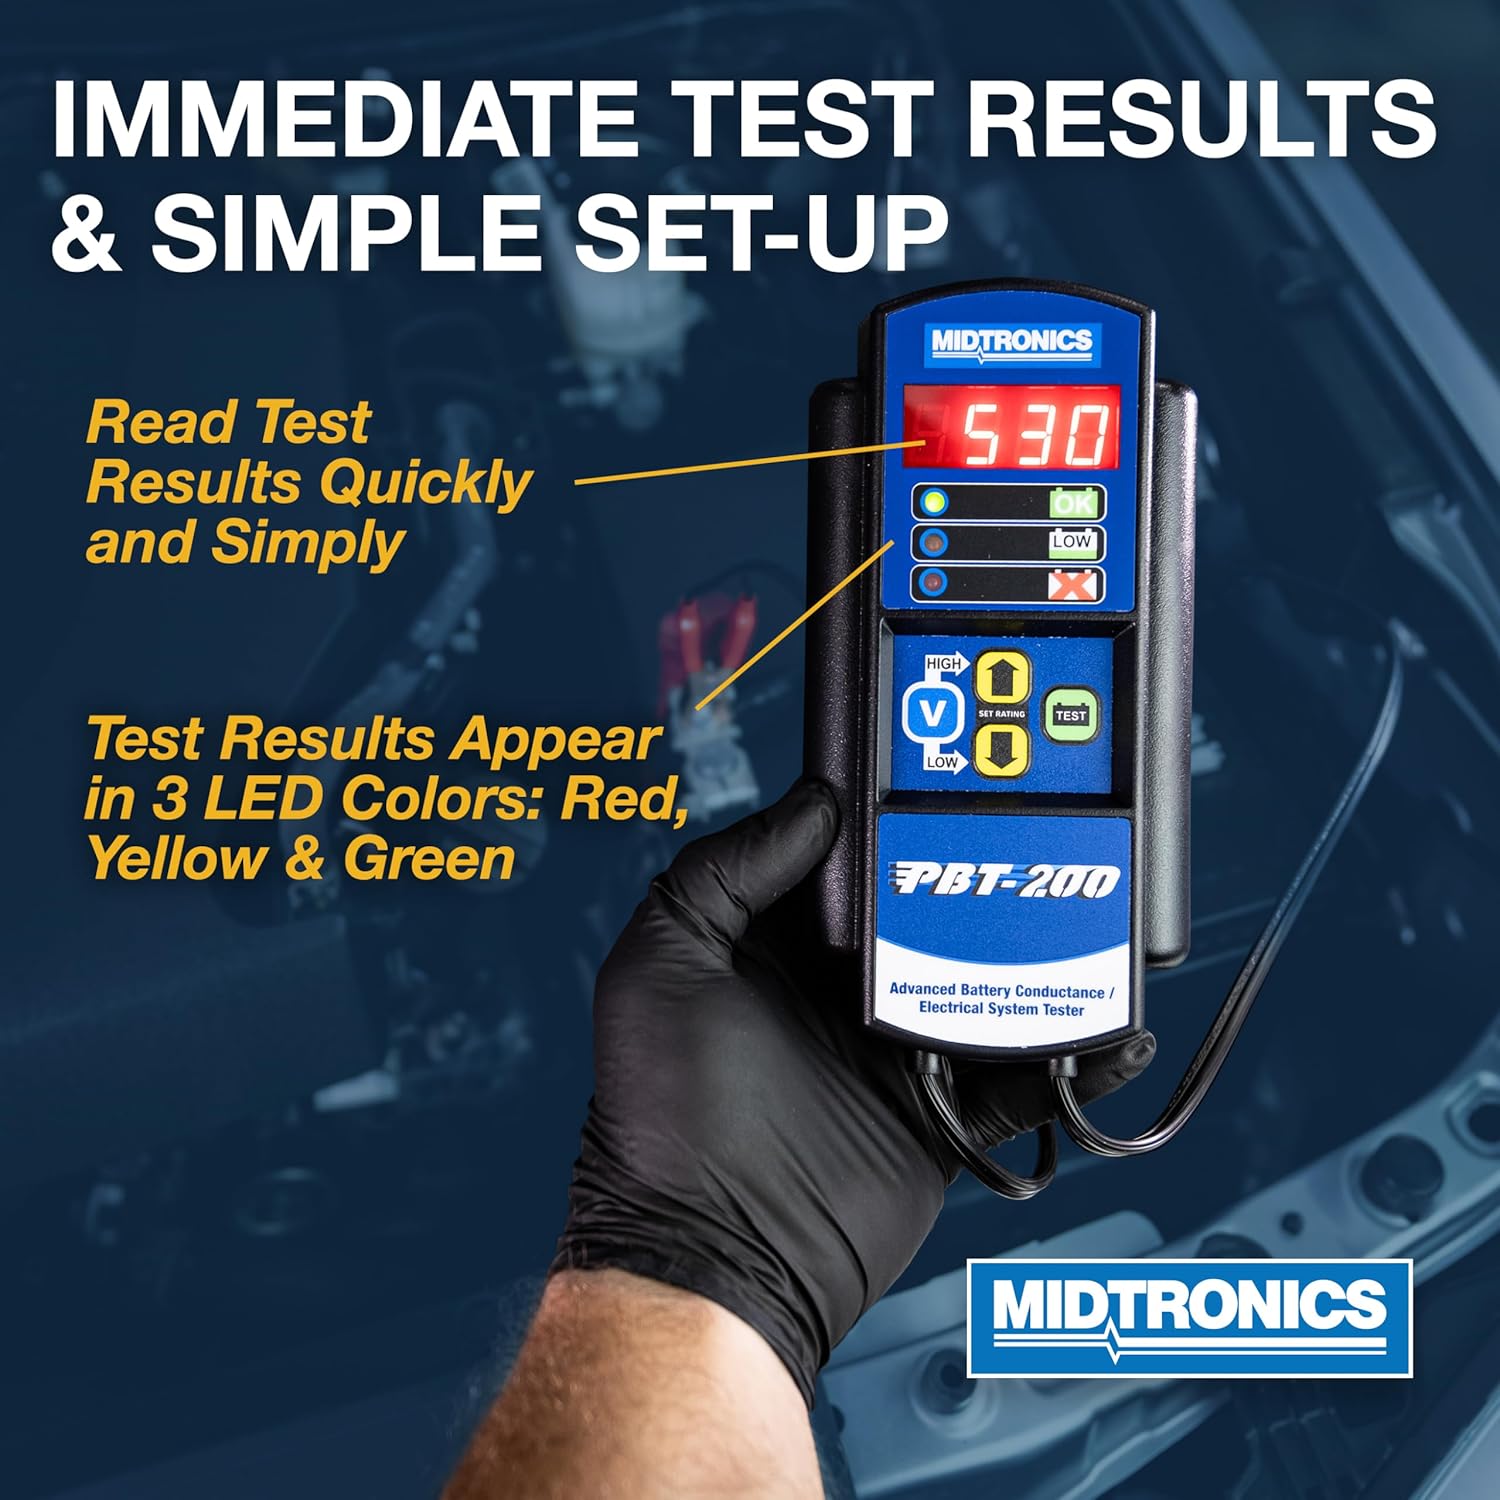
Figure 3.2: PBT-200 Displaying Test Results
The device provides immediate test results via its digital display and a series of LED indicators (Green for OK, Yellow for Low, Red for Bad Cell/Replace). Control buttons allow for setting the battery rating and initiating tests.
4. Setup
- Prepare the Battery: Ensure the battery terminals are clean and free of corrosion for optimal contact.
- Connect Clamps: Attach the red (+) clamp to the positive battery terminal and the black (-) clamp to the negative battery terminal. The tester will power on automatically.
- Verify Connection: Ensure the clamps are securely attached and making good contact.
5. Operation
5.1 Battery Testing

Figure 5.1: PBT-200 Testing Capabilities
The PBT-200 is designed to test 12V flooded and AGM automotive batteries within a CCA range of 200-850.
- Connect the Tester: Follow the setup instructions in Section 4.
- Set Battery Rating: Use the 'UP' and 'DOWN' arrow buttons to adjust the displayed CCA value to match the battery's rated Cold Cranking Amps (CCA). This rating is typically found on a label on the battery. The PBT-200 adjusts CCA in 25 amp increments. Select the closest available increment if your battery's exact CCA is not an option.
- Initiate Test: Press the 'TEST' button.
- Read Results: The digital display will show the measured CCA, and the LED indicators will illuminate to show the battery's condition:
- Green (OK): Battery is in good condition.
- Yellow (Low): Battery charge is low or capacity is reduced. Further diagnosis or charging may be required.
- Red (Bad Cell/Replace): Battery is faulty and needs replacement.
5.2 Cranking System Test
This test evaluates the vehicle's starter motor and related circuitry.
- Connect the Tester: Ensure the PBT-200 is correctly connected to the battery.
- Start Engine: Follow vehicle manufacturer instructions to start the engine. The tester will automatically capture the lowest voltage during cranking.
- Interpret Results: Compare the captured cranking voltage to the vehicle manufacturer's specifications. Low cranking voltage can indicate a weak battery or a problem with the starter motor.
5.3 Charging System Test (Voltmeter Mode)
This test assesses the alternator and voltage regulator.
- Connect the Tester: Ensure the PBT-200 is correctly connected to the battery.
- Start Engine: Start the vehicle's engine and let it idle.
- Activate Voltmeter Mode: Press the 'V' button to enter voltmeter mode. The display will show the current system voltage.
- Increase RPM: Briefly increase engine RPM to approximately 1500-2000 for a few seconds. Observe the voltage reading.
- Interpret Results: A healthy charging system typically maintains a voltage between 13.5V and 14.5V (refer to vehicle manufacturer specifications). Readings outside this range may indicate an issue with the alternator or voltage regulator.
6. Specifications

Figure 6.1: PBT-200 Testing Range
| Feature | Specification |
|---|---|
| Model | PBT-200 |
| Voltage Range | 12 Volts |
| CCA Testing Range | 200-850 CCA |
| Battery Types | Flooded, AGM |
| Measurement Type | Voltmeter, Conductance |
| Power Source | Battery Powered (from vehicle battery) |
| Dimensions (L x W x H) | Approximately 5 x 12 x 4 inches |
| Item Weight | Approximately 2.4 ounces (0.15 Pounds) |
| Color | Black |
7. Maintenance
- Cleaning: Wipe the tester with a soft, dry cloth. Do not use abrasive cleaners or solvents.
- Storage: Store the PBT-200 in a clean, dry environment away from extreme temperatures and direct sunlight. Ensure clamps are not touching each other during storage.
- Cable Inspection: Periodically inspect the cables and clamps for any signs of damage or wear. Replace if necessary.
8. Troubleshooting
| Problem | Possible Cause | Solution |
|---|---|---|
| Tester does not power on. | Poor connection to battery terminals; Battery completely dead. | Ensure clamps are securely attached to clean battery terminals. If battery is completely discharged, it may not provide enough power to the tester. |
| Inaccurate or inconsistent readings. | Corroded terminals; Loose connections; Incorrect CCA input. | Clean battery terminals. Re-secure clamps. Verify the correct CCA rating is entered for the battery being tested. |
| Cannot enter exact CCA rating. | The PBT-200 adjusts CCA in 25 amp increments. | Select the closest available CCA increment to your battery's rating. This will not significantly impact test accuracy. |
| CCA input defaults to 500 CCA every time. | This is standard behavior for the PBT-200. | Adjust the CCA rating using the 'UP' and 'DOWN' arrows for each test to match the battery's specific rating. |
9. Warranty and Support
Midtronics products are manufactured to high-quality standards. For warranty information and technical support, please refer to the official Midtronics website or contact their customer service department. Keep your purchase receipt as proof of purchase.
For further assistance, visit the official Midtronics website: www.midtronics.com


