1. Introduction
This manual provides comprehensive instructions for the installation, operation, and maintenance of the CPS LSXS3 CCD Sensor Replacement. This sensor is specifically designed to ensure accurate leak detection performance when used with CPS LS3000 and LS3000B leak detector models. Please read this manual thoroughly before attempting any installation or operation to ensure proper function and safety.
2. Product Description
The CPS LSXS3 CCD Sensor is a critical component for maintaining the precision and reliability of your CPS LS3000 or LS3000B leak detection system. It is a direct replacement part engineered to meet the original equipment specifications, ensuring seamless integration and consistent performance in detecting refrigerant leaks.

Figure 2.1: Main view of the CPS LSXS3 CCD Sensor Replacement. This image shows the sensor with its yellow upper body and silver knurled base, designed for precise leak detection.
3. Package Contents
Upon opening the package, verify that all components are present and undamaged. The package should contain:
- One (1) CPS LSXS3 CCD Sensor Replacement
- Product documentation (this manual)
Note: The package dimensions are approximately 11.684 cm (L) x 6.604 cm (W) x 0.254 cm (H). The product is classified as a mechanical component and originates from the United States.
4. Setup and Installation
Before proceeding with the sensor replacement, ensure your CPS LS3000 or LS3000B unit is powered off and disconnected from any power source. Refer to your leak detector's original manual for specific safety precautions.
4.1. Preparation
- Power off and unplug the LS3000/LS3000B unit.
- Allow the unit to cool down if it has been recently in operation.
- Gather necessary tools, which may include a small screwdriver or wrench, depending on your specific LS3000/LS3000B model.
4.2. Sensor Replacement Procedure
- Locate the existing CCD sensor on your LS3000/LS3000B unit. This is typically found at the tip of the probe or within a designated sensor housing.
- Carefully unscrew or unclip the old sensor. Note its orientation for correct installation of the new sensor.
- Gently insert the new CPS LSXS3 CCD Sensor Replacement into the sensor housing. Ensure it is seated correctly.
- Secure the new sensor by screwing it in or re-clipping it, ensuring a snug fit without overtightening.
- Visually inspect the connection to confirm the sensor is properly installed.
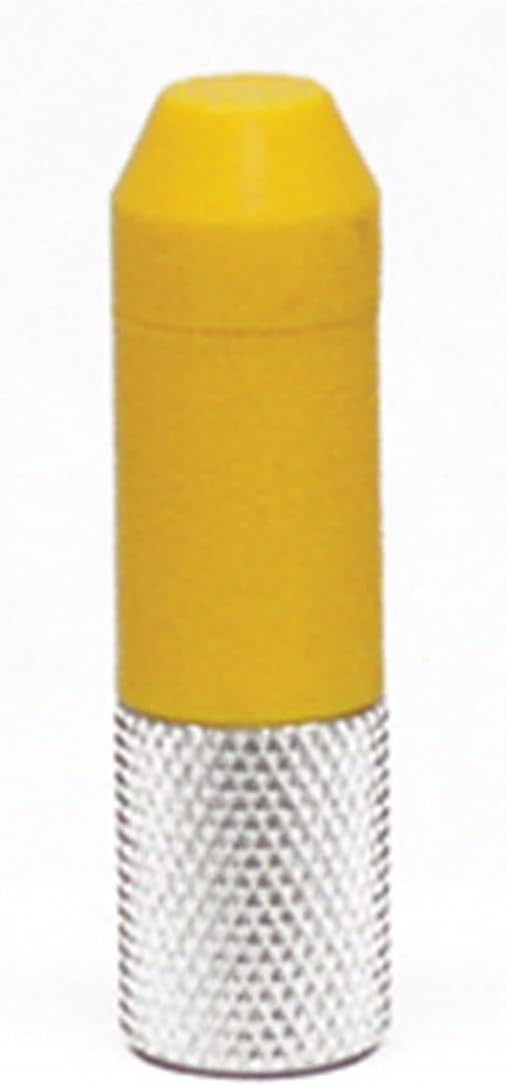
Figure 4.1: Angled view of the CPS LSXS3 CCD Sensor, showing the knurled grip for easy handling during installation.
5. Operating Instructions
Once the LSXS3 CCD Sensor Replacement is installed, the LS3000/LS3000B unit can be powered on and operated according to its original user manual. The new sensor will seamlessly integrate with the existing system.
5.1. Post-Installation Check
- Reconnect the LS3000/LS3000B unit to its power source.
- Power on the unit.
- Perform a self-test or calibration procedure as outlined in your LS3000/LS3000B manual to ensure the new sensor is functioning correctly.
- Conduct a test leak detection in a controlled environment to confirm accurate readings.

Figure 5.1: Close-up view of the CPS LSXS3 CCD Sensor tip, highlighting the precision-engineered design for optimal leak detection.
6. Maintenance
The CPS LSXS3 CCD Sensor is designed for durability and minimal maintenance. However, proper care can extend its lifespan and ensure continued accuracy.
- Cleaning: If the sensor tip becomes dirty, gently wipe it with a clean, dry, lint-free cloth. Avoid using abrasive cleaners or solvents.
- Storage: When not in use, store the sensor (either installed in the unit or separately) in a clean, dry environment, away from extreme temperatures and direct sunlight.
- Inspection: Periodically inspect the sensor for any visible damage or wear. Replace if damage is observed or if performance degrades.
7. Troubleshooting
If you experience issues after replacing the sensor, consider the following:
| Problem | Possible Cause | Solution |
|---|---|---|
| Unit not detecting leaks or inaccurate readings. | Sensor not properly seated or connected. | Power off the unit, re-check sensor installation, ensure a secure connection. |
| Unit displays a sensor error message. | Faulty sensor or internal unit issue. | Ensure the sensor is correctly installed. If the error persists, contact CPS customer support or consider replacing the sensor if it's suspected to be faulty. |
| No power to the unit after sensor replacement. | Power cable not reconnected or unit's internal fuse. | Check power cable connection. Refer to your LS3000/LS3000B manual for power-related troubleshooting. |
For issues not covered here, please refer to the original CPS LS3000/LS3000B user manual or contact CPS customer support.
8. Specifications
| Attribute | Detail |
|---|---|
| Model | LSXS3 |
| Manufacturer | CPS |
| Product Type | Mechanical Component (CCD Sensor) |
| Compatibility | CPS LS3000 and LS3000B Leak Detectors |
| Item Weight | 0.353 ounces (approx. 10 grams) |
| Product Dimensions (L x W x H) | 1.18 x 3.94 x 3.94 inches (approx. 3 x 10 x 10 cm) |
| Country of Origin | United States |
| ASIN | B000KEZ3C6 |
9. Warranty Information
CPS products are manufactured to high-quality standards. For specific warranty terms and conditions applicable to the LSXS3 CCD Sensor Replacement, please refer to the warranty documentation included with your original CPS LS3000 or LS3000B leak detector, or visit the official CPS Products website. Keep your proof of purchase for warranty claims.
10. Customer Support
If you require further assistance, technical support, or have questions regarding the CPS LSXS3 CCD Sensor Replacement, please contact CPS customer service. Contact information can typically be found on the CPS Products official website or in the documentation provided with your original leak detector unit.
For the most up-to-date support information, please visit the CPS Store on Amazon or the official CPS Products website.