1. Introduction
The Spectra Premium ST183 Fuel Tank Straps are designed as direct replacement components for your vehicle's fuel system. These straps secure the fuel tank in its proper position, ensuring safe and reliable operation. This manual provides detailed instructions for the proper installation and maintenance of your new fuel tank straps.
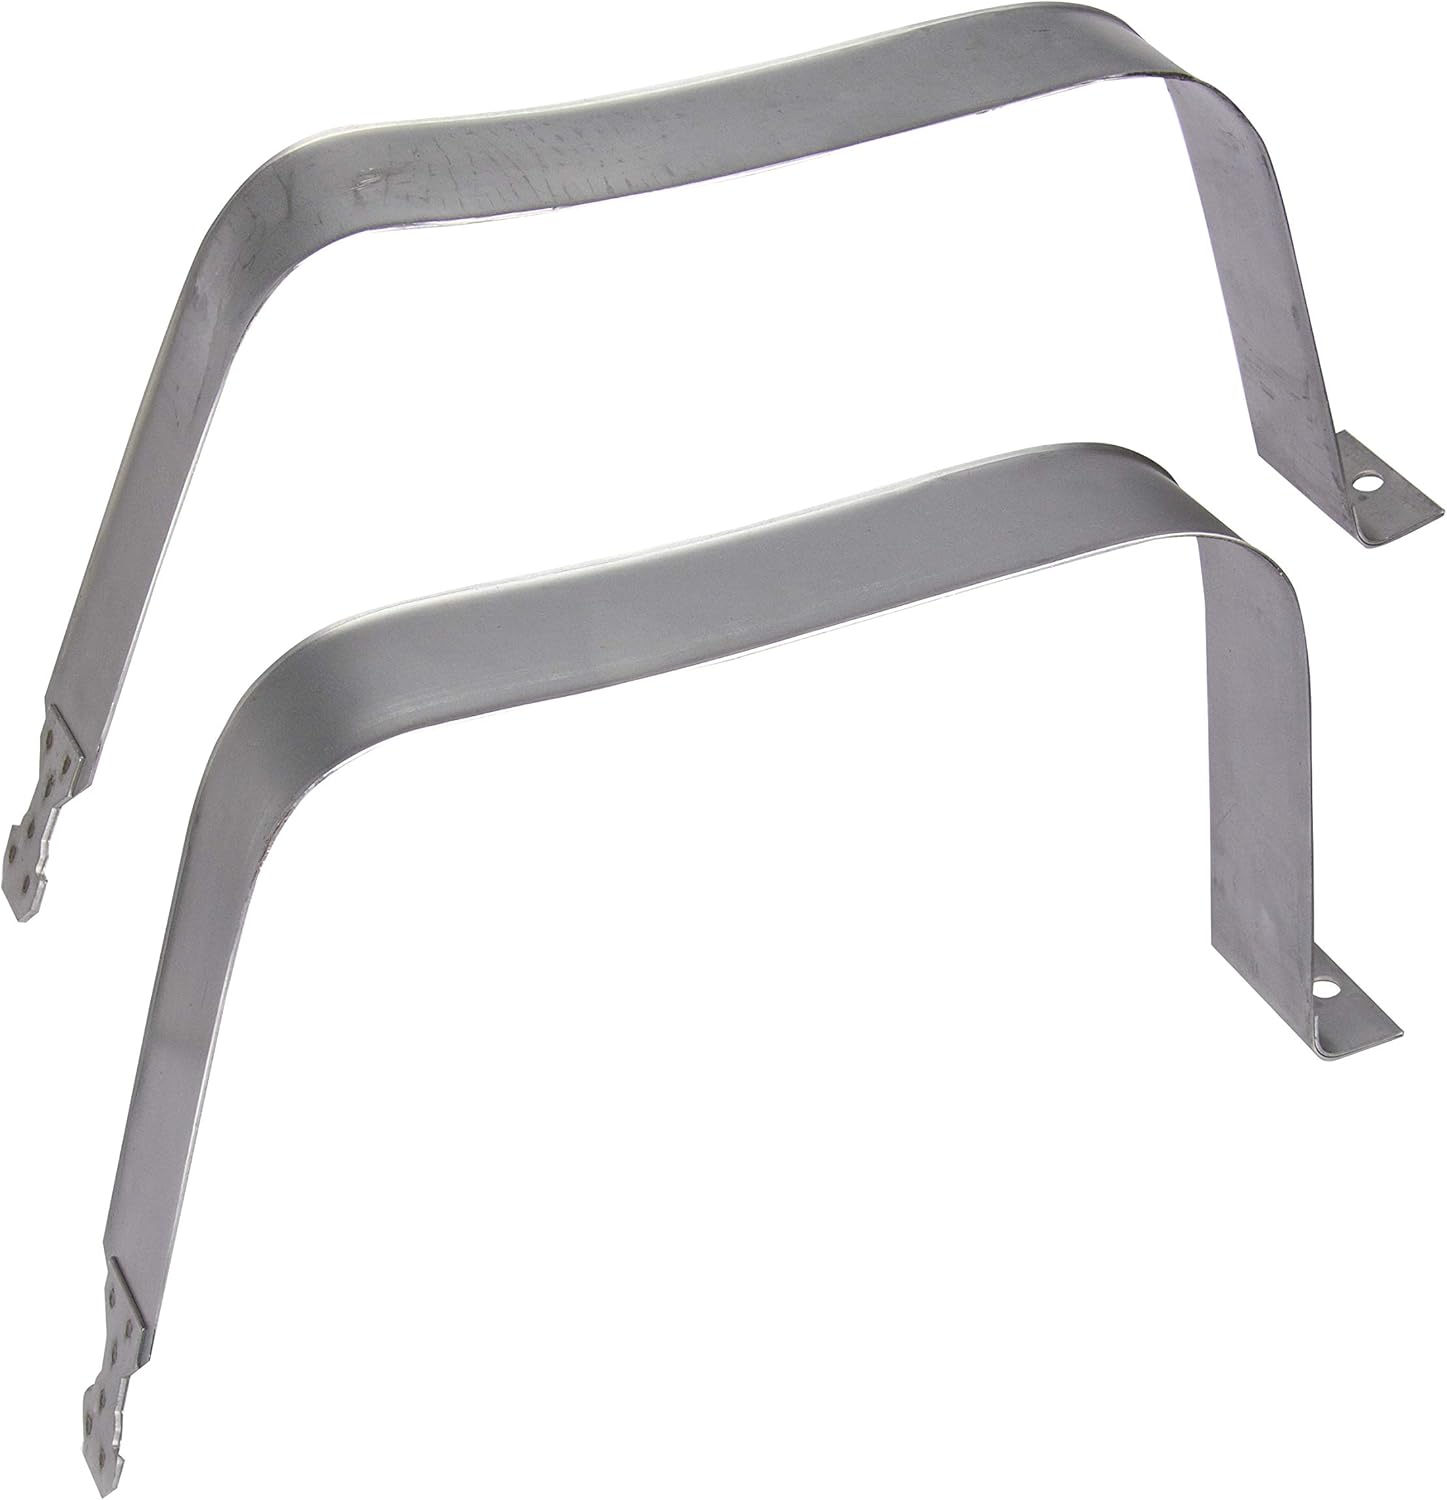
Image 1.1: Two Spectra Premium ST183 Fuel Tank Straps. These metal straps are designed to securely hold a vehicle's fuel tank in place.
2. Safety Information
Always prioritize safety when working on your vehicle. Failure to follow safety precautions can result in injury or damage to the vehicle.
- Ensure the vehicle is parked on a level, stable surface.
- Engage the parking brake and block the wheels to prevent movement.
- Use appropriate personal protective equipment, including safety glasses and gloves.
- Disconnect the vehicle's battery before beginning work on the fuel system to prevent electrical hazards.
- Work in a well-ventilated area, as fuel vapors can be hazardous.
- Keep fire extinguishers or other fire suppression equipment readily available.
- Never work under a vehicle supported only by a jack. Always use jack stands.
3. Package Contents
Your Spectra Premium ST183 Fuel Tank Straps package typically includes:
- Two (2) Spectra Premium ST183 Fuel Tank Straps.
Note: Hardware such as bolts and nuts are generally not included and may need to be purchased separately or reused from the original installation if in good condition.
4. Setup and Pre-Installation
Before beginning the installation, gather the necessary tools and prepare your vehicle.
4.1 Tools Required
- Vehicle jack and jack stands
- Wheel chocks
- Socket wrench set (typically 15mm socket for strap bolts)
- Breaker bar (for stubborn bolts)
- Penetrating oil (e.g., PB Blaster)
- Anti-seize compound
- Sturdy board or wood block (to protect the fuel tank when jacking)
- New M10x1.5x70mm bolts (or longer, if original bolts are damaged or too short for easier installation)
4.2 Vehicle Preparation
- Park the vehicle on a firm, level surface.
- Engage the parking brake and place wheel chocks behind the wheels opposite the work area.
- Using the vehicle jack, carefully lift the vehicle to a height that allows comfortable access to the fuel tank.
- Place jack stands securely under the vehicle frame at designated support points. Lower the vehicle onto the jack stands.
- Locate the existing fuel tank straps and their mounting bolts. Apply penetrating oil to the bolts and allow it to soak for at least 15-30 minutes, or overnight if possible, to aid in removal.
5. Installation Instructions
Follow these steps for the proper installation of your new fuel tank straps.
- Support the Fuel Tank: Place a floor jack with a sturdy board or wood block on its pad directly under the center of the fuel tank. Carefully raise the jack until it firmly supports the tank's weight. This prevents the tank from dropping when the old straps are removed.
- Remove Old Straps: Using a socket wrench and breaker bar if necessary, loosen and remove the bolts securing the old fuel tank straps. Once the bolts are removed, carefully detach the old straps from the vehicle frame.
- Inspect and Compare: Compare the new Spectra Premium ST183 straps with the old straps to ensure they are the correct length and shape. While the new straps are designed for OEM fit, slight variations in thickness or coating may exist.
- Position New Straps: Carefully position the new fuel tank straps around the fuel tank, aligning them with the mounting points on the vehicle frame.
- Install New Bolts: Apply anti-seize compound to the threads of the new bolts (or cleaned original bolts if reusing). Start threading the bolts by hand to ensure they are not cross-threaded. It is often easier to use longer bolts (e.g., M10x1.5x70mm) to initially catch the threads, especially if the tank needs to be lifted slightly to meet the strap ends.
- Tighten Straps: Gradually tighten the bolts, alternating between straps if two are being installed, to ensure the fuel tank is evenly secured. Use the floor jack to gently raise the tank into its final position as you tighten the bolts. Ensure the straps are snug but do not overtighten, which could damage the tank or straps.
- Lower Vehicle and Final Check: Once the straps are securely tightened, carefully lower the floor jack and remove it. Remove the jack stands and lower the vehicle completely. Perform a visual inspection to ensure the fuel tank is securely held in place and there is no interference with other components.
6. Operating (Post-Installation Checks)
After installation, perform the following checks:
- Visually inspect the fuel tank to ensure it is firmly seated and does not exhibit excessive movement.
- Check for any signs of fuel leaks around the tank or fuel lines.
- If the battery was disconnected, reconnect it.
- Start the vehicle and listen for any unusual noises.
7. Maintenance
Regular maintenance helps prolong the life of your fuel tank straps and ensures continued safety.
- Periodic Inspection: Annually, or during other vehicle maintenance, inspect the fuel tank straps for signs of rust, corrosion, cracks, or damage.
- Bolt Tightness: Check the tightness of the mounting bolts. Retighten if necessary, but do not overtighten.
- Corrosion Protection: If the straps are bare metal, consider applying a rust-inhibiting paint or undercoating to extend their lifespan, especially in environments with road salt or high humidity.
8. Troubleshooting
If you encounter issues during or after installation, consider the following:
- Straps Seem Too Short: This is a common perception. Ensure the fuel tank is fully supported and lifted into its correct position by the floor jack before attempting to attach and tighten the straps. The straps are designed to fit snugly.
- Difficulty Aligning Bolts: Using longer bolts initially can provide more thread engagement, making it easier to start tightening the straps. Once the tank is partially secured, shorter, appropriate-length bolts can be used if desired.
- Stuck or Rusted Bolts: Generously apply penetrating oil and allow ample time for it to work. Heat can also be carefully applied to the nut/bolt area (with extreme caution due to fuel proximity) to aid removal.
9. Specifications
| Specification | Value |
|---|---|
| Model Number | ST183 |
| Brand | Spectra Premium |
| Item Weight | 3.5 pounds |
| Product Dimensions | 9.8 x 2.8 x 2.8 inches |
| Fit Type | Vehicle Specific |
| Manufacturer Part Number | ST183 |
| OEM Part Numbers | 22868151; 15063196; 15288145; 15710284; 15206818; 23126454 |
10. Warranty and Support
Spectra Premium products are manufactured to meet or exceed original equipment performance. For specific warranty information or technical support, please refer to the official Spectra Premium website or contact their customer service directly. Keep your purchase receipt for warranty claims.