Introduction
The FEL-PRO MS 96110 Plenum Gasket Set is engineered to provide a reliable seal for your vehicle's intake plenum. This gasket set is designed with application-specific materials to ensure optimal performance and durability in the repair environment. It meets or exceeds all original equipment specifications, providing a precise fit and dependable sealing solution.
This manual provides essential information for the proper installation, maintenance, and troubleshooting of your FEL-PRO MS 96110 Plenum Gasket Set.
Safety Information
Always prioritize safety when working on any vehicle. Improper installation or handling of automotive components can lead to injury or damage. Please observe the following safety guidelines:
- Wear appropriate personal protective equipment (PPE), including safety glasses and gloves.
- Ensure the vehicle is properly supported on jack stands before working underneath it.
- Disconnect the vehicle's battery before beginning any work to prevent electrical hazards.
- Allow the engine to cool completely before working on the intake system. Hot engine components can cause severe burns.
- Refer to your vehicle's specific service manual for detailed removal and installation procedures, torque specifications, and any additional safety precautions.
- Keep all tools and parts organized to prevent misplacement.
Warning: This product may expose you to chemicals including carbon black, which is known to the State of California to cause cancer. For more information go to www.P65Warnings.ca.gov.
Setup and Installation
The FEL-PRO MS 96110 Plenum Gasket Set is designed for direct replacement. Proper installation is crucial for preventing vacuum leaks and ensuring optimal engine performance. The following steps provide a general guide; always consult your vehicle's specific service manual for precise instructions.
Required Tools and Materials:
- Socket set and wrenches
- Torque wrench
- Scraper or gasket removal tool
- Cleaning solvent (e.g., brake cleaner, gasket remover)
- Clean rags or shop towels
- New FEL-PRO MS 96110 Plenum Gasket Set
Installation Steps:
- Preparation: Ensure the engine is cool. Disconnect the negative battery terminal. Relieve fuel system pressure if necessary (consult vehicle manual).
- Disassembly: Carefully remove any components obstructing access to the intake plenum, such as air intake ducts, throttle body, fuel lines, electrical connectors, and vacuum hoses. Label or photograph connections to aid reassembly.
- Plenum Removal: Unbolt the intake plenum from the engine. Note the bolt locations and any specific removal sequence.
- Gasket Removal: Remove the old plenum gasket. Use a scraper or gasket removal tool to carefully scrape off any remaining gasket material from both the intake plenum and the engine mating surfaces. Be careful not to gouge or damage the metal surfaces.
- Surface Cleaning: Thoroughly clean both mating surfaces with a suitable cleaning solvent and clean rags. Ensure all old gasket material, oil, and debris are completely removed. A clean surface is critical for a proper seal.
- Gasket Placement: Carefully position the new FEL-PRO MS 96110 plenum gasket onto the engine or plenum, ensuring it aligns correctly with all bolt holes and ports. The gasket is designed for a precise fit.
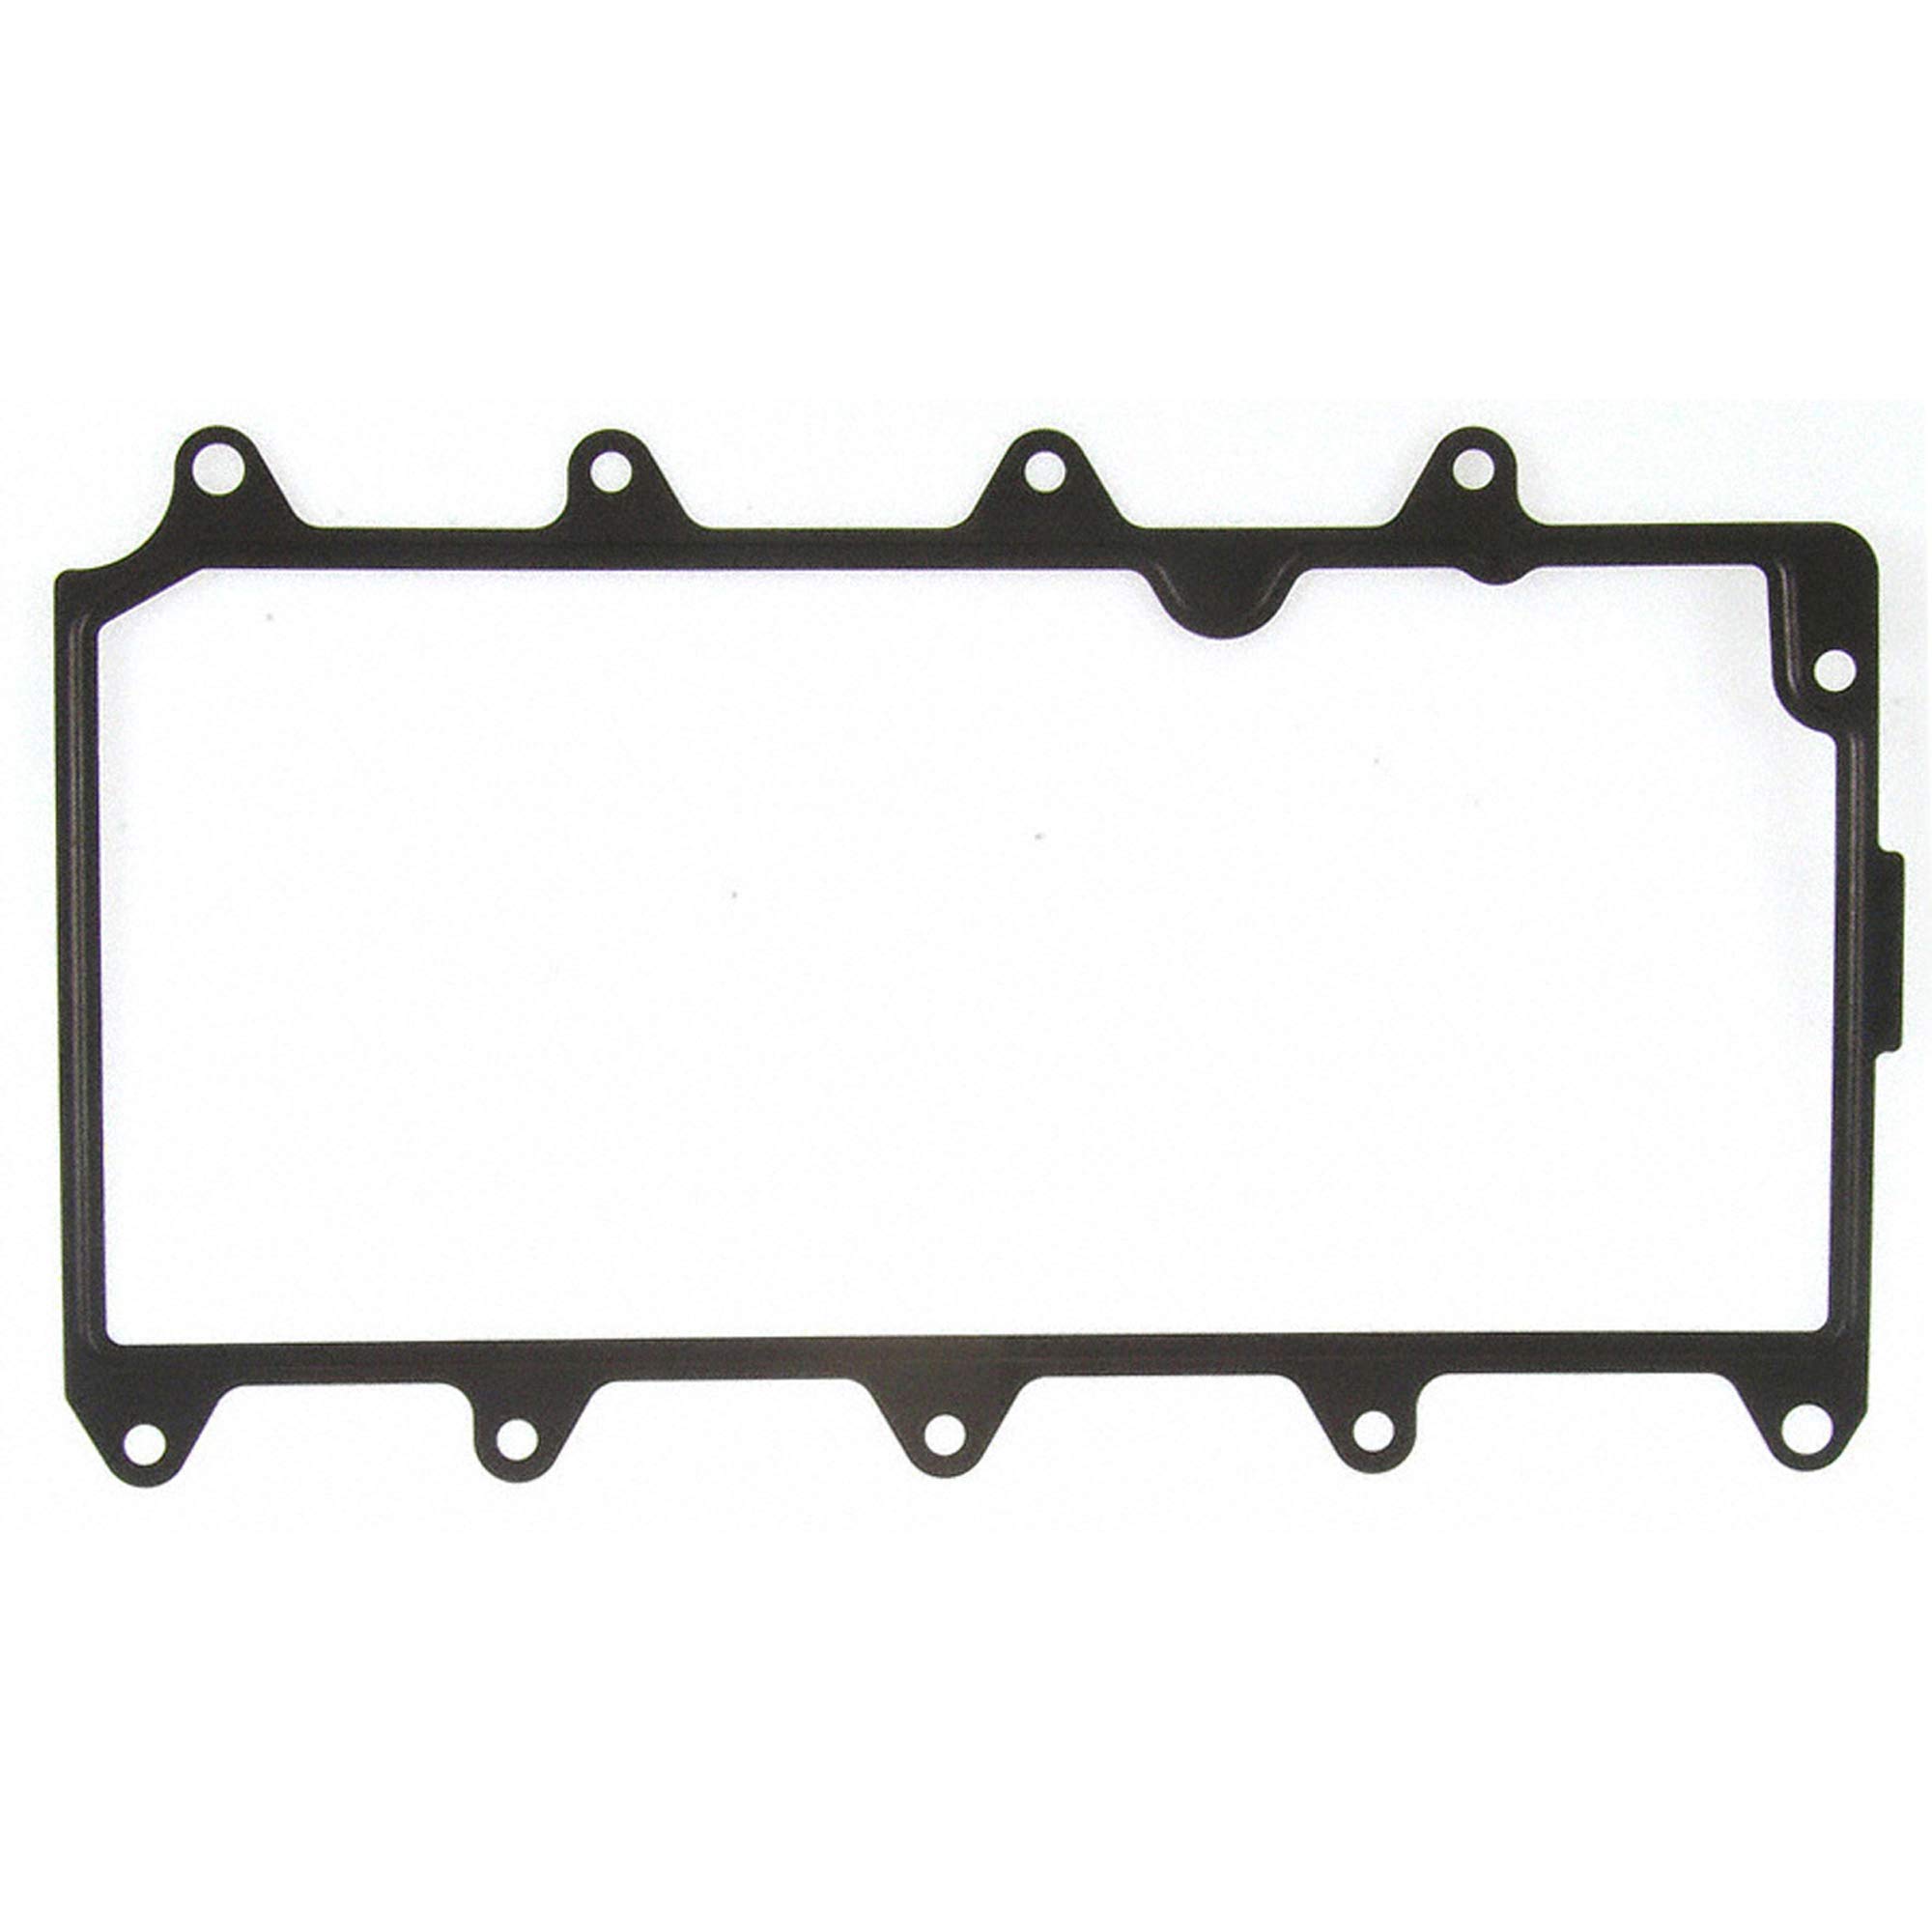
Image: The FEL-PRO MS 96110 Plenum Gasket, showing its precise shape and bolt hole alignment for proper installation.
- Plenum Reinstallation: Carefully place the intake plenum back onto the engine, aligning it with the gasket and bolt holes.
- Bolting: Install the plenum bolts. Tighten them in the sequence and to the torque specifications provided in your vehicle's service manual. Typically, a crisscross pattern is used to ensure even pressure. Overtightening or uneven tightening can cause gasket failure or plenum damage.
- Reassembly: Reconnect all removed components, including electrical connectors, vacuum hoses, fuel lines, and the throttle body. Double-check all connections for security.
- Final Checks: Reconnect the battery. Start the engine and check for any vacuum leaks or unusual noises. Allow the engine to reach operating temperature and recheck for leaks.
Operating Considerations
Once properly installed, the FEL-PRO MS 96110 Plenum Gasket Set will maintain a tight seal, preventing air or vacuum leaks that can affect engine performance. A properly sealed plenum ensures the correct air-fuel mixture, contributing to efficient combustion and optimal engine operation.
- Engine Performance: A new, properly installed gasket helps restore lost engine power, improve fuel efficiency, and reduce emissions caused by vacuum leaks.
- Check Engine Light: If a vacuum leak was present, replacing the gasket should resolve the issue and may turn off the "Check Engine" light after a few drive cycles, or it may need to be cleared with a diagnostic tool.
Maintenance
Plenum gaskets are generally maintenance-free components once installed correctly. However, regular vehicle maintenance and inspections can help ensure their longevity:
- Regular Inspections: During routine engine checks, visually inspect the area around the intake plenum for any signs of oil leaks, vacuum leaks (hissing sounds), or gasket deterioration.
- Engine Cleanliness: Keep the engine bay clean to prevent dirt and debris from accumulating around gasket surfaces, which can sometimes accelerate wear.
- Avoid Harsh Chemicals: Do not use harsh or incompatible chemicals near the gasket material, as this could degrade its integrity over time.
Troubleshooting
If you experience issues after installing the plenum gasket, consider the following common problems and solutions:
- Vacuum Leaks (Hissing Sound, Rough Idle, Check Engine Light):
- Cause: Improper installation, damaged gasket, or uneven torque on plenum bolts.
- Solution: Recheck all plenum bolts for correct torque and sequence. Inspect the gasket for damage. If necessary, remove the plenum, clean surfaces, and reinstall with a new gasket, ensuring proper alignment and torque.
- Oil Leaks Around Plenum:
- Cause: Damaged gasket, improper sealing, or other engine issues.
- Solution: Verify the gasket is correctly seated and bolts are torqued. If leaks persist, further diagnosis may be required to identify the source.
- Engine Performance Issues (Misfires, Poor Acceleration):
- Cause: Could be related to vacuum leaks, but also other engine components.
- Solution: Rule out vacuum leaks first. If the gasket installation is confirmed correct, consult a qualified mechanic for further diagnosis.
If you are unsure about any step or diagnosis, it is recommended to consult a professional automotive technician.
Specifications
| Brand | Fel-Pro |
| Model Number | MS 96110 |
| Item Weight | 5.1 ounces |
| Manufacturer Part Number | MS96110 |
| Unit Count | 1.0 Count |
| UPC | 614046728714 |
| ASIN | B000HUO2B6 |
Warranty and Support
FEL-PRO products are manufactured to high-quality standards. For specific warranty information regarding your MS 96110 Plenum Gasket Set, please refer to the official Fel-Pro website or contact their customer support directly. Keep your purchase receipt as proof of purchase.
For technical assistance or further inquiries, please visit the Fel-Pro Store on Amazon or the official Fel-Pro corporate website.