AST 8012
Assenmacher Specialty Tools 8012 Fuel Filter Remover Tool
User Instruction Manual
1. Product Overview
The AST 8012 Fuel Filter Remover Tool is a specialized instrument crafted from red anodized aluminum, designed for the efficient and safe removal of fuel filters and 5/16'' return lines from fuel pump-sending units. This tool is specifically applicable to various Ford models, including 1990 and newer Ford Aerostar, Explorer, & Bronco, 1991 and newer E & F series, and 1992 and newer Ranger vehicles. Its compact design and durable construction ensure reliable performance during automotive maintenance tasks.
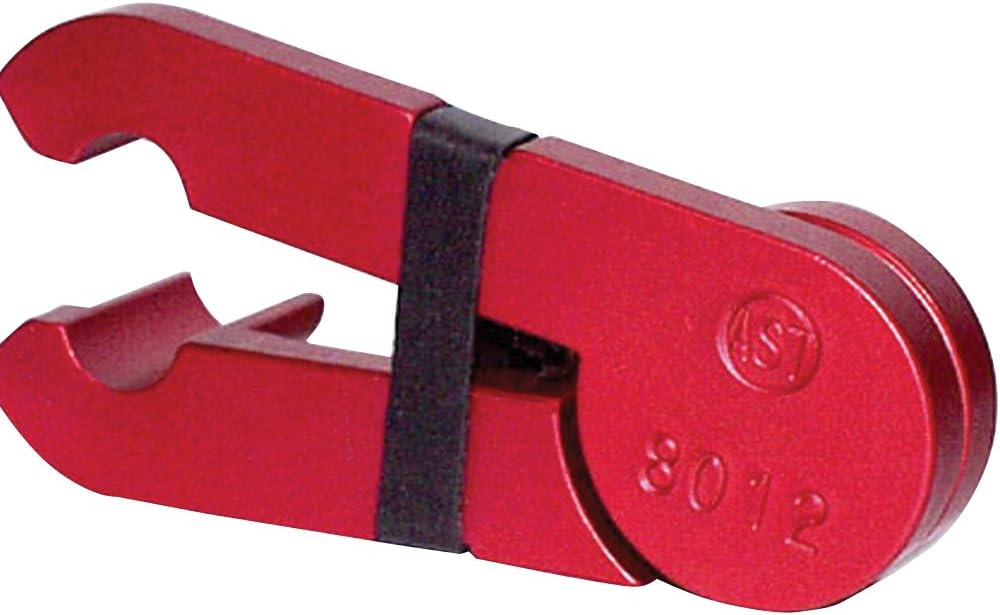
Image 1.1: The AST 8012 Fuel Filter Remover Tool. This image shows the tool's red anodized aluminum construction and the black rubber band that keeps its two halves securely together, ready for use.
2. Safety Information
- Always wear appropriate personal protective equipment, including safety glasses and gloves, when working with automotive fluids and tools.
- Ensure the vehicle's engine is off and cool before beginning any work on the fuel system.
- Release fuel system pressure before attempting to disconnect any fuel lines. Refer to your vehicle's service manual for the correct procedure.
- Work in a well-ventilated area to avoid inhaling fuel vapors.
- Have a fire extinguisher readily available.
- Dispose of fuel and contaminated materials according to local regulations.
- Keep the tool clean and free of debris to ensure proper function.
3. Setup
The AST 8012 Fuel Filter Remover Tool requires minimal setup. It is designed for immediate use. Ensure the tool is clean and free of any obstructions before use. The integrated rubber band helps keep the tool closed, facilitating easier handling and storage.
4. Operating Instructions
This tool is specifically designed for the removal of fuel filters and 5/16'' return lines from fuel pump-sending units on applicable Ford vehicles. Follow these steps for proper operation:
- Prepare the Vehicle: Ensure the vehicle is safely supported and the fuel system pressure has been properly released. Consult your vehicle's service manual for specific instructions on depressurizing the fuel system.
- Locate the Fuel Filter/Line: Identify the fuel filter or the 5/16'' return line connection you intend to disconnect.
- Clean the Connection: If the connection is dirty or corroded, clean it thoroughly with a wire brush or appropriate cleaner. Applying a penetrating oil or carburetor cleaner to stubborn connections and allowing it to soak can aid in release.
- Position the Tool: Place the AST 8012 tool around the fuel line connection. The tool's design allows it to slide into the quick-connect fitting.
- Engage the Tool: Push the tool firmly into the quick-connect fitting. The tool's jaws will engage the internal retaining clips, releasing the fuel line from the filter or sending unit. You may need to apply gentle pressure while wiggling the line to ensure the clips fully disengage.
- Separate the Line: Once the tool is fully engaged and the clips are released, gently pull the fuel line away from the filter or sending unit. Avoid excessive force to prevent damage to the line or fitting.
- Remove the Tool: After the line is disconnected, remove the AST 8012 tool from the fitting.
- Installation: When installing a new fuel filter or reconnecting the line, ensure the connection is clean and lubricated. Push the line firmly into the fitting until you hear or feel a click, indicating it is securely seated.
5. Maintenance
- After each use, clean the tool with a dry cloth to remove any fuel residue or dirt.
- Store the tool in a dry place to prevent corrosion.
- Inspect the tool periodically for any signs of wear or damage. If the tool is damaged, discontinue use and replace it.
- The rubber band can be replaced if it loses elasticity or breaks.
6. Troubleshooting
- Difficulty Disconnecting: If the fuel line is difficult to disconnect, ensure the fuel system pressure has been fully released. The connection may be seized due to dirt, corrosion, or age. Apply penetrating oil or carburetor cleaner and allow it to soak. Gently push and pull the line while applying the tool to help unstick the internal O-ring.
- Tool Not Engaging: Ensure the tool is correctly aligned with the quick-connect fitting and pushed in completely. Check for any debris preventing the tool from fully seating.
- Line Not Releasing: Verify that the tool is fully engaged and the internal clips are disengaged. Sometimes, a slight rotation or gentle wiggling of the line while the tool is engaged can help.
7. Specifications
| Attribute | Value |
|---|---|
| Model Number | 8012 |
| Brand | AST (Assenmacher Specialty Tools) |
| Material | Red Anodized Aluminum |
| Applicable Vehicle Service Type | Ford (1990+ Aerostar, Explorer, Bronco; 1991+ E & F series; 1992+ Ranger) |
| Item Weight | 0.32 ounces (approx. 0.02 Pounds) |
| Product Dimensions | 1.5 x 0.9 x 0.4 inches |
| UPC | 971473115624, 638889092887, 956257369219 |
8. Warranty and Support
For information regarding warranty coverage or technical support for your Assenmacher Specialty Tools 8012 Fuel Filter Remover Tool, please refer to the manufacturer's official website or contact their customer service department directly. Keep your purchase receipt as proof of purchase.
Ask a question about this manual
Ask about setup, troubleshooting, compatibility, parts, safety, or missing instructions. Manuals+ will review the question and use this page’s manual context to help answer it.