1. Introduction
The Honeywell Ademco 4204 Intelligent Relay Board is designed to expand the functionality of compatible control/communicator systems. This board provides additional relays that connect to the control's console wiring, allowing for programming to perform various functions within a security or automation system. It acts as an interface to control external devices based on system events.
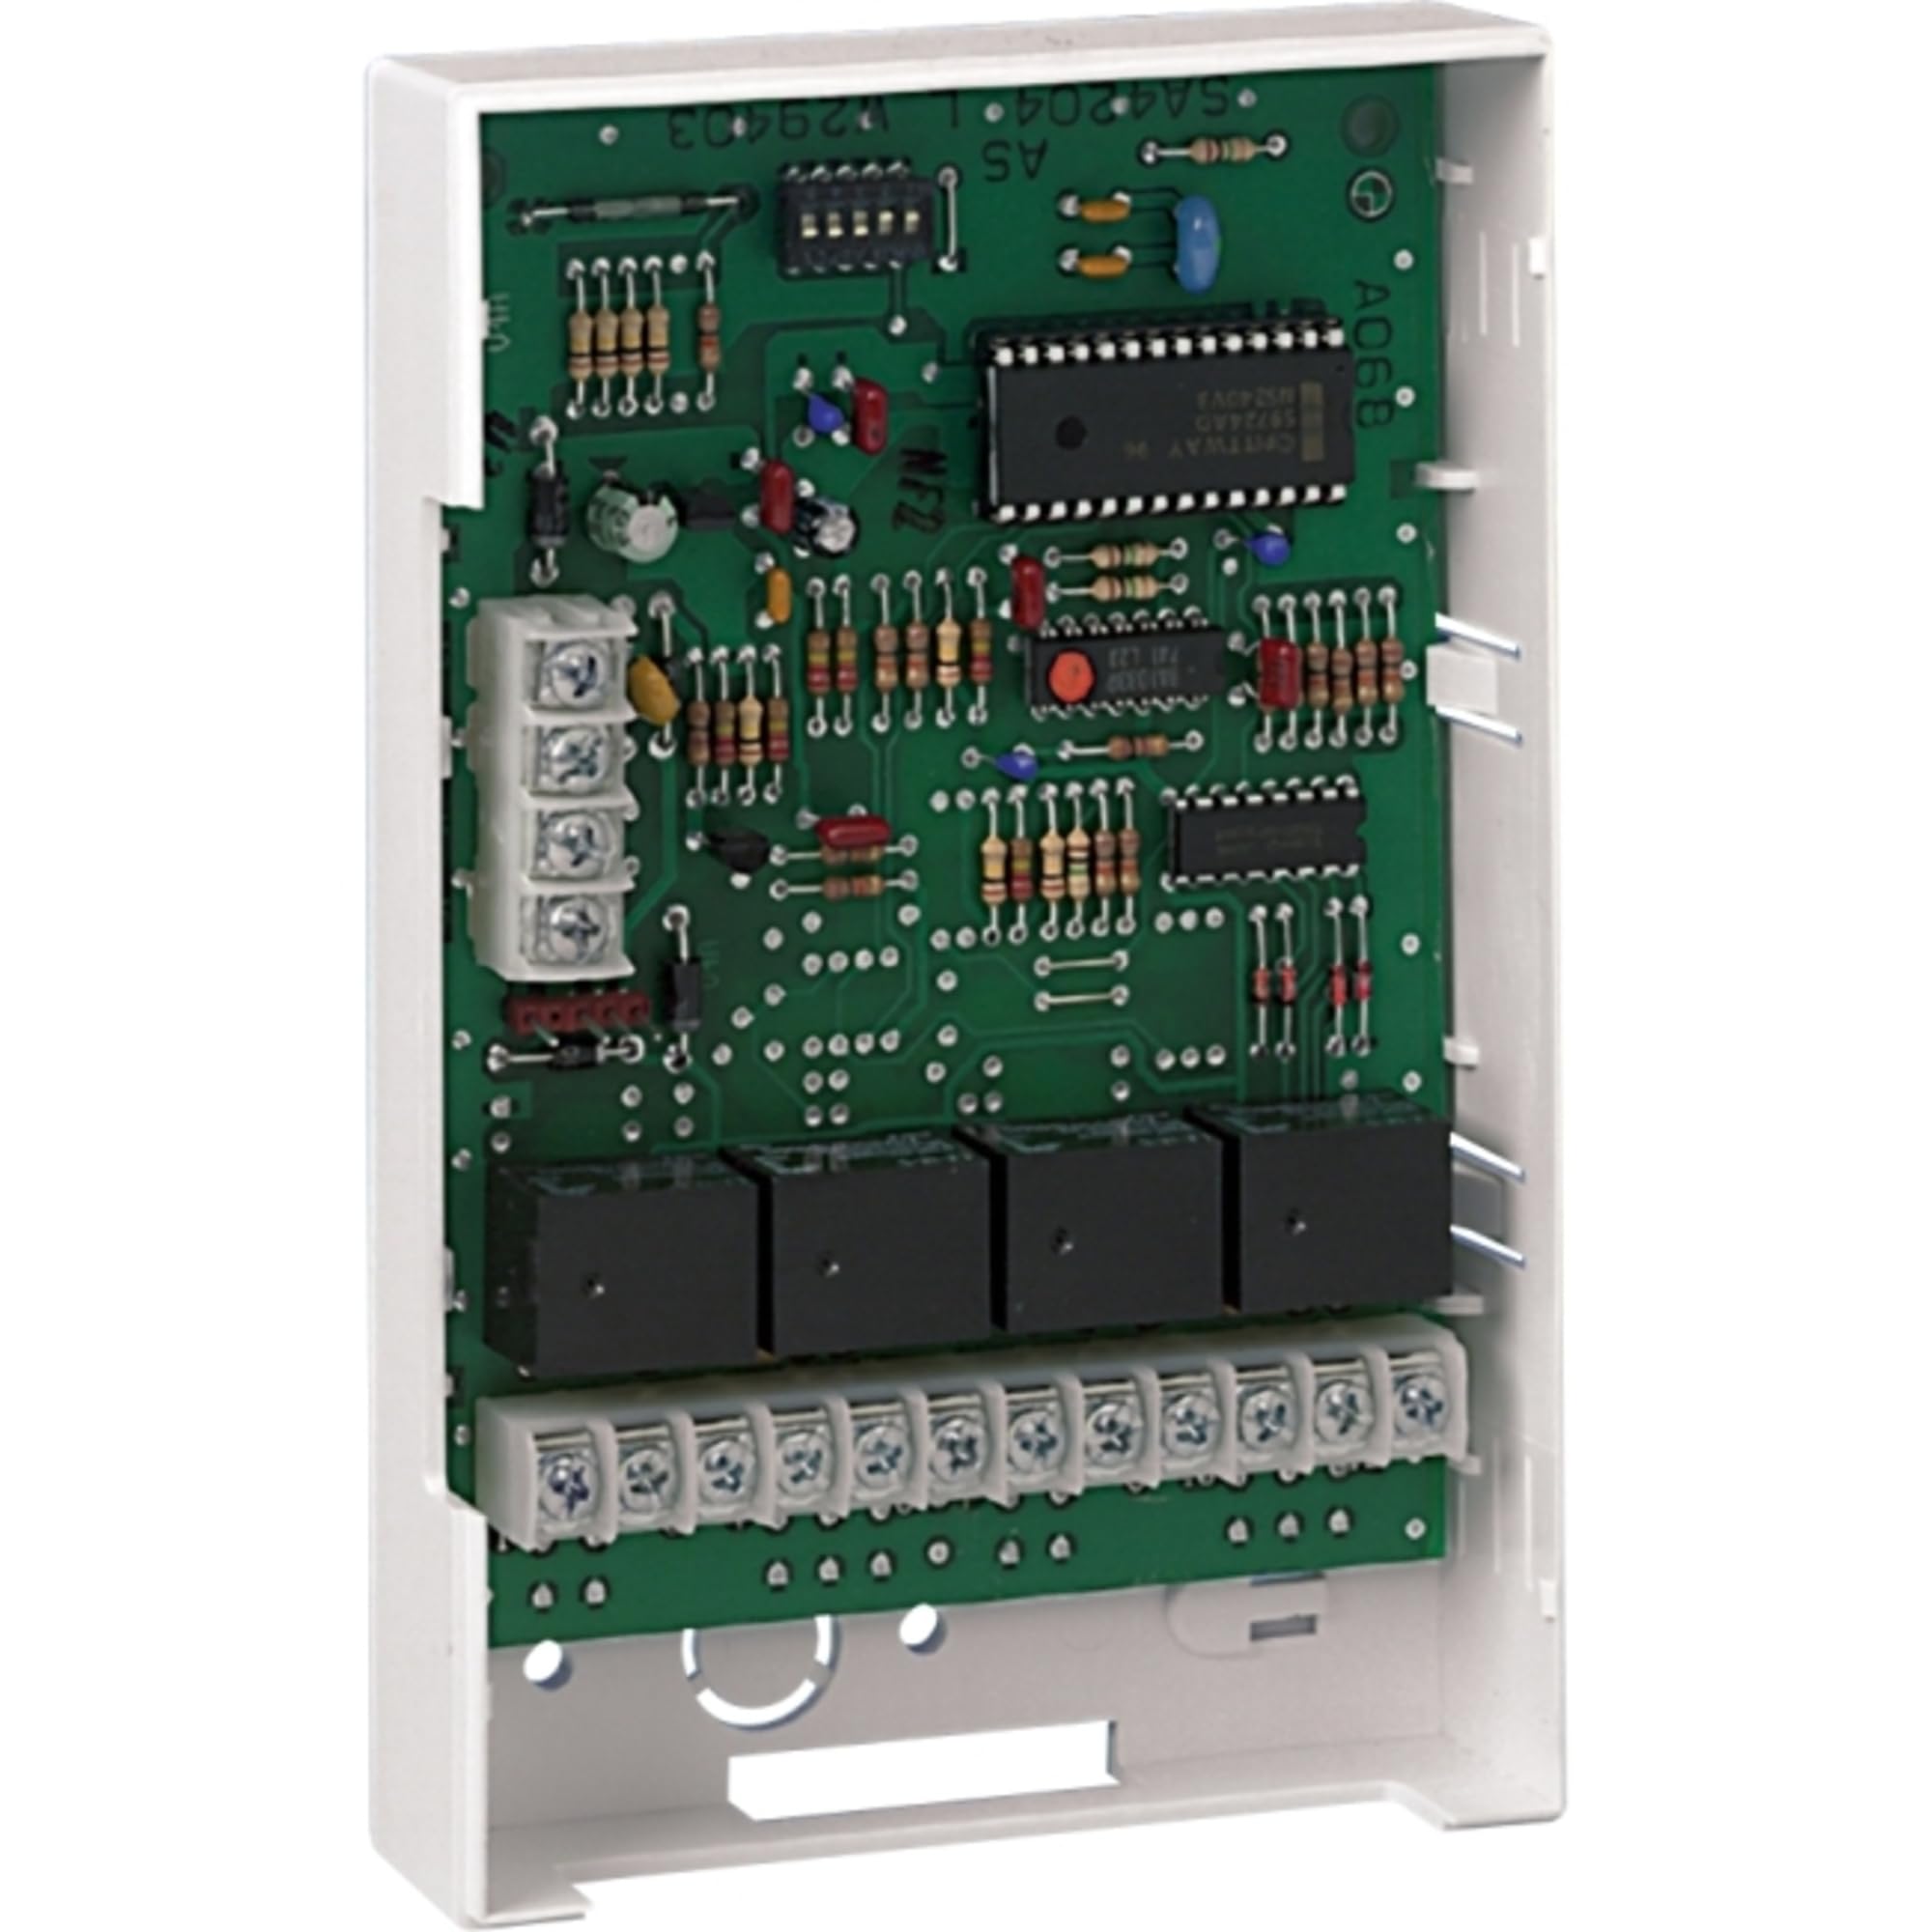
Figure 1: Honeywell Ademco 4204 Intelligent Relay Board. This image displays the front of the relay board, highlighting its various terminals and electronic components.
2. Safety Information
Please read all instructions carefully before installing or operating the Honeywell Ademco 4204 Intelligent Relay Board. Failure to follow these instructions may result in damage to the product, property, or personal injury.
- Qualified Personnel: Installation and servicing should only be performed by qualified security professionals or electricians.
- Power Disconnection: Always disconnect power to the control panel and any connected devices before installation, wiring, or servicing.
- Proper Wiring: Ensure all wiring connections comply with local and national electrical codes. Use appropriate wire gauges.
- Environmental Conditions: Do not expose the device to moisture, extreme temperatures, or corrosive environments.
- Static Discharge: Take precautions against electrostatic discharge when handling the circuit board.
3. Package Contents
Verify that all items are present in the package before proceeding with installation.
- Honeywell Ademco 4204 Intelligent Relay Board
- Installation Guide (this document)
- Mounting Hardware (screws, standoffs - typically included)
4. Setup and Installation
The 4204 Relay Board is designed for integration with compatible Honeywell/Ademco control panels. Follow these general steps for installation. Refer to your specific control panel's manual for detailed programming instructions.
4.1 Mounting the Board
- Select a suitable location within the control panel enclosure or a secure, dry environment.
- Use the provided mounting hardware to secure the 4204 board. The board supports DIN Rail Mount, or can be mounted directly to a flat surface.
4.2 Wiring Connections
Important: Ensure all power is disconnected before making any wiring connections.
- Power and Data: Connect the 4204 board to the control panel's console wiring (keypad bus) terminals. This typically involves connecting Data In, Data Out, +12VDC, and Ground. Refer to the control panel's wiring diagram for exact terminal assignments.
- Relay Outputs: Connect the devices you wish to control to the relay output terminals (Form C relays: Normally Open, Normally Closed, Common). Each relay is independent. Ensure the connected devices' voltage and current requirements do not exceed the relay's ratings.
- Address Setting: Set the address of the 4204 board using its DIP switches or jumpers, as specified in the control panel's installation manual. Each device on the console bus must have a unique address.
5. Operating Instructions
The Honeywell Ademco 4204 Intelligent Relay Board operates under the control of the main security or automation panel. Its functions are determined by the programming within the control panel.
5.1 Programming the Relays
After physical installation and wiring, the 4204 board must be programmed through the control panel. This typically involves:
- Enrolling the Device: Access the control panel's programming mode and enroll the 4204 board using its assigned address.
- Assigning Functions: Configure each of the four relays to respond to specific system events or conditions. Examples include:
- Activating a siren or strobe light upon alarm.
- Controlling garage doors or gates based on arming status.
- Triggering lights or other automation devices.
- Testing: Thoroughly test each programmed relay function to ensure correct operation.
Refer to your control panel's programming manual for detailed instructions on how to configure auxiliary devices and relay outputs.
6. Maintenance
The Honeywell Ademco 4204 Intelligent Relay Board requires minimal maintenance.
- Cleaning: Periodically inspect the board for dust accumulation. If necessary, gently clean with a soft, dry cloth. Do not use liquid cleaners.
- Connections: Occasionally check wiring connections to ensure they remain secure.
- Functionality Test: Regularly test the functions controlled by the relays to confirm proper operation.
7. Troubleshooting
If you experience issues with the 4204 Intelligent Relay Board, consider the following troubleshooting steps:
- No Power/Communication:
- Verify that the control panel is powered on.
- Check all wiring connections between the 4204 board and the control panel's console bus for proper polarity and secure contact.
- Ensure the 4204 board's address is correctly set and unique.
- Relay Not Activating:
- Confirm that the relay is correctly programmed in the control panel to respond to the desired event.
- Check the wiring from the relay output to the controlled device.
- Ensure the controlled device is functioning correctly and its power requirements are met.
- Verify that the load connected to the relay does not exceed its maximum current rating.
- Intermittent Operation:
- Inspect for loose wiring connections.
- Check for potential interference from other electronic devices.
If problems persist, consult the control panel's installation manual or contact technical support.
8. Specifications
| Feature | Detail |
|---|---|
| Model Number | 4204 |
| Brand | Honeywell Ademco |
| Relay Type | Form C (Normally Open, Normally Closed, Common) |
| Number of Relays | 4 |
| Contact Material | Silver |
| Connector Type | Plug-In |
| Mounting Type | DIN Rail Mount |
| Operation Mode | Automatic |
| Product Dimensions | 7.2 x 4.4 x 1.4 inches |
| Item Weight | 8.5 ounces |
| Color | Multicolor |
| Included Components | Light (as per product data, typically refers to indicator LEDs) |
| Batteries Required | No |
| UPC | 781410000834 |
9. Warranty Information
According to the product information, there is No Warranty provided for the Honeywell Ademco 4204 Intelligent Relay Board. Please consult your point of purchase or installer for any specific return or service policies they may offer.
10. Support and Contact
For technical assistance, programming questions, or further support regarding the Honeywell Ademco 4204 Intelligent Relay Board, please contact your authorized Honeywell security dealer or the professional installer who installed your security system.
You may also visit the official Honeywell website for product documentation and support resources: www.honeywell.com


