
1. Introduction
This manual provides detailed instructions for the installation, operation, and maintenance of your Grote 53662 Submersible Trailer Lighting Kit. This kit is designed for trailer applications, featuring six-function tail lamps (Stop/Tail/Turn, Clearance Marker, License, and Reflector) with a popular square design. It includes the necessary harness, lamps, license bracket, and mounting hardware for a complete replacement solution.
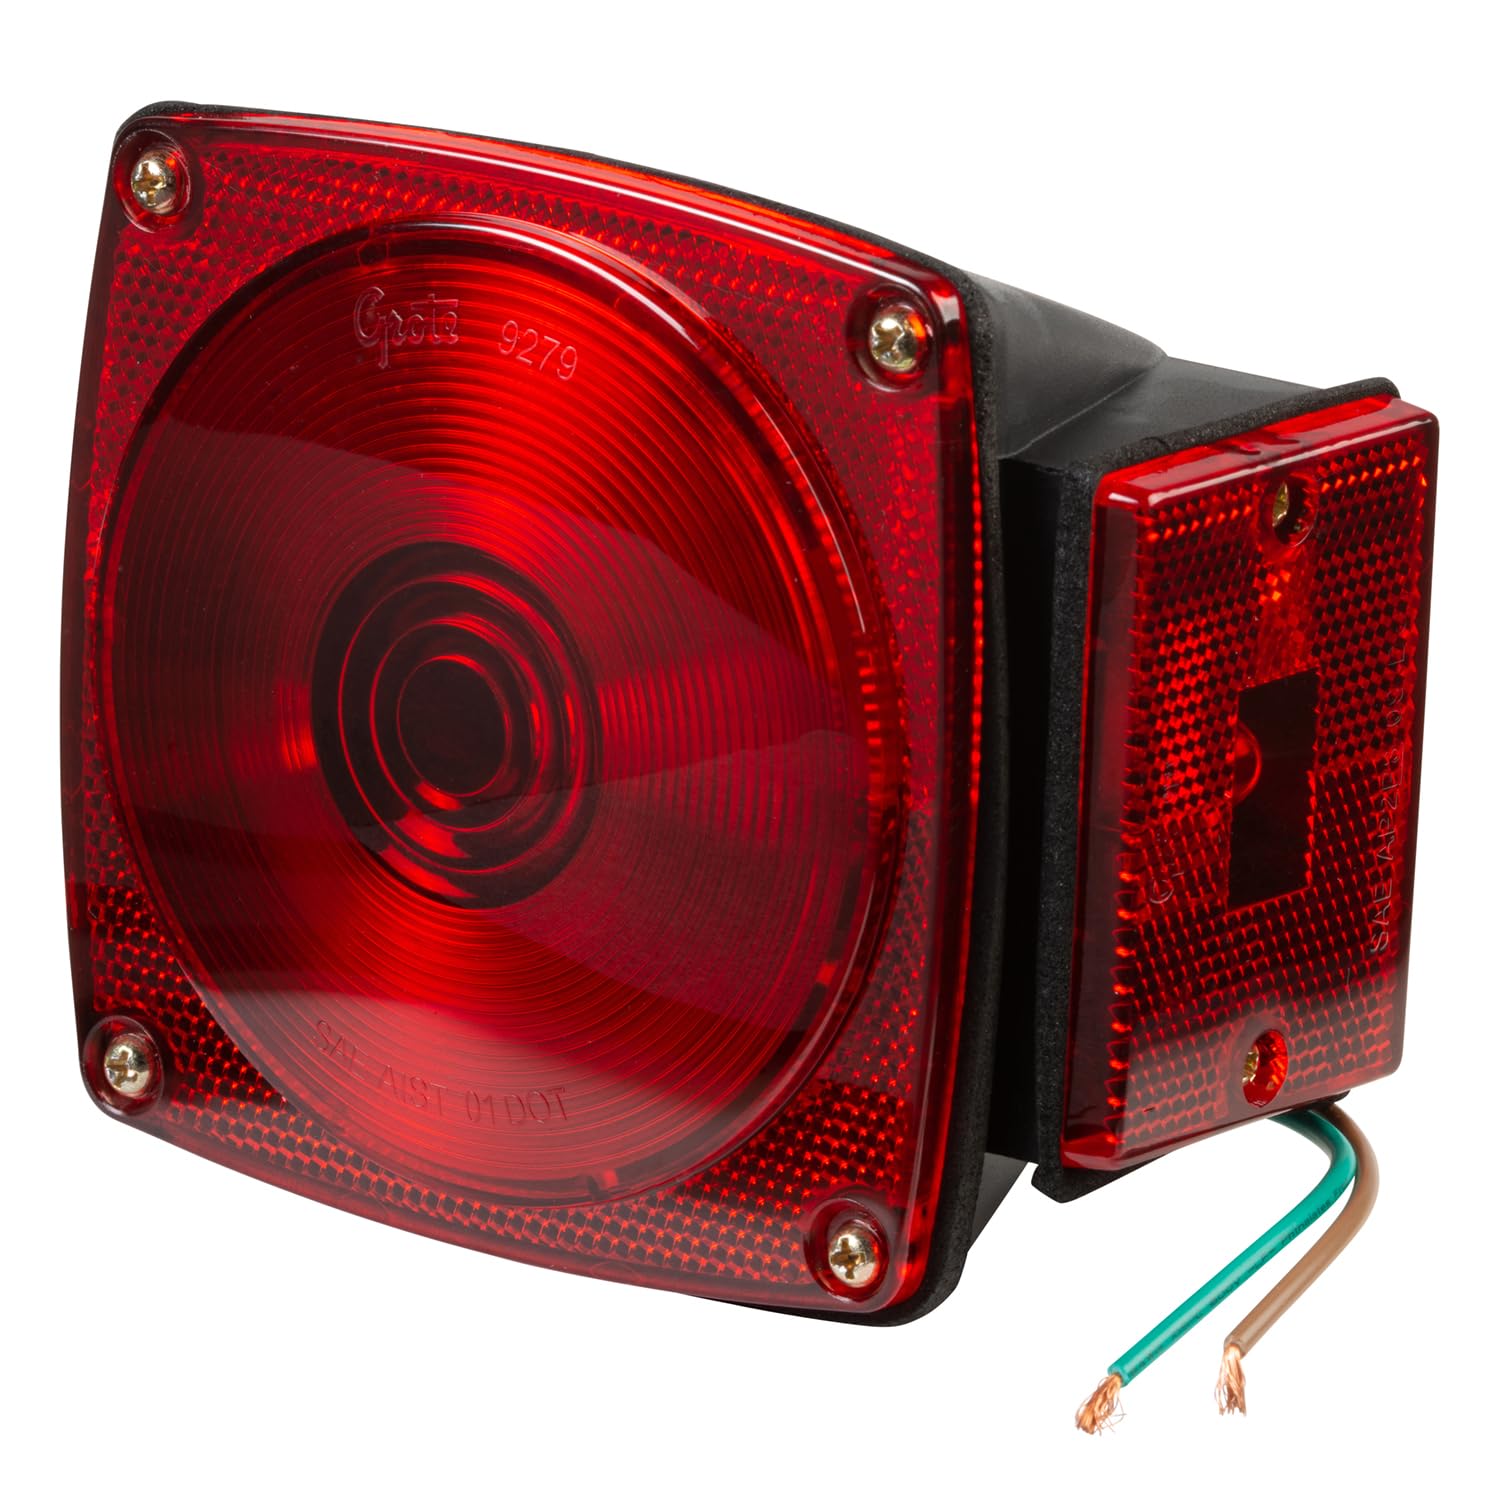
Image: Components of the Grote 53662 Submersible Trailer Lighting Kit, including two square lights, wiring harness, and license plate bracket.
2. Safety Information
Please read and understand all safety instructions before installing or operating the Grote 53662 Submersible Trailer Lighting Kit. Failure to follow these instructions may result in property damage, injury, or product malfunction.
- Always disconnect the trailer from the tow vehicle's power supply before performing any installation or maintenance.
- Ensure all electrical connections are secure and properly insulated to prevent short circuits and corrosion.
- Wear appropriate personal protective equipment, such as safety glasses and gloves, during installation.
- Do not modify the product in any way not specified in this manual.
- Improper installation can lead to electrical hazards or product malfunction.
- Ensure the lights are mounted securely and do not obstruct any other vehicle functions or visibility.
3. Package Contents
Verify that all components are present in your Grote 53662 Submersible Trailer Lighting Kit:
- Right-Hand (RH) Stop/Tail/Turn Lamp
- Left-Hand (LH) Stop/Tail/Turn Lamp
- Wiring Harness
- License Plate Bracket
- Mounting Hardware (nuts, bolts, washers)
4. Installation Instructions
4.1. Tools Required
- Wire Strippers/Crimpers
- Electrical Tape or Heat-Shrink Tubing
- Screwdriver (Phillips and/or Flathead)
- Wrench Set (for mounting hardware)
- Test Light or Multimeter (for verifying connections)
4.2. Mounting the Lights
- Identify suitable mounting locations on the rear of your trailer for the left and right lamps. Ensure the lamps are positioned to provide clear visibility and comply with local regulations.
- Secure the lamps using the provided mounting hardware. Ensure they are firmly attached to prevent movement during travel.
- Attach the license plate bracket to the designated lamp, typically the left-hand lamp, using the provided hardware. Secure your license plate to the bracket.
4.3. Wiring Connections
Connect the wiring harness to the trailer lamps and your trailer's existing wiring. The harness typically features color-coded wires corresponding to specific functions:
- Brown Wire: Tail Lights and Clearance Lights
- Yellow Wire: Left Turn Signal and Stop Light
- Green Wire: Right Turn Signal and Stop Light
- White Wire: Ground Wire (ensure a clean, secure connection to the trailer frame)
- Connect the corresponding wires from the Grote harness to your trailer's wiring. Use appropriate crimp connectors or solder connections for durability.
- Ensure all connections are tight and protected from moisture and corrosion using electrical tape or heat-shrink tubing.
- Route the harness away from moving parts, sharp edges, and areas where it could be pinched or damaged. Secure the wiring with cable ties if necessary.
- Connect the white ground wire securely to a clean, unpainted metal surface on the trailer frame. A poor ground connection is a common cause of lighting issues.
5. Operation
After completing the installation, connect your trailer to the tow vehicle and perform a thorough test of all lighting functions:
- Tail Lights: Turn on the vehicle's headlights. Both trailer tail lights should illuminate steadily.
- Brake Lights: Press the vehicle's brake pedal. Both trailer stop lights should illuminate brightly.
- Turn Signals: Activate the vehicle's left turn signal, then the right. The corresponding trailer turn signal should flash in sync with the vehicle's.
- License Plate Light: If applicable, ensure the license plate light illuminates when the tail lights are on.
- Clearance Markers: Verify any additional clearance marker lights (if part of your setup) illuminate with the tail lights.
If any function does not operate correctly, refer to the Troubleshooting section of this manual.
6. Maintenance
Regular maintenance will help ensure the longevity and optimal performance of your Grote trailer lighting kit.
- Inspection: Periodically inspect the lamps and wiring for any signs of damage, corrosion, or loose connections. Check for frayed wires or cracked lenses.
- Cleaning: Clean the lamp lenses regularly with a mild soap and water solution to ensure maximum light output. Avoid abrasive cleaners that could scratch the lens.
- Submersion: Although the kit is submersible, prolonged submersion or high-pressure washing directly on the seals should be avoided to prevent potential water ingress over time.
- Bulb Replacement (if incandescent): If a bulb needs replacement, carefully remove the lens (if designed for bulb access) and replace it with a bulb of the same type and wattage. Ensure the lens is re-sealed properly after replacement.
- Ground Connection: Periodically check the ground connection to ensure it remains clean and secure.
7. Troubleshooting
If you encounter issues with your trailer lighting kit, consult the table below for common problems and solutions.
| Problem | Possible Cause | Solution |
|---|---|---|
| No lights illuminate | No power from tow vehicle; Blown fuse in tow vehicle; Poor ground connection; Damaged wiring | Check tow vehicle's electrical system and fuses. Ensure ground wire is securely attached to a clean, unpainted metal surface on the trailer frame. Inspect wiring for cuts or breaks. |
| One light not working | Damaged bulb (if incandescent); Loose wire connection; Corroded socket | Replace bulb. Check and secure all wire connections to the affected light. Clean any corrosion from the bulb socket. |
| Lights are dim | Poor ground connection; Insufficient voltage from tow vehicle; Corroded connections | Ensure ground wire is secure. Check tow vehicle's charging system. Clean all electrical connections. |
| Water inside lamp | Damaged seal; Improper installation | Inspect lamp housing for cracks. Ensure proper sealing during installation. If seals are compromised, replacement may be necessary. |
8. Specifications
Key specifications for the Grote 53662 Submersible Trailer Lighting Kit:
| Feature | Detail |
|---|---|
| Model Number | 53662 |
| Brand | Grote |
| Functions | Stop, Tail, Turn, Clearance Marker, License, Reflector |
| Design | Square |
| Special Feature | Submersible |
| Voltage | 12 Volts |
| Auto Part Position | Rear |
| Lens Color | Red |
| Item Dimensions (L x W x H) | 5 x 5.25 x 3.75 inches |
| Item Weight | 4.8 ounces |
| UPC | 089373128023 |
| Automotive Fit Type | Universal Fit |
9. Warranty and Support
Grote products are manufactured to high standards and are backed by a manufacturer's warranty against defects in materials and workmanship. For specific warranty details, claims, or technical support, please refer to the official Grote website or contact Grote customer service directly. Keep your purchase receipt as proof of purchase.
For further assistance, visit the official Grote website or contact their customer support.