SKYLINK GS-101
Skylink GS-101 Garage Door Sensor Instruction Manual
Model: GS-101
Introduction
This manual provides comprehensive instructions for the installation, operation, maintenance, and troubleshooting of your Skylink GS-101 Garage Door Sensor. The GS-101 is designed to notify you when a garage door is open, enhancing home security. Please read this manual thoroughly before installation and use to ensure proper function and safety.
Product Overview
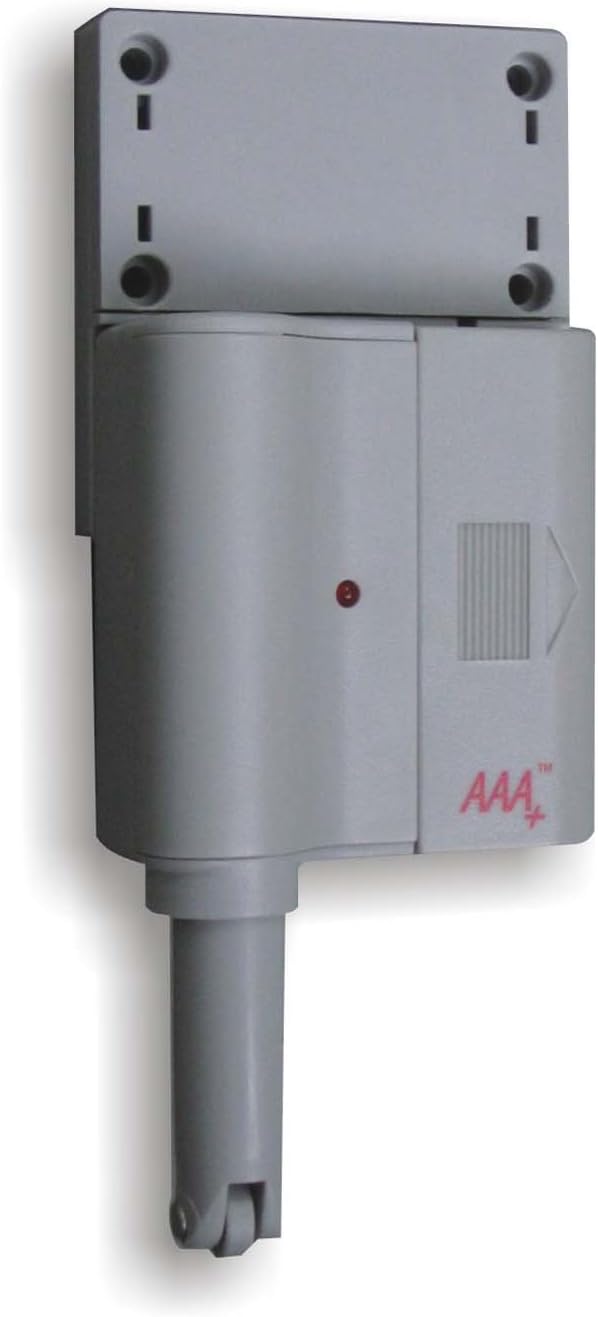
Figure 1: Skylink GS-101 Garage Door Sensor Main Unit. The image displays the main unit of the Skylink GS-101 Garage Door Sensor. It is a grey, rectangular device with a cylindrical extension at the bottom, featuring a small wheel. A red indicator light is visible on the front, along with the 'AAA+' logo. The top section shows mounting holes for installation.
The Skylink GS-101 is a sensor designed to detect the position of a garage door. When installed correctly, it communicates with a compatible receiver (sold separately) to alert users to the door's status. It features a plunger mechanism that is activated when the garage door is closed, and deactivated when open.
Setup and Installation
1. Unpacking and Components
Carefully remove all components from the packaging. Ensure you have the GS-101 sensor unit and any included mounting hardware.
2. Battery Installation
The GS-101 requires batteries for operation. Locate the battery compartment, typically on the back or side of the unit. Insert the required Lithium batteries, ensuring correct polarity (+/-). The unit includes batteries.
3. Mounting Location
Select a suitable location on your garage door frame or wall. The sensor should be mounted where the plunger mechanism can be depressed when the garage door is closed and released when the door is open. Avoid direct exposure to extreme heat or sunlight, especially on metal garage doors, as this can affect performance and longevity.
4. Mounting the Sensor
- Position the sensor unit on the garage door frame or wall.
- Mark the locations for the mounting screws using the holes on the sensor's mounting bracket.
- Drill pilot holes if necessary.
- Secure the sensor unit using the provided screws. Ensure the plunger mechanism is aligned to be activated by the garage door.
- Test the plunger mechanism by manually opening and closing the garage door to confirm it moves freely and activates the sensor as intended.
5. Pairing with a Receiver
The GS-101 operates with a compatible Skylink receiver (e.g., GM-318R or similar models). Refer to your receiver's instruction manual for specific pairing procedures. Generally, this involves putting the receiver into a learning mode and then activating the GS-101 sensor (e.g., by opening/closing the garage door) to transmit its signal.
Operating Instructions
Once installed and paired, the Skylink GS-101 operates automatically. When the garage door is opened, the sensor's plunger is released, triggering a signal transmission to the paired receiver. When the garage door is closed, the plunger is depressed, indicating a closed state.
- Open Door Detection: When the garage door opens, the sensor sends a signal to the receiver, which will then provide an alert (e.g., audible alarm, visual indicator).
- Closed Door Indication: When the garage door closes, the sensor's plunger is pressed, and it typically sends a signal indicating the door is secure.
- Indicator Light: The red indicator light on the sensor may flash to confirm signal transmission or indicate low battery status.
Maintenance
Battery Replacement
The GS-101 uses Lithium batteries. When the battery level is low, the sensor may exhibit a specific indicator (e.g., a rapid flash of the red LED or a notification from the receiver). To replace batteries:
- Carefully open the battery compartment.
- Remove the old batteries.
- Insert new Lithium batteries, ensuring correct polarity.
- Close the battery compartment securely.
- Test the sensor to ensure it is functioning correctly after battery replacement.
Cleaning
Wipe the sensor unit with a soft, dry cloth. Do not use abrasive cleaners or solvents, as these can damage the plastic housing or electronic components.
Troubleshooting
| Problem | Possible Cause | Solution |
|---|---|---|
| Sensor not responding or receiver not receiving signals. |
|
|
| False alarms or inconsistent readings. |
|
|
Specifications
- Model: GS-101
- Brand: SKYLINK
- Power Source: Batteries (Lithium, included)
- Material: Plastic
- Mounting Type: Door Mount
- Item Weight: 8 ounces
- Package Dimensions: 6.8 x 5 x 1.4 inches
- Specific Uses: Home Security (Garage Door Monitoring)
- Compatibility: Works with compatible Skylink receivers (sold separately).
Warranty Information
The Skylink GS-101 Garage Door Sensor comes with a 1-year warranty. This warranty covers repair or replacement of defective units. For warranty claims or further details, please contact Skylink customer support.
Customer Support
For technical assistance, troubleshooting not covered in this manual, or general inquiries, please visit the official SKYLINK website or contact their customer service department. Contact information can typically be found on the product packaging or the manufacturer's website.
Online Resources: www.skylinkhome.com
Ask a question about this manual
Ask about setup, troubleshooting, compatibility, parts, safety, or missing instructions. Manuals+ will review the question and use this page’s manual context to help answer it.