1. Introduction
The Canon PowerShot SD700 IS Digital Elph is a compact digital camera featuring 6.0 megapixels and a 4x optical image-stabilized zoom lens. This manual provides essential information for setting up, operating, and maintaining your camera to ensure optimal performance.
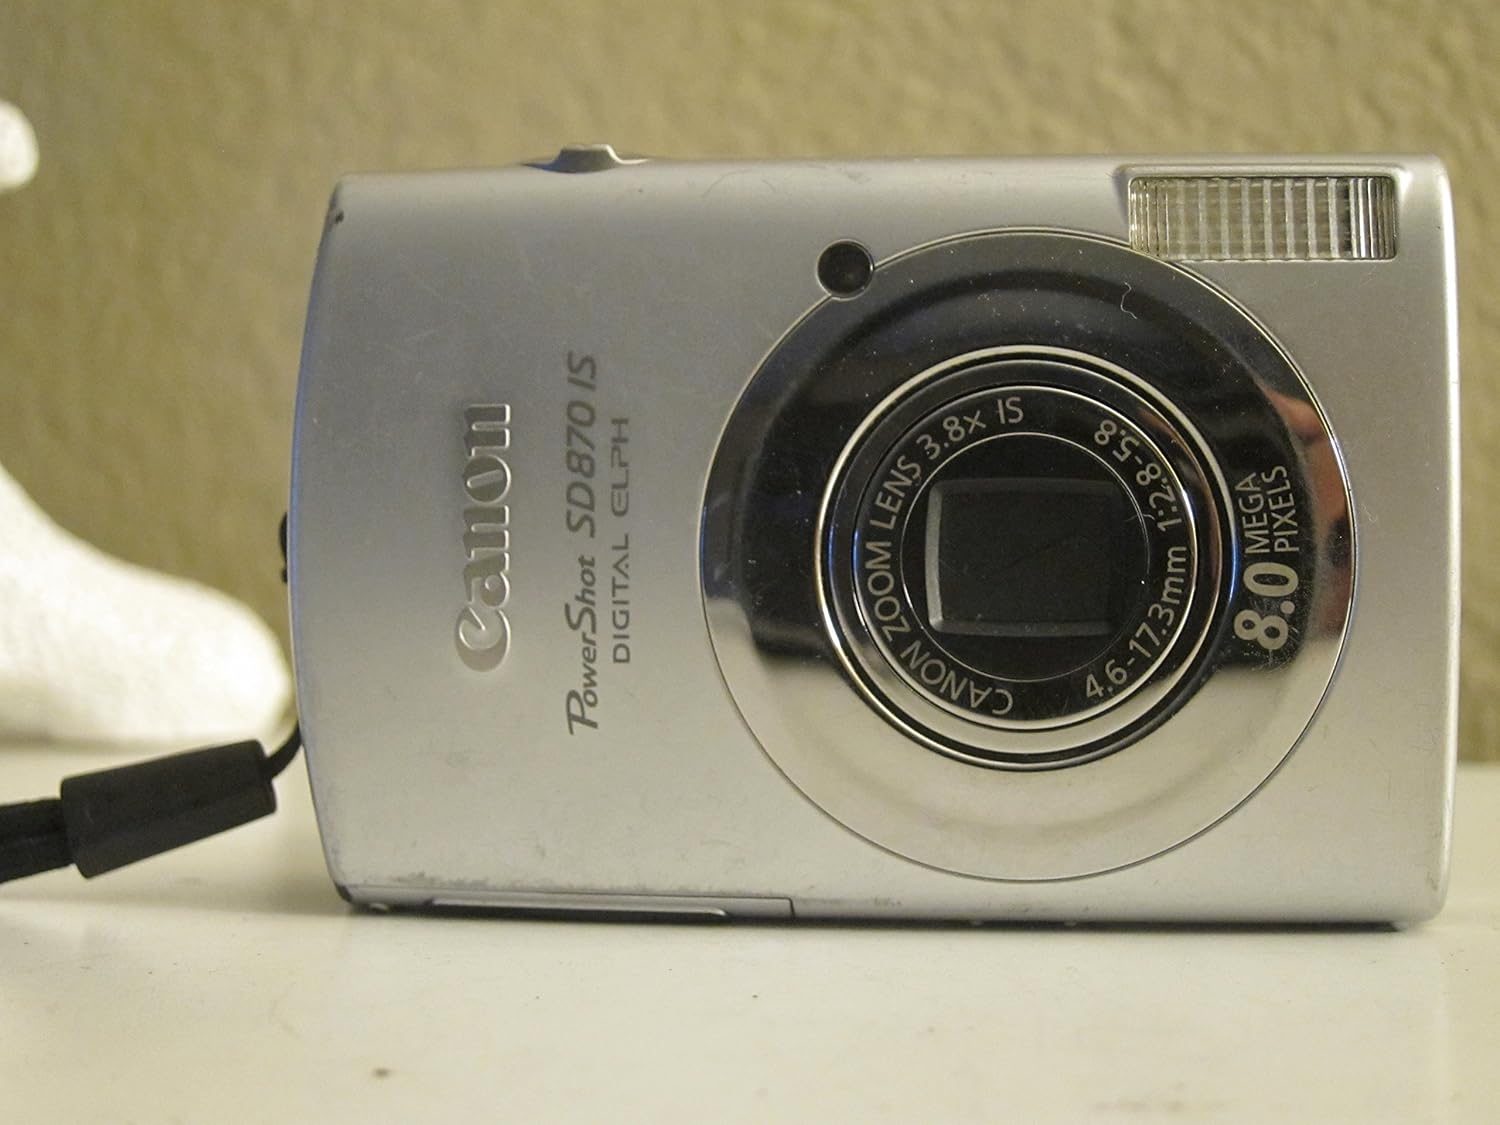
Figure 1.1: Front view of the Canon PowerShot SD700 IS Digital Elph Camera.
2. Setup
2.1. What's in the Box
- PowerShot SD700 IS body
- Lithium battery pack NB-5L
- Battery charger CB-2LX
- SD memory card SDC-16M
- Wrist strap WS-700
- Digital Camera Solution CD-ROM
- USB interface cable IFC-400PCU
- AV cable AVC-DC300
2.2. Installing the Battery and Memory Card
Before using your camera, ensure the battery is charged and correctly inserted, along with a compatible SD memory card.
- Charge the Battery: Connect the battery charger (CB-2LX) to a power outlet and insert the lithium battery pack (NB-5L). The charging indicator will show the charging status.
- Insert Battery: Open the battery/card compartment cover on the bottom of the camera. Insert the charged battery pack with the correct orientation until it clicks into place.
- Insert Memory Card: Insert the SD memory card (SDC-16M or other compatible SD card) into the card slot with the label facing the back of the camera until it clicks.
- Close Cover: Close the battery/card compartment cover securely.

Figure 2.1: Bottom view of the camera with the battery/card compartment.
3. Operating the Camera
3.1. Powering On/Off
Press the [POWER] button located on the top of the camera to turn it on or off. The lens will extend when powered on.
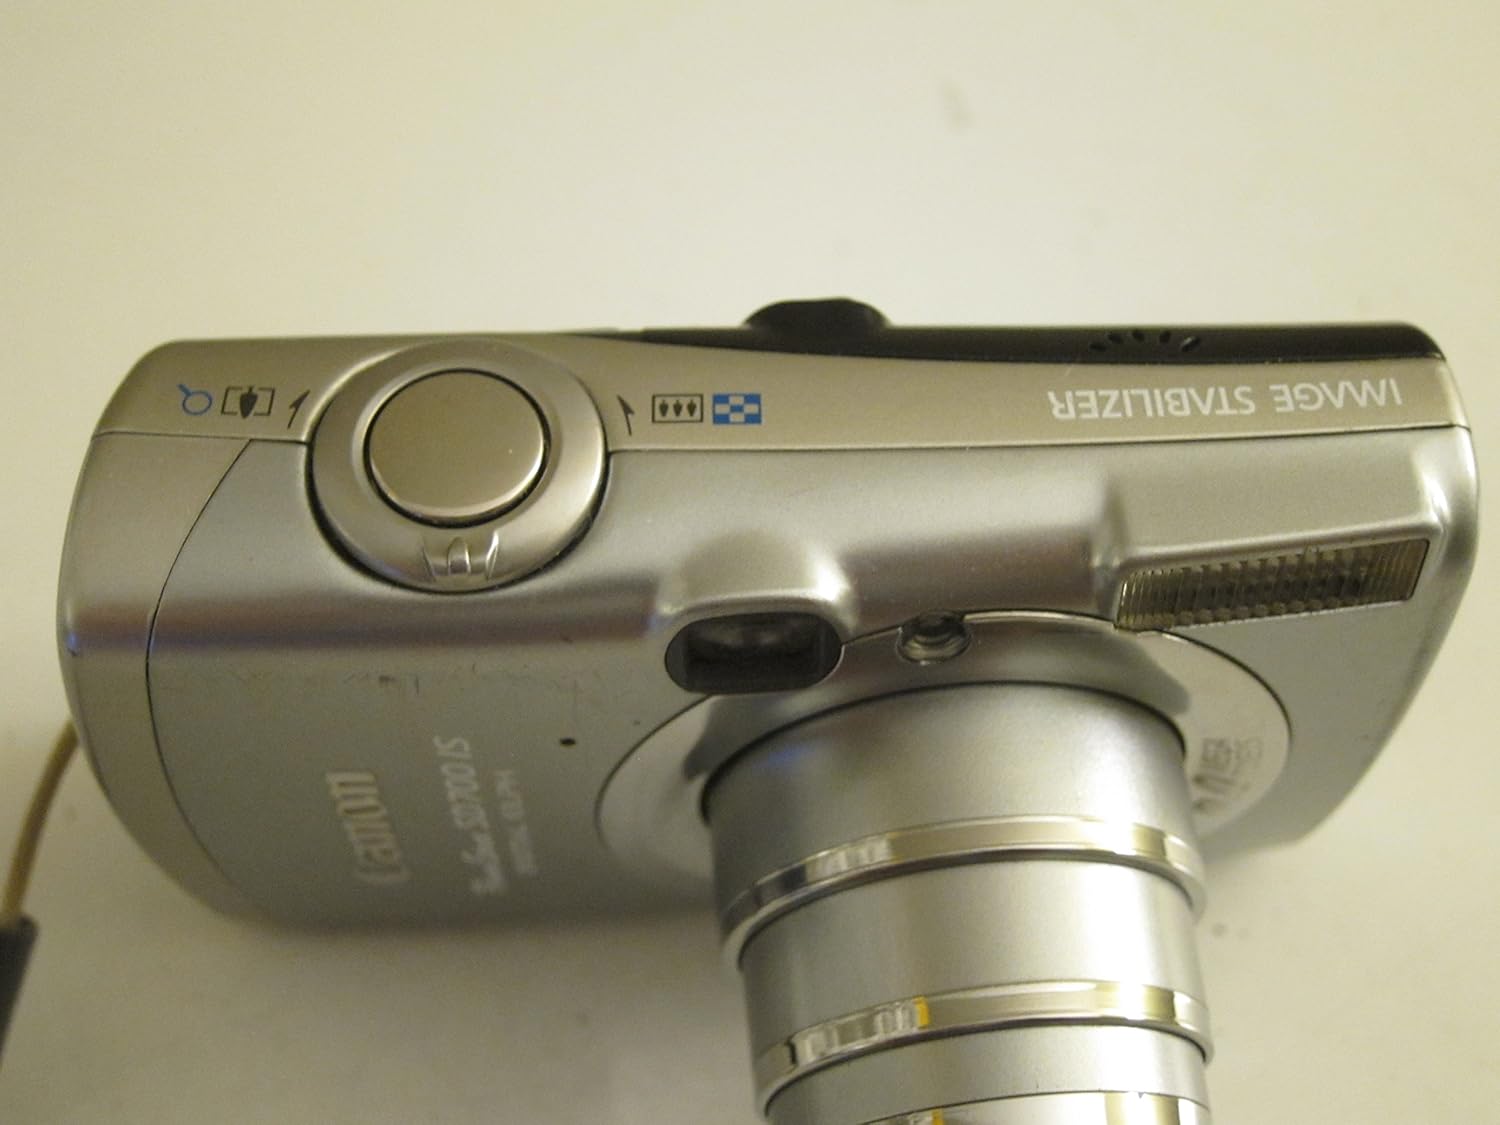
Figure 3.1: Top view of the camera with power and shutter buttons.
3.2. Basic Shooting
To take a picture:
- Aim the Camera: Frame your subject using the LCD monitor.
- Zoom: Use the zoom lever around the shutter button to adjust the optical zoom (4x).
- Focus: Gently press the shutter button halfway down. The camera will autofocus, and the focus frame will turn green when focus is achieved.
- Shoot: Press the shutter button completely down to take the picture.

Figure 3.2: Front view of the camera with the lens extended for shooting.
3.3. Shooting Modes
The camera offers various shooting modes to suit different scenes and preferences. Access these modes via the [MODE] button or menu options.
- Auto: The camera automatically selects optimal settings.
- Manual: Provides creative control over ISO speed, exposure compensation, and white balance.
- Portrait: Blurs the background to emphasize the subject.
- Foliage: Enhances greens and autumn colors.
- Snow: Prevents underexposure in bright snow scenes.
- Beach: Optimizes settings for sunny beach environments.
- Fireworks: Captures vibrant fireworks displays.
- Underwater: Adjusts for underwater color and clarity (requires optional Waterproof Case WP-DC4).
- Indoor: Reduces blur and improves color accuracy indoors.
- Kids and Pets: Fast focusing for moving subjects.
- Night Snapshot: Balances flash with ambient light for natural night photos.
- Color Accent: Retains one color while converting others to monochrome.
- Color Swap: Replaces a selected color with another.
- Digital Macro: For extreme close-up shots.
- Stitch Assist: Helps align sequential images for panoramas.
- My Colors: Offers various color effects like Vivid, Neutral, Sepia, Black and White, Positive Film, Lighter/Darker Skin Tone, and Custom Color.
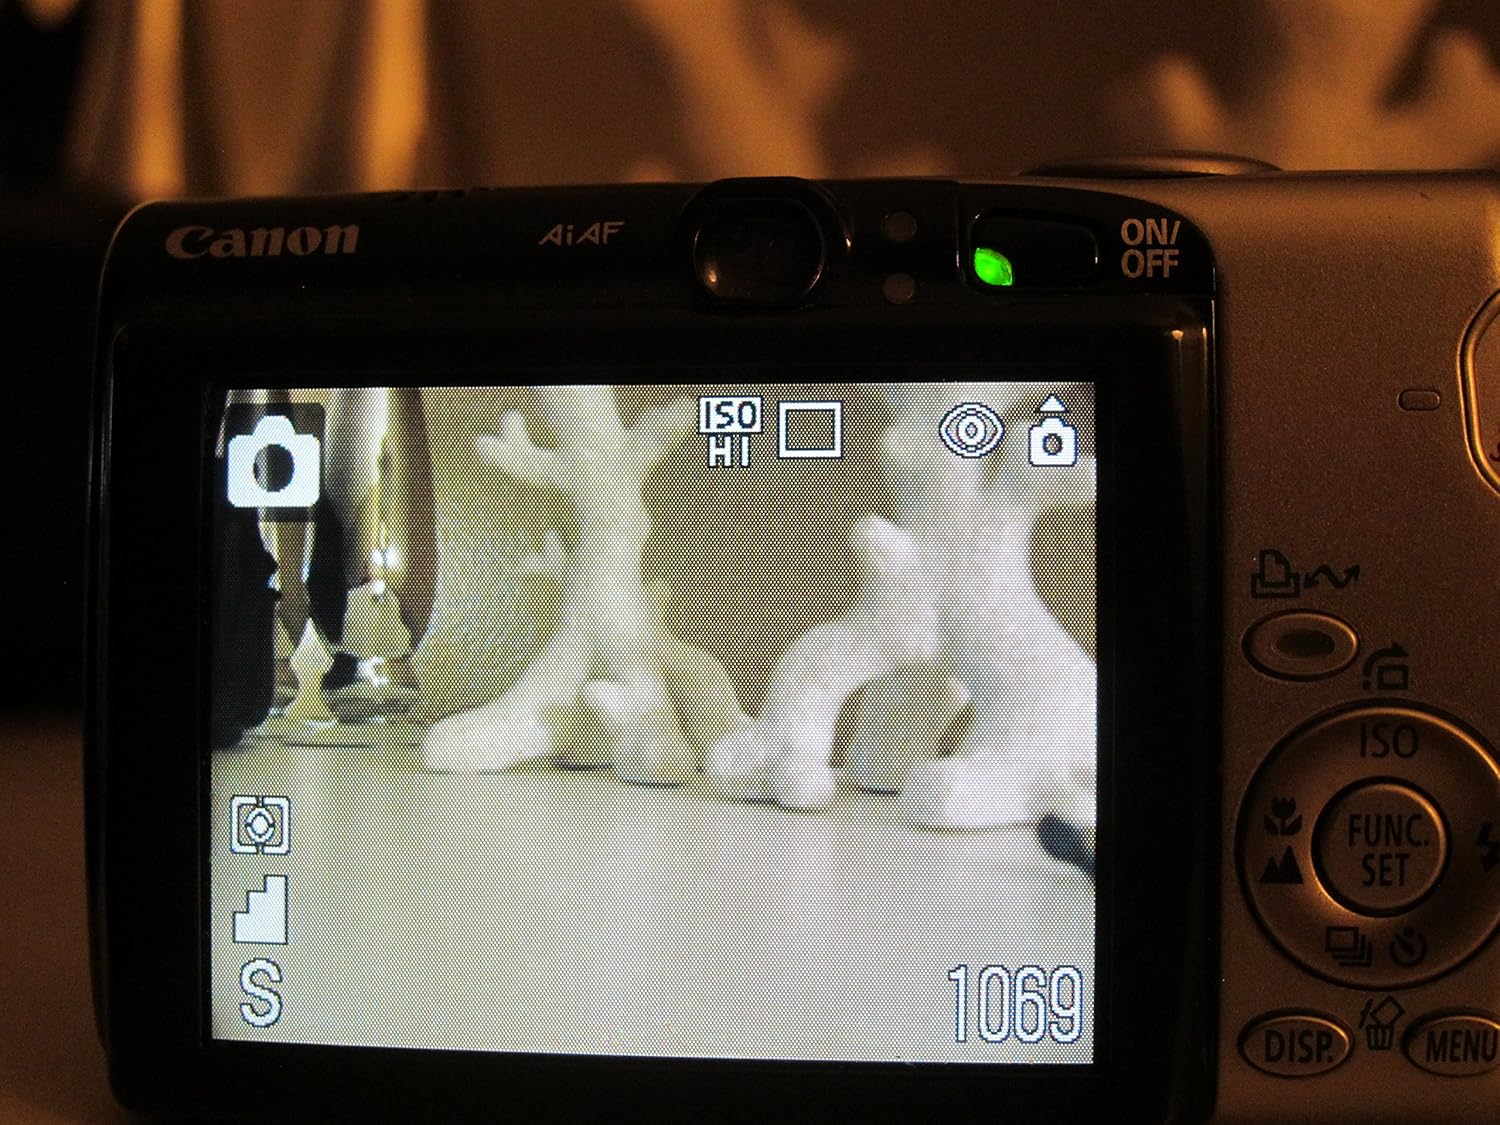
Figure 3.3: Rear LCD display in shooting mode, showing various icons.
3.4. Video Recording
The PowerShot SD700 IS supports various movie modes:
- Fast Frame Rate Movie Mode: Records QVGA (320 x 240 pixels) at 60 frames per second for up to one minute, ideal for smooth motion.
- Standard Movie Mode: Records VGA (640 x 480 pixels) or QVGA (320 x 240 pixels) at 30 fps or 15 fps for up to one hour or 1 GB.
- Compact Movie Mode: Records QQVGA (160 x 120 pixels) at 15 fps for up to 3 minutes.
To start recording, select the movie mode and press the shutter button. Press it again to stop.
3.5. Playback
To view your photos and videos, press the [PLAYBACK] button. Use the directional buttons to navigate through your media.

Figure 3.4: Rear LCD display in playback mode, showing a captured image.
4. Connecting to a Computer or Printer
The Print/Share button simplifies direct printing and image transfer.
- Direct Printing: Connect the camera to a Canon CP, SELPHY, or PIXMA Photo Printer, or any PictBridge-compatible photo printer using the USB interface cable (IFC-400PCU). Press the lighted Print/Share button to print.
- Image Transfer: Use the Print/Share button to transfer images to a computer (Windows and Macintosh) via the USB interface cable.
5. Maintenance
- Cleaning the Camera Body: Use a soft, dry cloth to wipe the camera body. For stubborn dirt, lightly dampen the cloth with water.
- Cleaning the Lens: Use a lens brush or a soft, clean cloth specifically designed for camera lenses. Avoid touching the lens with your fingers.
- Cleaning the LCD Monitor: Gently wipe the LCD monitor with a soft cloth.
- Battery Care: Store the battery in a cool, dry place when not in use. Avoid fully discharging the battery for extended periods.
- Memory Card Care: Format the memory card regularly to maintain optimal performance. Back up important photos and videos before formatting.
6. Troubleshooting
- Camera does not power on: Ensure the battery is fully charged and correctly inserted.
- Images are blurry: Check that the lens is clean. Ensure the camera has focused correctly before fully pressing the shutter button. Use Image Stabilizer in low light or with zoom.
- Memory card error: Ensure the memory card is inserted correctly. Try reformatting the card (after backing up data). If the issue persists, try a different compatible memory card.
- Flash does not fire: Check flash settings to ensure it is not set to 'Flash Off'. Ensure the subject is within the flash range.
7. Specifications
| Feature | Specification |
|---|---|
| Product Dimensions | 3.54 x 1.02 x 2.24 inches |
| Item Weight | 6.9 ounces (0.43 Pounds) |
| Item Model Number | 1130B001 |
| Batteries | 1 Lithium Ion battery required |
| Special Feature | Image Stabilization |
| Min Shutter Speed | 15 seconds |
| Max Shutter Speed | 1/1600 Seconds |
8. Warranty and Support
For warranty information and technical support, please refer to the documentation included with your product or visit the official Canon support website. Keep your purchase receipt for warranty claims.


