1. Introduction
This manual provides instructions for the proper installation and use of McGard 24019 Cone Seat Wheel Locks. These wheel locks are designed to secure your vehicle's wheels and tires. They function similarly to standard lug nuts but require a special key for installation and removal, enhancing security.
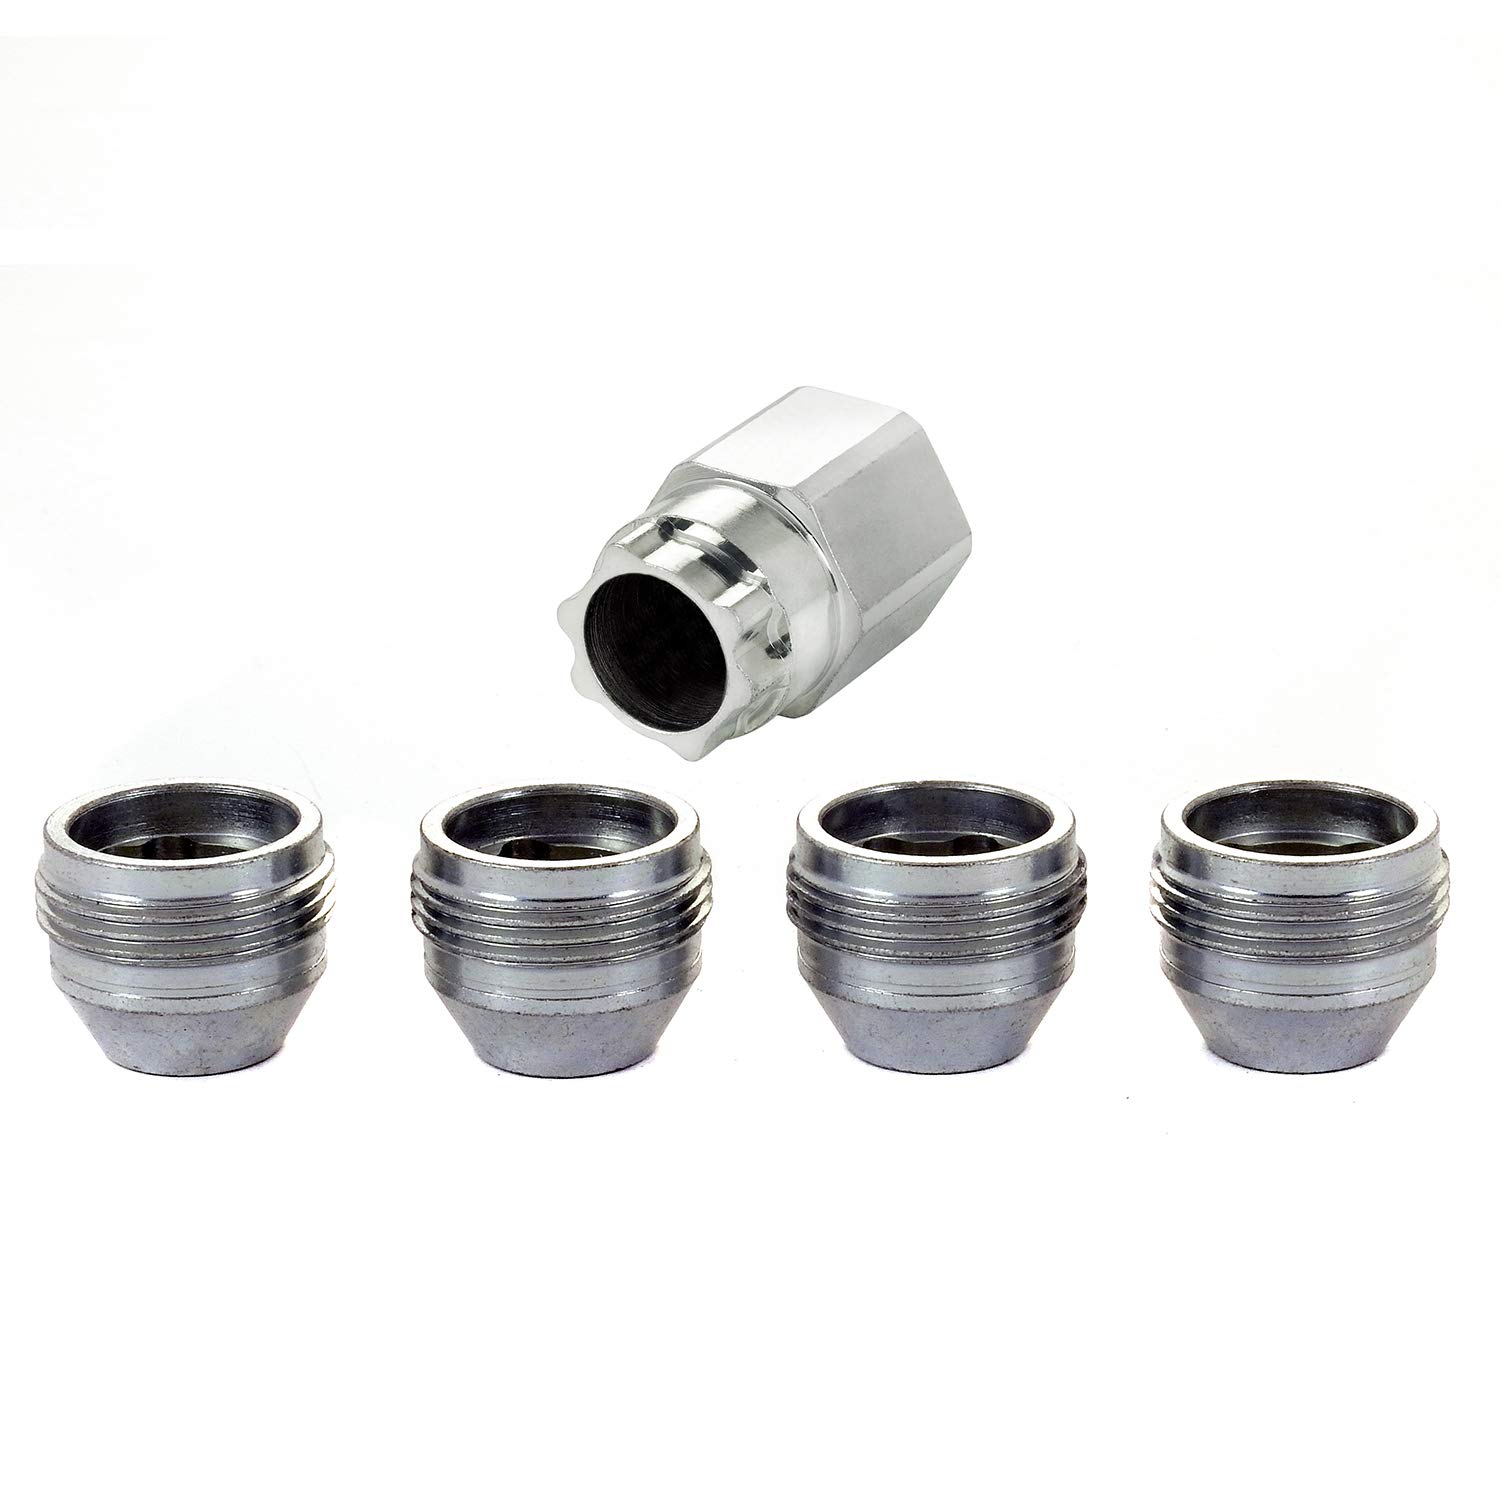
Figure 1: McGard 24019 Cone Seat Wheel Locks in packaging, showing four silver wheel locks and one key.
2. Safety Information
- Always ensure the vehicle is on a flat, stable surface and the parking brake is engaged before working on wheels.
- Use appropriate safety equipment, such as gloves and eye protection.
- Never use an impact wrench for installing or removing wheel locks, as this can damage the lock or key.
- Always use a torque wrench to tighten wheel locks to the manufacturer's specified torque settings.
- Keep the wheel lock key in a secure, accessible location within your vehicle, but not in plain sight.
- Do not overtighten the wheel locks.
3. Package Contents
The McGard 24019 Wheel Lock set typically includes:
- 4 x McGard Cone Seat Wheel Locks (M14 x 1.5 Thread Size)
- 1 x Matching Wheel Lock Key
4. Setup & Installation
Follow these steps to properly install your McGard wheel locks. It is crucial to follow the correct torque specifications for your vehicle.
4.1 Preparation
- Park your vehicle on a level, stable surface.
- Engage the parking brake.
- Gather necessary tools: lug wrench, torque wrench, and your McGard wheel lock key.
4.2 Installation Procedure
- Remove one standard lug nut: Using a lug wrench, carefully remove one standard lug nut from each wheel. The McGard wheel lock will replace this lug nut.
- Install the McGard wheel lock by hand: Take one McGard wheel lock and thread it onto the wheel stud by hand. Ensure it threads smoothly without resistance. Snug it up to the wheel by hand.
- Engage the key and torque: Place the McGard wheel lock key onto the wheel lock. Using a torque wrench, tighten the wheel lock to the vehicle manufacturer's recommended torque specification. If using aftermarket wheels, refer to the wheel manufacturer's torque recommendations.
- Repeat for all four wheels.

Figure 2: Removing a standard lug nut from the wheel.

Figure 3: Hand-tightening the McGard wheel lock onto the wheel stud.

Figure 4: Applying the correct torque to the wheel lock using a torque wrench.
4.3 Installation Video
For a visual guide on the installation process, please refer to the official McGard Wheel Lock Nut Installation video below:
Video 1: Official McGard Wheel Lock Nut Installation Guide. This video demonstrates the step-by-step process of replacing a standard lug nut with a McGard wheel lock and proper torque application.
5. Operation (Removal)
When removing your wheels, remember the key principle for McGard wheel locks: the lock should always be the last thing applied to the wheel and the first thing removed.
- Prepare for removal: Ensure the vehicle is safely supported (e.g., with a jack and jack stands) and the parking brake is engaged.
- Remove the wheel lock first: Place the McGard wheel lock key onto the wheel lock. Using a lug wrench, loosen and remove the wheel lock.
- Remove remaining lug nuts: Proceed to remove the standard lug nuts.
- Re-installation: When re-installing the wheel, always install the standard lug nuts first, tighten them to specification, and then install the McGard wheel lock as the final step, torquing it to the correct specification.
6. Maintenance
- Regular Inspection: Periodically inspect your wheel locks for any signs of damage, corrosion, or wear.
- Cleaning: Clean the wheel locks with mild soap and water. Avoid harsh chemicals or abrasive cleaners that could damage the finish.
- Key Care: Keep your wheel lock key clean and free of debris. Store it in a safe, dry place.
- Torque Check: After the first 50-100 miles following installation, re-check the torque of all lug nuts and wheel locks to ensure they remain properly tightened.
7. Troubleshooting
7.1 Difficulty Removing/Installing Wheel Lock
- Ensure the key is fully seated onto the wheel lock before attempting to turn.
- Verify you are using the correct McGard key for your specific wheel locks.
- Avoid using excessive force or impact tools, which can damage the key or lock.
7.2 Lost Wheel Lock Key
If you lose your McGard wheel lock key, contact McGard customer support directly. You will typically need to provide the key code (found on the original packaging or a registration card) to obtain a replacement key. Do not attempt to remove the wheel locks without the proper key, as this can cause damage to your wheels or vehicle.
8. Specifications
| Model Number | 24019 |
| Thread Size | M14 x 1.5 |
| Seat Type | Cone Seat |
| Hex Size | 22mm |
| Overall Length (OAL) | 0.893 inches |
| Material | Alloy Steel, Chrome, Nickel |
| Finish | Silver (Triple-nickel chrome plating) |
| Quantity | Set of 4 Wheel Locks + 1 Key |
9. Warranty & Support
9.1 Manufacturer's Warranty
McGard wheel locks are guaranteed for life against rust, chipping, or peeling. For specific warranty claims or details, please refer to the official McGard website or contact their customer service.
9.2 Customer Support
For further assistance, technical questions, or to order a replacement key, please visit the official McGard website or contact their customer support department. Ensure you have your product model number (24019) and key code (if applicable) ready when contacting support.