1. Introduction
This manual provides essential information for the proper installation, operation, and maintenance of your K&N HP-2002 Premium Oil Filter. Adhering to these instructions will help ensure optimal performance and longevity of your engine's filtration system. Please read this manual thoroughly before proceeding with any installation or maintenance.
2. Safety Information
Always prioritize safety when working on your vehicle. Failure to follow safety precautions can result in injury or damage to the vehicle.
- Eye Protection: Always wear safety glasses or goggles to protect your eyes from oil, debris, or chemicals.
- Hand Protection: Use appropriate gloves to protect your hands from hot surfaces, sharp edges, and automotive fluids.
- Vehicle Stability: Ensure the vehicle is securely supported on a level surface using jack stands before working underneath. Never rely solely on a jack.
- Hot Surfaces: Engine components and oil can be extremely hot. Allow the engine to cool before beginning work.
- Fluid Disposal: Dispose of used oil and filters responsibly according to local environmental regulations.
3. Product Overview
The K&N HP-2002 Premium Oil Filter is engineered for superior engine protection and performance. It features a heavy-duty canister, high-flow filtration media, and a convenient wrench-off nut for easy removal.

Image 3.1: K&N HP-2002 Premium Oil Filter and its retail packaging.
Key Features:
- High Flow Rates: Designed to provide exceptional flow rates and a consistent flow of oil to your engine.
- Versatile Compatibility: Operates with all synthetic, conventional, and blended motor oils.
- Engine Protection: Pleated synthetic-blend filtration media removes most harmful contaminants.
- Durability: Laboratory tested for excellent capacity and burst strength, featuring heavy-duty construction.
- Easy Removal: Equipped with a 1-inch welded hex nut for quick and easy filter removal.
- Long Service Intervals: Designed to withstand longer service intervals recommended by vehicle manufacturers.
4. Compatibility
The K&N HP-2002 oil filter is compatible with a wide range of vehicles. Please verify fitment for your specific vehicle model and year before installation. A partial list of compatible vehicles includes:
- 2009-2013 BLUE BIRD Vision School Bus
- 2011 MERCRUISER X Alpha Series
- 1999-2010 STERLING A9500, AT9500, L9500, TRUCK A9500, TRUCK L9500
- 2007-2009 CHEVROLET C4500 Kodiak, C5500 Kodiak, C6500 Kodiak, C7500 Kodiak, C8500
- 2005-2009 GMC C4500 Topkick, C5500 Topkick, C6500 Topkick, C7500 Topkick, C8500 Topkick
- 2000-2009 WORKHORSE W16, W18, W20, W21, W22, W24, W25
- 1993-2006 VOLVO PENTA
- 1967-1997 CHEVROLET Camaro
- 1970-1997 PONTIAC Firebird
- 1991-1993 BUICK Roadmaster
- 1993 CADILLAC Fleetwood
- 1966-1993 CHEVROLET Caprice
- 1960-1991 CHEVROLET Corvette
- And many other CHEVROLET, PONTIAC, BUICK, CADILLAC, MERCRUISER, VOLVO PENTA, and STERLING TRUCK models.
For a complete and up-to-date compatibility list, please refer to the K&N website or your vehicle's owner's manual.
5. Setup (Installation)
Proper installation is crucial for the oil filter's performance and to prevent leaks. If you are unsure about any step, consult a qualified mechanic.
Required Tools and Materials:
- New K&N HP-2002 Oil Filter
- New engine oil (refer to your vehicle's owner's manual for type and quantity)
- Oil drain pan
- Wrench (for drain plug and K&N's 1-inch hex nut)
- Funnel
- Clean rags or shop towels
- Safety glasses and gloves
Installation Steps:
- Prepare the Vehicle: Park the vehicle on a level surface and engage the parking brake. Allow the engine to cool down to prevent burns. Raise the vehicle safely using a jack and secure it with jack stands.
- Drain Old Oil: Place the oil drain pan directly under the engine's oil drain plug. Carefully remove the drain plug with a wrench and allow all the old oil to drain completely. Once drained, reinstall the drain plug and tighten it to the manufacturer's specifications.
- Remove Old Filter: Position the drain pan under the old oil filter. Use an oil filter wrench to loosen and remove the old filter. Be prepared for residual oil to drain out.
- Prepare New Filter: Apply a thin film of new engine oil to the rubber gasket of the new K&N HP-2002 filter. This ensures a proper seal.
- Install New Filter: Thread the new K&N oil filter onto the engine by hand. Once the gasket makes contact with the engine block, tighten it an additional 3/4 to 1 full turn. Do not overtighten. The integrated 1-inch hex nut on the K&N filter can be used for final tightening if necessary, but hand-tightening is often sufficient.

Image 5.1: The K&N oil filter features an integrated 1-inch hex nut for easy removal and installation with a standard wrench.
- Add New Oil: Using a funnel, add the recommended amount and type of new engine oil to the engine's oil fill port.
- Check for Leaks: Start the engine and let it run for a few minutes. Turn off the engine, wait a few minutes for the oil to settle, then check the oil level with the dipstick. Add more oil if needed. Inspect around the oil filter and drain plug for any leaks.
- Lower Vehicle: Carefully lower the vehicle from the jack stands.
6. Operating (Functionality)
The K&N HP-2002 oil filter is designed to maintain engine health by providing clean oil circulation. Its advanced design ensures efficient filtration and optimal oil flow.
Engine Protection:
The pleated synthetic-blend filtration media effectively traps harmful contaminants such as dirt, metal particles, and sludge, preventing them from circulating through the engine. This protection helps reduce wear on critical engine components, extending engine life.
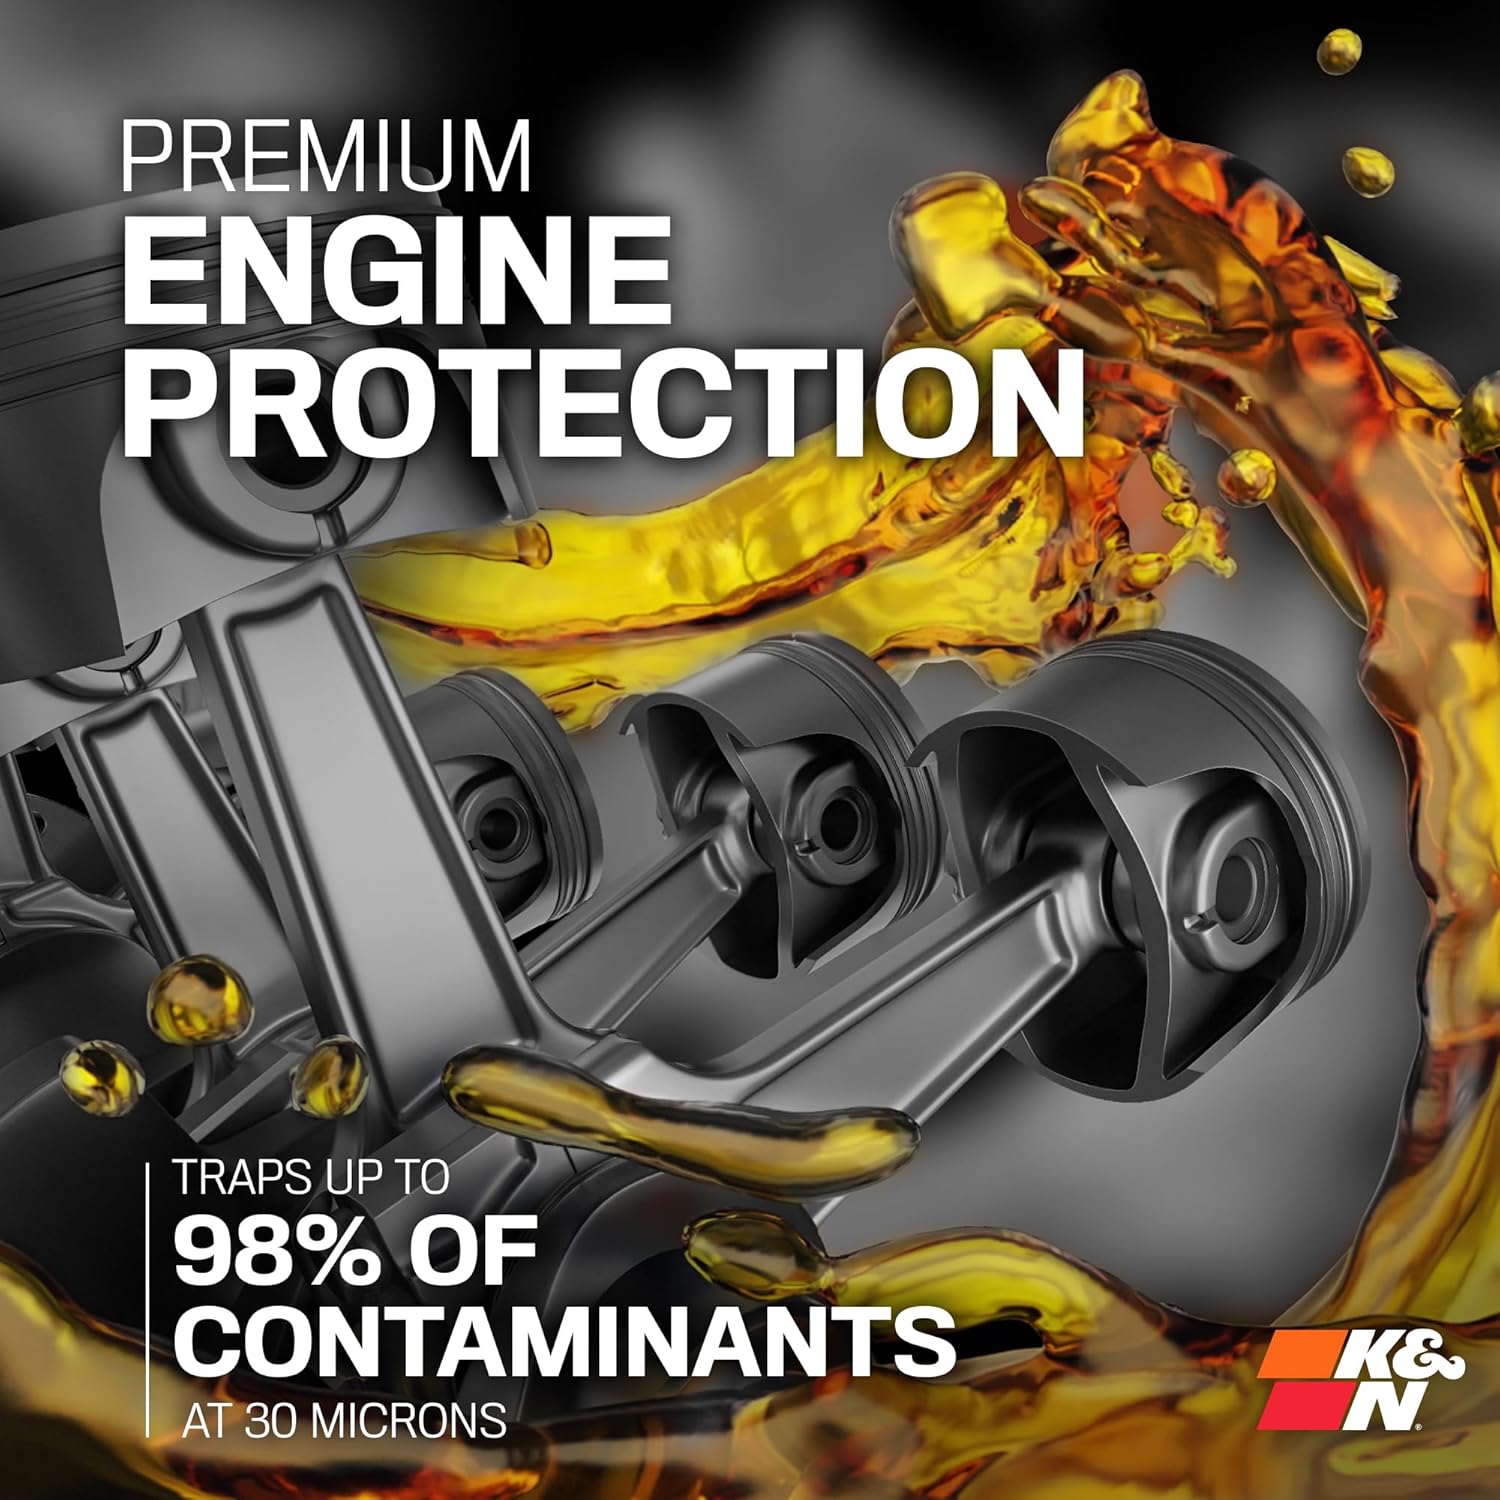
Image 6.1: The K&N oil filter provides premium engine protection by trapping up to 98% of contaminants at 30 microns.
High Flow Rates:
The filter's design ensures high oil flow rates, which is essential for maintaining proper oil pressure and lubrication throughout the engine, especially during demanding operating conditions. This consistent flow contributes to better engine performance.

Image 6.2: Internal view illustrating the high flow rates achieved by the K&N oil filter's design.
Cold Engine Start-Up Defense:
The K&N HP-2002 incorporates a silicone anti-drainback valve. This valve prevents oil from draining out of the filter when the engine is off, ensuring immediate oil pressure and lubrication upon cold start-up, which is critical for minimizing engine wear.

Image 6.3: Diagram illustrating the function of the silicone anti-drainback valve for cold engine start-up defense.
7. Maintenance
Regular oil and filter changes are essential for engine health. The K&N HP-2002 oil filter is designed for extended service intervals.
Recommended Service Interval:
The K&N HP-2002 oil filter is engineered to provide up to 20,000 miles of engine protection. However, always follow your vehicle manufacturer's recommended oil change intervals, especially for warranty purposes. If your vehicle manufacturer recommends shorter intervals, adhere to those guidelines.

Image 7.1: The K&N HP-2002 filter offers long-life protection for up to 20,000 miles.
Disposal:
Used oil filters and engine oil must be disposed of properly. Many auto parts stores and service centers offer recycling programs for these materials. Do not dispose of used oil or filters in household trash or pour them down drains.
8. Troubleshooting
If you encounter issues after installing your K&N HP-2002 oil filter, consider the following common problems and solutions:
- Oil Leakage:
- Ensure the old gasket was completely removed from the engine block.
- Verify the new filter gasket was properly lubricated with oil before installation.
- Check that the filter is tightened correctly (hand-tight plus 3/4 to 1 full turn). Do not overtighten, as this can damage the gasket.
- Inspect the oil drain plug for proper tightening and ensure its gasket/washer is in good condition.
- Low Oil Pressure Warning Light:
- Immediately check the engine oil level. If low, add oil.
- Ensure the correct oil filter was installed for your vehicle.
- If the light persists after checking oil level and filter installation, consult a mechanic.
- Incorrect Fit:
- Double-check the K&N HP-2002 model number against your vehicle's requirements. Refer to the compatibility section or K&N's official fitment guide.
9. Specifications
Detailed technical specifications for the K&N HP-2002 Premium Oil Filter:
| Specification | Detail |
|---|---|
| Brand | K&N |
| Model Number | HP-2002 |
| Material | Steel |
| Product Grade | Performance Part |
| Item Dimensions (L x W x H) | 3.81 x 3.81 x 4.6 inches |
| Outside Diameter | 3.81 Inches |
| Thread Size | 13/16 Inches |
| Item Weight | 1.05 pounds |
| OEM Part Number | HP-2002 |
| UPC | 024844034991 |
| Automotive Fit Type | Vehicle Specific Fit |
| Manufacturer | K&N Filters |
10. Warranty
The K&N HP-2002 Premium Oil Filter is protected by a K&N 1-Year Limited Warranty. This warranty covers defects in materials and workmanship under normal use and service. For specific terms, conditions, and claim procedures, please refer to the official K&N website or contact K&N customer support.
11. Support
For additional assistance, technical support, or inquiries regarding your K&N HP-2002 oil filter, please visit the official K&N website or contact their customer service department.
- K&N Official Website: www.knfilters.com
- Amazon Store: K&N Store on Amazon