Weller WP35

Weller WP35 35-Watt Professional Soldering Iron User Manual
Model: WP35
Introduction
This manual provides essential instructions for the safe and effective use of your Weller WP35 35-Watt Professional Soldering Iron. The WP35 is designed for a wide variety of electronic tasks, featuring a 35-watt heating element and compatibility with ST series long-life, double-coated, iron-plated tips. It includes a cushion grip handle and a quick-change knurled collar for tip replacement.

Image: Weller WP35 35-Watt Professional Soldering Iron, showing its light blue handle and black cushion grip.
Important Safety Information
WARNING: This product contains chemicals known to the State of California to cause cancer and birth defects or other reproductive harm. Always work in a well-ventilated area and wash hands thoroughly after handling.
- Always wear appropriate eye protection when soldering.
- Ensure the work area is well-ventilated to avoid inhaling solder fumes.
- Never touch the soldering iron tip or barrel when hot. Temperatures can reach up to 850°F (454°C).
- Place the soldering iron in a suitable safety stand when not in use.
- Keep out of reach of children.
- Do not use the soldering iron near flammable materials or liquids.
- Always unplug the soldering iron from the power outlet when not in use or before performing maintenance.
- Inspect the power cord for damage before each use. Do not use if the cord is frayed or damaged.
- This appliance has a grounded plug. Ensure it is plugged into a properly grounded outlet.
Setup and Initial Use
- Unpacking: Carefully remove the soldering iron from its packaging. Inspect for any visible damage.
- Tip Installation: The WP35 comes with an ST3 soldering tip pre-installed. Ensure it is securely tightened using the knurled collar. If changing tips, refer to the "Maintenance" section.
- Power Connection: Plug the three-prong grounded power cord into a suitable 120V AC grounded electrical outlet.
- Pre-heating: Place the iron in a heat-resistant stand. Allow approximately 2-3 minutes for the iron to reach its operating temperature of 850°F (454°C).
- Tinning the Tip: Once hot, apply a small amount of solder to the tip. This "tins" the tip, protecting it from oxidation and improving heat transfer.
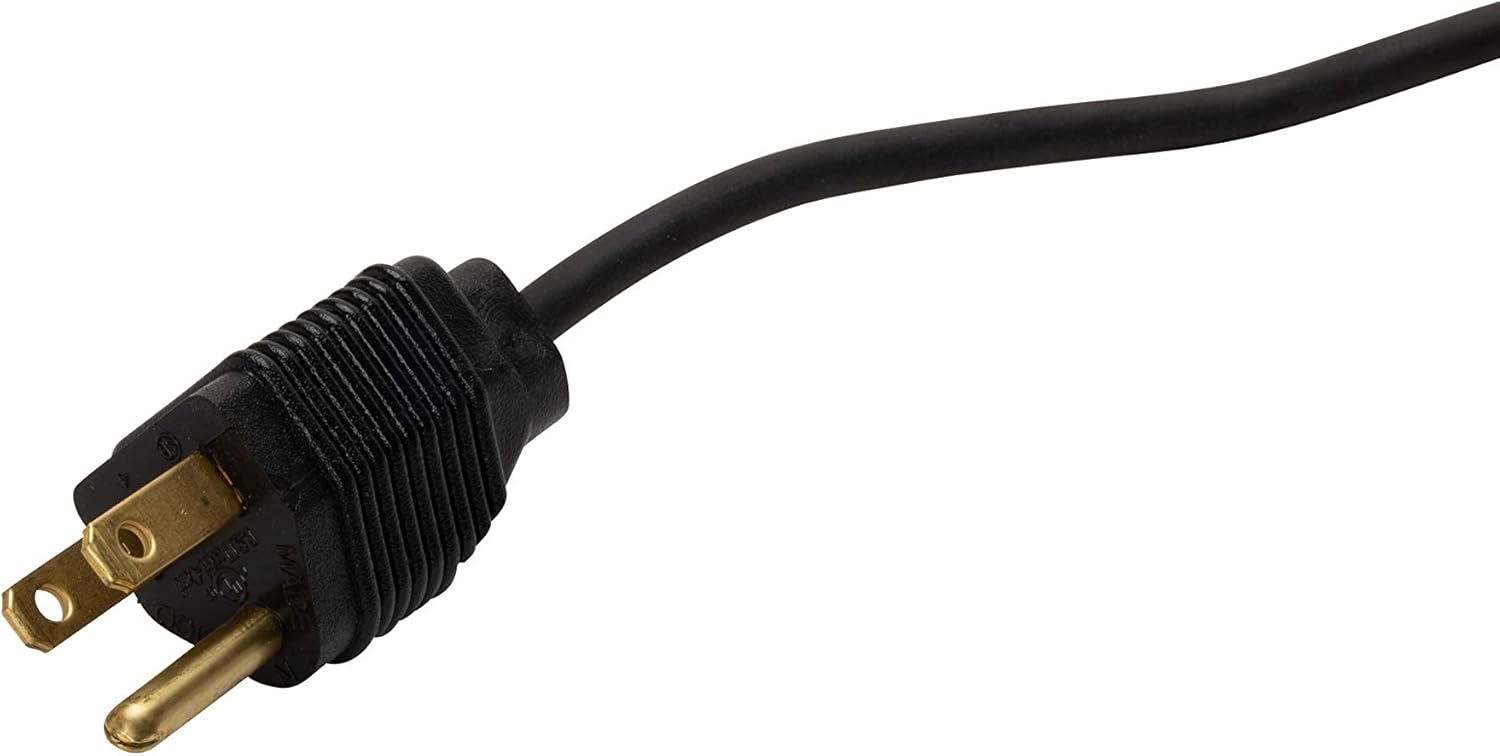
Image: Close-up of the grounded three-prong power plug for the Weller WP35 soldering iron.
Operating Instructions
Follow these steps for effective soldering:
- Prepare Surfaces: Ensure all surfaces to be soldered are clean and free of dirt, grease, or oxidation. Use flux if necessary.
- Position Components: Securely position the components to be soldered.
- Apply Heat: Place the hot, tinned soldering iron tip against both the component lead and the circuit board pad (or wires) simultaneously. Ensure good contact with both surfaces to transfer heat efficiently.
- Apply Solder: After 1-2 seconds, touch the solder to the junction of the tip and the workpieces. The heat from the workpieces should melt the solder, allowing it to flow smoothly and form a strong joint. Do not apply solder directly to the iron tip.
- Remove Solder and Iron: Once enough solder has flowed to form a good joint, remove the solder wire first, then immediately remove the soldering iron.
- Allow to Cool: Allow the joint to cool naturally without disturbance. Do not blow on the joint. A shiny, smooth joint indicates a good connection.
- Clean Tip: Periodically clean the tip on a damp sponge or brass wool to remove excess solder and oxidation.

Image: Close-up view of the Weller WP35 soldering iron tip, knurled collar, and stainless-steel barrel.
Maintenance
Tip Care and Replacement
- Cleaning: Regularly clean the soldering tip using a damp cellulose sponge or brass wool. This removes oxidized solder and helps maintain optimal heat transfer.
- Tinning: Always re-tin the tip with a small amount of fresh solder after cleaning and before storing the iron. This prevents oxidation and extends tip life.
- Tip Replacement:
- Unplug the soldering iron and allow it to cool completely.
- Unscrew the knurled collar located at the base of the tip.
- Carefully pull out the old tip.
- Insert a new Weller ST series tip (e.g., ST3, ST7, ST8) into the barrel.
- Screw the knurled collar back on and tighten it securely.
- Plug in the iron and tin the new tip as described in the "Setup" section.
Heating Element Replacement
The WP35 features a plug-in heating element for easy replacement. If the iron fails to heat, the heating element may need to be replaced. Ensure the iron is unplugged and cool before attempting this procedure. Consult a qualified technician if you are unsure.
Troubleshooting
| Problem | Possible Cause | Solution |
|---|---|---|
| Iron does not heat up. | No power, faulty heating element, or damaged cord. | Check power outlet. Inspect power cord for damage. Replace heating element if necessary (consult technician). |
| Solder does not melt easily. | Tip is not tinned, tip is oxidized, or insufficient heat transfer. | Clean and re-tin the tip. Ensure proper contact with both workpieces. Allow sufficient pre-heating time. |
| Solder joints are dull or "cold". | Insufficient heat, disturbed joint during cooling. | Ensure proper heat transfer and allow joint to cool undisturbed. Clean and re-tin tip. |
| Tip becomes dark or corroded quickly. | Lack of proper tinning, aggressive flux, or high temperature exposure without solder. | Always tin the tip. Use appropriate flux. Clean and re-tin regularly. |
Specifications
- Model: WP35
- Wattage: 35 Watts
- Input Voltage: 120V AC (Standard US)
- Tip Temperature: Approximately 850°F (454°C)
- Heating Element: Ceramic, Plug-in type
- Compatible Tips: Weller ST Series (e.g., ST3, ST7, ST8)
- Handle: Cushion grip, light blue
- Features: Quick-change knurled collar, stainless-steel barrel, grounded power cord
- Specific Uses: Electronic tasks
Warranty Information
The Weller WP35 Professional Soldering Iron comes with a lifetime manufacturer warranty. This warranty covers defects in materials and workmanship under normal use. It does not cover damage resulting from misuse, abuse, unauthorized modification, or normal wear and tear of consumable parts like soldering tips. For warranty claims or detailed terms and conditions, please refer to the official Weller website or contact their customer support.
Customer Support
For technical assistance, replacement parts, or further inquiries regarding your Weller WP35 soldering iron, please visit the official Weller website or contact their customer service department. You can often find contact information and FAQs on the manufacturer's website.
Weller Official Website: www.weller-tools.com
Ask a question about this manual
Ask about setup, troubleshooting, compatibility, parts, safety, or missing instructions. Manuals+ will review the question and use this page’s manual context to help answer it.