1. Introduction
This manual provides essential instructions for the safe and efficient use of your Canon PIXMA MP500 All-In-One device. It covers setup, operation, maintenance, and troubleshooting for printing, copying, and scanning functions. Please read this manual thoroughly before using the product and retain it for future reference.
2. Safety Information
- Power Source: Connect the device only to a grounded power outlet with the specified voltage.
- Placement: Place the device on a stable, level surface, away from direct sunlight, heat sources, and excessive dust or moisture. Ensure adequate ventilation.
- Handling Ink Cartridges: Handle ink cartridges carefully to avoid spills. Keep them out of reach of children.
- Internal Components: Do not attempt to open or repair the device yourself. Refer all servicing to qualified personnel.
- Cleaning: Use a soft, dry cloth for cleaning. Avoid liquid cleaners directly on the device.
3. Package Contents
Verify that all items are present in the package:
- Canon PIXMA MP500 All-In-One Printer
- Ink Cartridges (Set of 5 individual tanks)
- Power Cord
- Setup CD-ROM (Software/Drivers)
- Setup Guide / Instruction Sheet
- USB Cable (may be sold separately in some regions)

Figure 3.1: The Canon PIXMA MP500 printer alongside its original packaging box and a set of individual ink cartridges.
4. Setup
Follow these steps to set up your Canon PIXMA MP500:
- Unpacking: Remove the printer from its packaging. Remove all protective tapes and packing materials from the exterior and interior of the printer.
- Connect Power: Connect the power cord to the printer and then to a wall outlet. Do not connect the USB cable yet.
- Power On: Press the ON/OFF button to turn on the printer.
- Install Ink Cartridges: Open the printer cover. The print head holder will move to the installation position. Install the five individual ink cartridges into their corresponding slots. Ensure they click into place.
- Load Paper: Load plain paper into the paper tray.
- Install Software: Insert the Setup CD-ROM into your computer's CD-ROM drive and follow the on-screen instructions to install the drivers and software.
- Connect USB: When prompted by the software installation, connect the USB cable from the printer to your computer.
- Perform Alignment: Follow the on-screen instructions to perform print head alignment.

Figure 4.1: A visual quick setup guide illustrating the initial steps for connecting power, installing ink, and setting up the printer.

Figure 4.2: The rear panel of the printer, highlighting the power input and USB connection port.
5. Basic Operation
The Canon PIXMA MP500 offers printing, copying, and scanning functionalities. The 2.5-inch color LCD screen and control panel facilitate direct operations.
5.1. Control Panel Overview

Figure 5.1: The top view of the printer, featuring the control panel with various buttons and the integrated 2.5-inch color LCD screen.
- ON/OFF Button: Powers the device on or off.
- COPY Button: Initiates a copy operation.
- SCAN Button: Initiates a scan operation.
- MEMORY CARD Slot: For direct printing from memory cards.
- LCD Screen: Displays menus, settings, and preview images.
- Navigation Buttons: Used to navigate menus and adjust settings on the LCD.
- Black/Color Buttons: Selects black & white or color for copying/printing.
- Start Button: Confirms selections or begins operations.
5.2. Copying Documents
- Ensure the printer is powered on and paper is loaded.
- Lift the document cover and place the document face-down on the scanner glass, aligning it with the guide mark.
- Close the document cover.
- On the control panel, press the COPY button.
- Use the navigation buttons and LCD screen to select copy settings such as number of copies, paper type, and size.
- Press the Black or Color button to start copying.

Figure 5.2: The printer's LCD display showing options for copying, including number of copies, magnification, paper size, and paper type.
5.3. Scanning Documents and Photos
- Ensure the printer is powered on and connected to your computer.
- Lift the document cover and place the item face-down on the scanner glass.
- Close the document cover.
- You can initiate a scan from the printer's control panel by pressing the SCAN button, or from your computer using the installed Canon scanning software.
- Follow the on-screen prompts on the printer's LCD or your computer to select scan settings (e.g., document type, resolution, destination).

Figure 5.3: The scanner bed of the PIXMA MP500 with the document cover open, ready for placing documents or photos.
5.4. Printing from a Computer
To print from your computer, ensure the printer drivers are installed and the printer is connected via USB. Select the Canon PIXMA MP500 as your printer in your application's print dialog, adjust settings as needed, and click print.
6. Ink Cartridge Management
The Canon PIXMA MP500 uses five individual ink tanks. Replace cartridges when indicated by the printer's LCD or software.
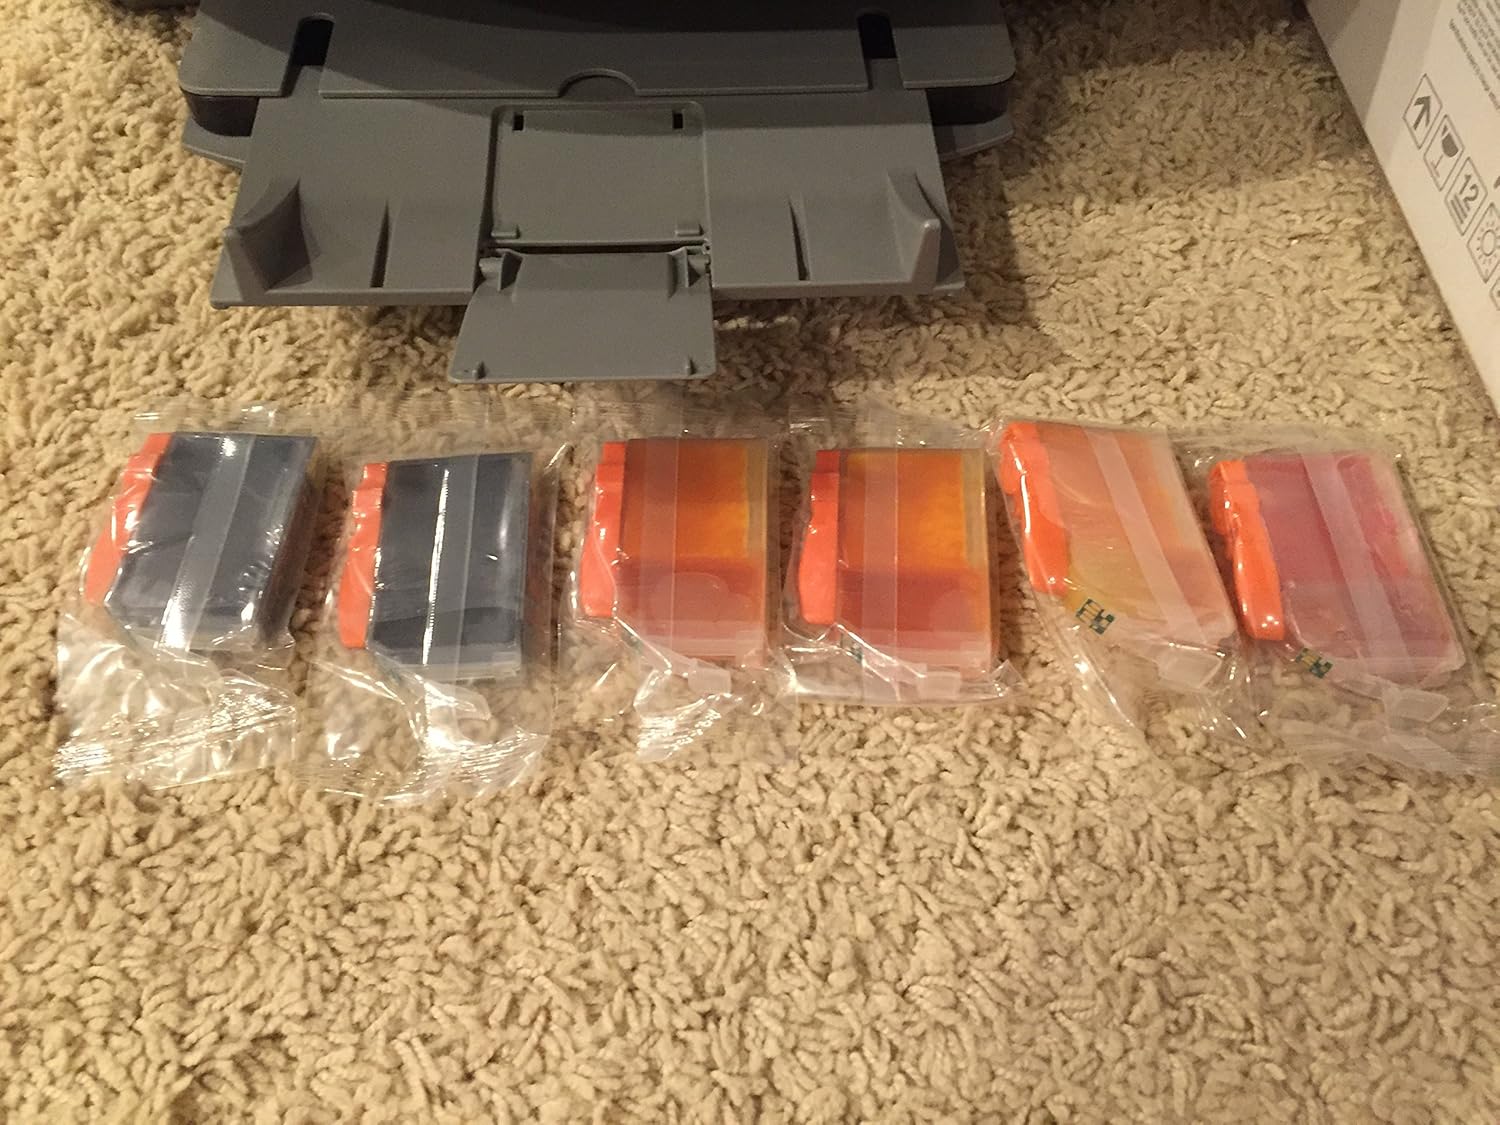
Figure 6.1: A close-up view of the individual ink cartridges used by the PIXMA MP500, showing their distinct colors.
6.1. Replacing Ink Cartridges
- Ensure the printer is powered on.
- Open the printer's top cover. The print head holder will move to the replacement position.
- Press the tab on the empty ink cartridge and lift it out.
- Unpack a new ink cartridge, remove the orange protective cap, and insert it firmly into the correct slot until it clicks.
- Close the printer cover.

Figure 6.2: An internal view of the printer, showing the print head carriage with all five ink cartridges correctly installed and illuminated.
7. Maintenance
- Print Head Cleaning: If print quality declines (e.g., streaks, missing colors), perform a print head cleaning from the printer's maintenance menu or through the printer driver on your computer.
- Print Head Alignment: If printed text or lines appear misaligned, perform a print head alignment.
- Cleaning the Scanner Glass: Regularly wipe the scanner glass with a soft, lint-free cloth and a mild glass cleaner (applied to the cloth, not directly to the glass) to ensure clear scans.
- Exterior Cleaning: Wipe the exterior of the printer with a soft, dry cloth.
8. Troubleshooting
| Problem | Solution |
|---|---|
| Printer does not power on. | Check power cord connection to both the printer and the wall outlet. Ensure the outlet is functional. |
| Poor print quality (streaks, faded colors). | Check ink levels and replace empty cartridges. Perform print head cleaning and alignment. |
| Paper jams. | Remove jammed paper carefully, following instructions in the printer's LCD or software. Ensure paper is loaded correctly and not creased. |
| Cannot scan from computer. | Ensure the USB cable is securely connected. Verify that printer drivers and scanning software are correctly installed. Restart both the printer and computer. |
| Error message on LCD. | Refer to the specific error code displayed on the LCD screen and consult the full electronic manual on the Setup CD-ROM for detailed solutions. |
9. Specifications
- Model Name: Canon PIXMA MP500
- Functions: Print, Copy, Scan
- Printing Technology: Inkjet
- Print Resolution (Color): Up to 9600 x 2400 dpi
- Print Resolution (Black): Up to 600 x 600 dpi
- Print Speed (Black): Up to 29 ppm
- Print Speed (Color): Up to 19 ppm
- Scanner Type: Flatbed, Photo
- Scan Resolution (Optical): 1200 x 2400 dpi
- Copy Speed (Black): Up to 29 cpm
- Display: 2.5-inch Color LCD
- Connectivity: USB 2.0, Memory Card Slots
- Dimensions (W x D x H): 17.7 x 16.8 x 8.1 inches (approx.)
- Weight: 22 pounds (approx.)
10. Warranty and Support
The Canon PIXMA MP500 comes with a one-year limited warranty from the date of purchase. This warranty covers defects in materials and workmanship under normal use.
For warranty claims, technical support, or service inquiries, please contact Canon customer support. Refer to the documentation included with your product or visit the official Canon website for current contact information and support resources.
Note: Product support for the PIXMA MP500 may be limited as it is an older model. Please check the Canon website for the most up-to-date information regarding driver availability and service options.