
Introduction and Safety Information
This manual provides essential instructions for the safe operation, maintenance, and troubleshooting of your Wagner Power Sprayer Model 120. Please read all instructions carefully before using the sprayer to ensure proper function and to prevent injury or damage.
Important Safety Warnings:
- Always wear appropriate personal protective equipment (PPE) including eye protection, gloves, and a respirator when operating the sprayer.
- Ensure adequate ventilation in the work area to prevent the buildup of hazardous fumes.
- Do not spray flammable materials near open flames, pilot lights, or other ignition sources.
- Always disconnect the power supply before cleaning, performing maintenance, or when the sprayer is not in use.
- Keep children and pets away from the work area.
- Refer to the material manufacturer's safety data sheet (SDS) for specific handling and safety precautions related to the coating material being used.
Product Overview
The Wagner Power Sprayer Model 120 is designed for applying various thin-bodied materials such as latex stains, oil-based paints, stains, water sealers, and wood preservatives. Its compact design makes it suitable for smaller projects.
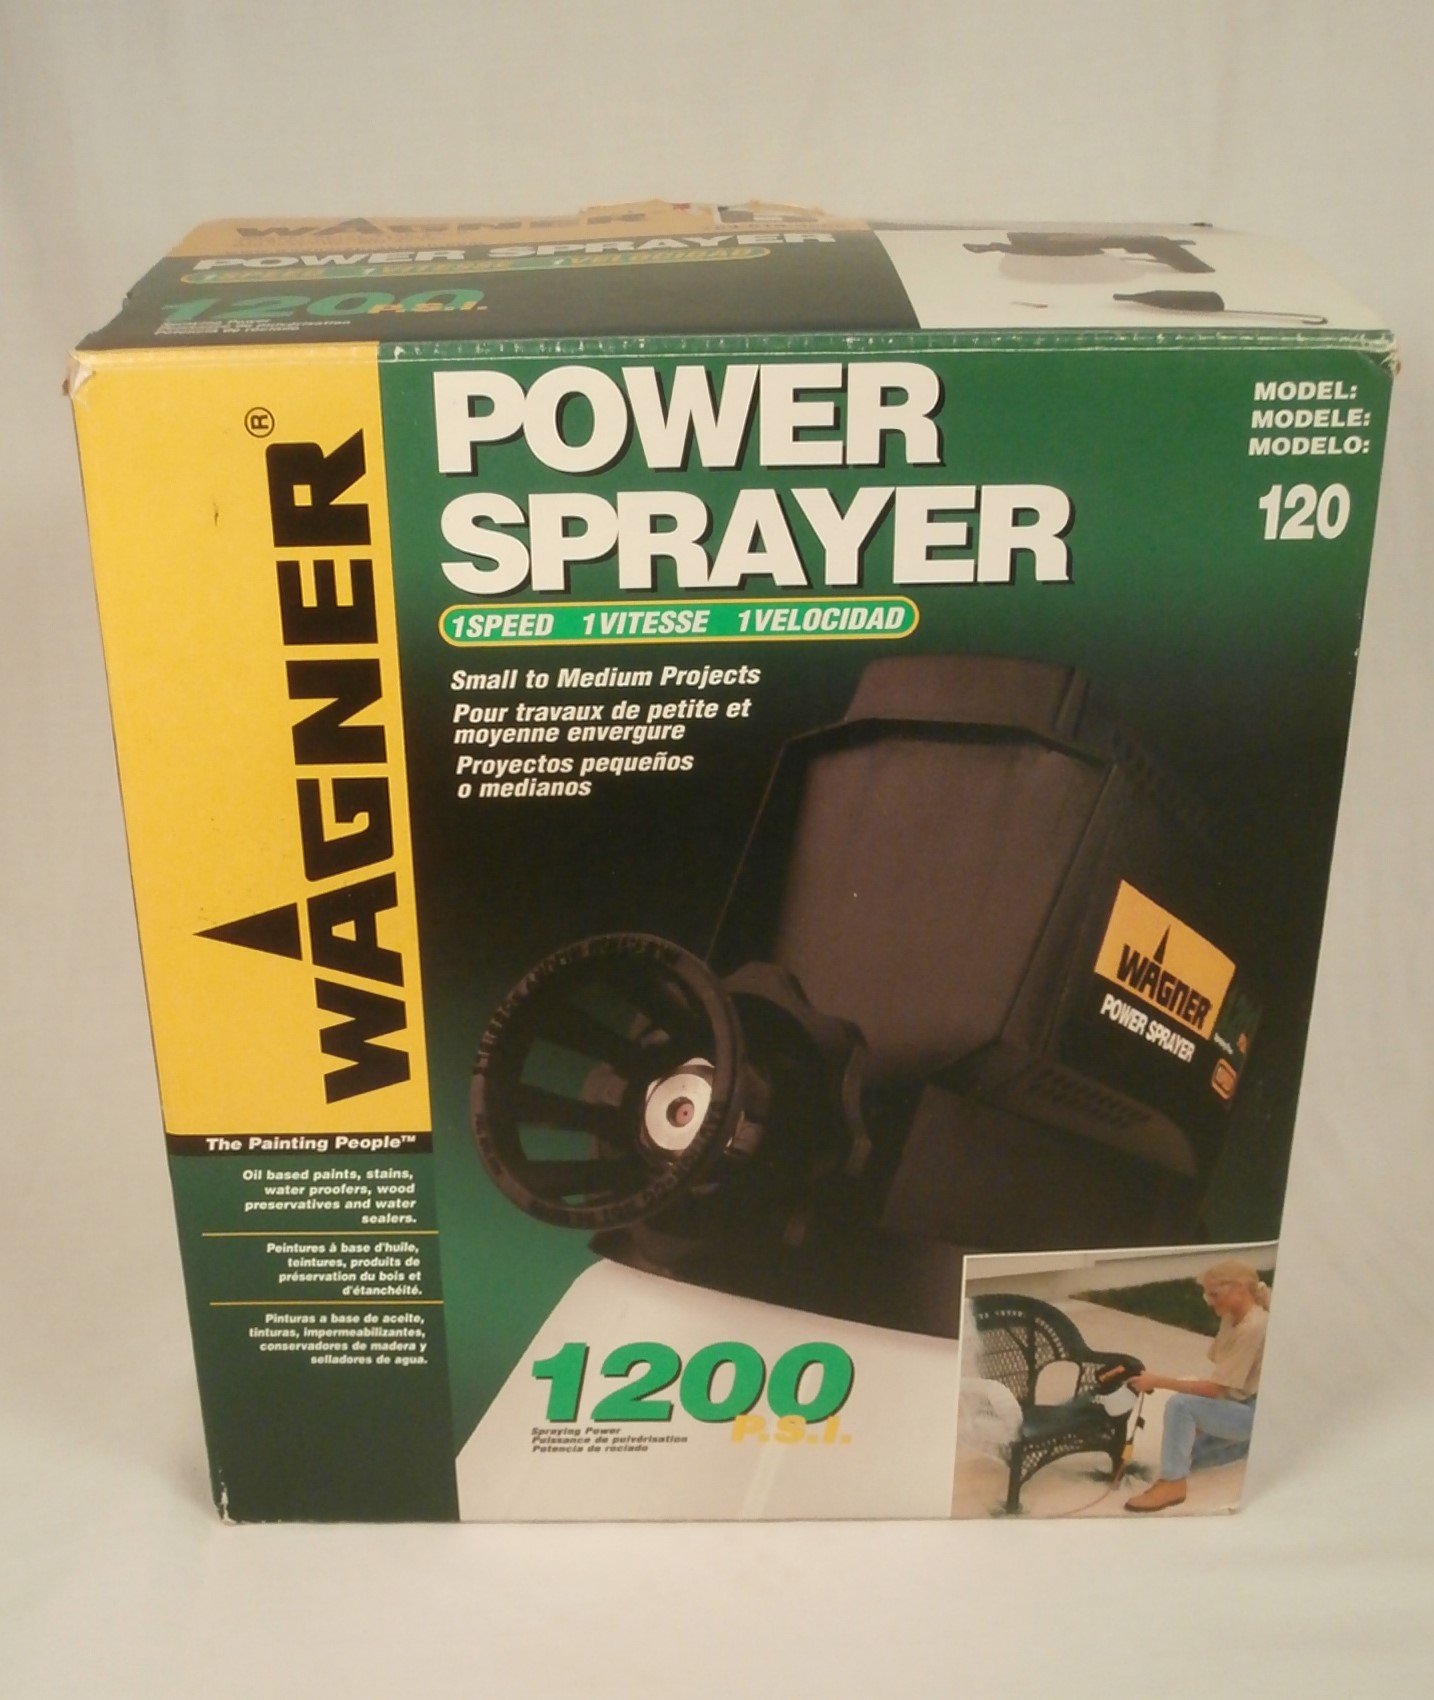
Image: The Wagner Power Sprayer Model 120, showing the main sprayer unit with its attached paint cup, and a separate viscosity cup used for material thinning. The sprayer features a comfortable grip and a nozzle for material application.
Components Included:
- Wagner Power Sprayer Model 120 Unit
- Material Cup
- Viscosity Cup
- Instruction Manual (this document)
Setup
- Prepare the Work Area: Ensure the area is clean, well-ventilated, and free from obstructions. Cover any surfaces not intended for painting.
- Material Preparation:
- Stir the coating material thoroughly.
- Use the provided viscosity cup to check the material's consistency. Fill the viscosity cup and time how long it takes for the liquid to drain completely. Refer to the coating material manufacturer's recommendations for appropriate viscosity.
- If the material is too thick, thin it according to the material manufacturer's instructions. Always add thinner gradually and mix well.
- Strain the prepared material through a paint strainer to remove any lumps or debris that could clog the sprayer.
- Fill the Material Cup: Unscrew the material cup from the sprayer. Pour the prepared and strained coating material into the cup, ensuring not to overfill. Securely reattach the material cup to the sprayer.
- Adjust the Nozzle: The sprayer features a stain tip for improved performance. Ensure it is properly seated. The spray pattern can be adjusted by rotating the air cap to achieve a horizontal, vertical, or round pattern.
Operating Instructions
- Power Connection: Plug the sprayer into a grounded electrical outlet.
- Test Spray: Before spraying your actual project, perform a test spray on a piece of scrap material or cardboard. This allows you to check the spray pattern and adjust as needed.
- Spraying Technique:
- Hold the sprayer approximately 6-10 inches (15-25 cm) from the surface.
- Maintain a consistent distance and speed for an even finish.
- Use smooth, overlapping strokes. Release the trigger at the end of each pass and press it again before starting the next pass.
- Avoid tilting the sprayer excessively, as this can affect the material flow.
- Material Flow Adjustment: If the spray is inconsistent or "spitting," it may indicate that the material is too thick or the material cup is running low. Adjust thinning or refill the cup as necessary.
- Stopping Operation: When finished spraying or taking a break, release the trigger and disconnect the power supply.
Maintenance and Cleaning
Proper cleaning after each use is crucial for the longevity and performance of your Wagner Power Sprayer. Neglecting cleaning can lead to clogs and damage.
- Empty Material Cup: Disconnect power. Unscrew the material cup and pour any remaining material back into its original container.
- Initial Rinse: Fill the material cup with an appropriate cleaning solution (water for latex/water-based materials, mineral spirits or paint thinner for oil-based materials). Reattach the cup.
- Flush the Sprayer: Plug in the sprayer and spray the cleaning solution into a waste container until the liquid runs clear.
- Disassemble and Clean Components:
- Disconnect power.
- Remove the material cup, nozzle, and any other removable parts.
- Thoroughly clean all parts with the appropriate cleaning solution and a brush. Pay special attention to the nozzle and atomizer valve to ensure no material residue remains.
- Replacement spray tips (0.4 mm 0280030, and 0.8 mm 0280033) and atomizer valve (0280035) are available if needed.
- Wipe Down Unit: Wipe the exterior of the sprayer unit with a damp cloth. Do not immerse the main unit in liquid.
- Dry and Store: Allow all components to dry completely before reassembling. Store the sprayer in a clean, dry place.
Troubleshooting
| Problem | Possible Cause | Solution |
|---|---|---|
| No spray or weak spray |
|
|
| Sprayer "spits" or delivers inconsistent pattern |
|
|
| Leaking from nozzle area |
|
|
Specifications
- Model: 120
- Part Number: 0280010
- Manufacturer: Wagner
- Product Type: Electric Power Sprayer
- Recommended Materials: Latex stains, oil-based paints, stains, water sealers, wood preservatives (thin-bodied materials)
- Item Weight: Approximately 3.9 pounds (1.77 kg)
- Product Dimensions: Approximately 8.5 x 9.25 x 5.5 inches (21.6 x 23.5 x 14 cm)
- Item Package Quantity: 1
- Replacement Spray Tips: 0.4 mm (Part No. 0280030), 0.8 mm (Part No. 0280033)
- Replacement Atomizer Valve: Part No. 0280035
Warranty and Support
For warranty information, technical support, or to purchase replacement parts, please contact Wagner customer service. Keep your purchase receipt as proof of purchase for warranty claims.
Note: Specific warranty terms and conditions may vary and are subject to the policies in effect at the time of purchase.


