Introduction
This manual provides detailed instructions for the setup, operation, and maintenance of your Universal Remote Control MX-350 Osiris IR/RF Remote Control. Please read this manual thoroughly before using your remote to ensure proper functionality and to maximize your user experience. Keep this manual for future reference.
Product Overview
The Universal Remote Control MX-350 Osiris is a versatile IR/RF remote designed to consolidate control of up to 10 of your home entertainment devices. It features both Infrared (IR) and Radio Frequency (RF) capabilities, allowing for flexible control options, including devices hidden from line-of-sight when used with an RF base station (sold separately).
Key Features:
- Universal IR/RF control for multiple devices.
- Supports up to 10 devices.
- Customizable macros for multi-command sequences.
- Backlit buttons and LCD screen for low-light operation.
- Learning function to capture commands from original remotes.
Remote Control Layout:
The MX-350 features a clear button layout with an LCD screen at the top for device selection and function display.

Figure 1: Front view of the MX-350 remote with LCD screen and primary controls.

Figure 2: The MX-350 remote with its blue backlight engaged.
The top of the remote houses the IR and RF emitters, ensuring broad compatibility and range.
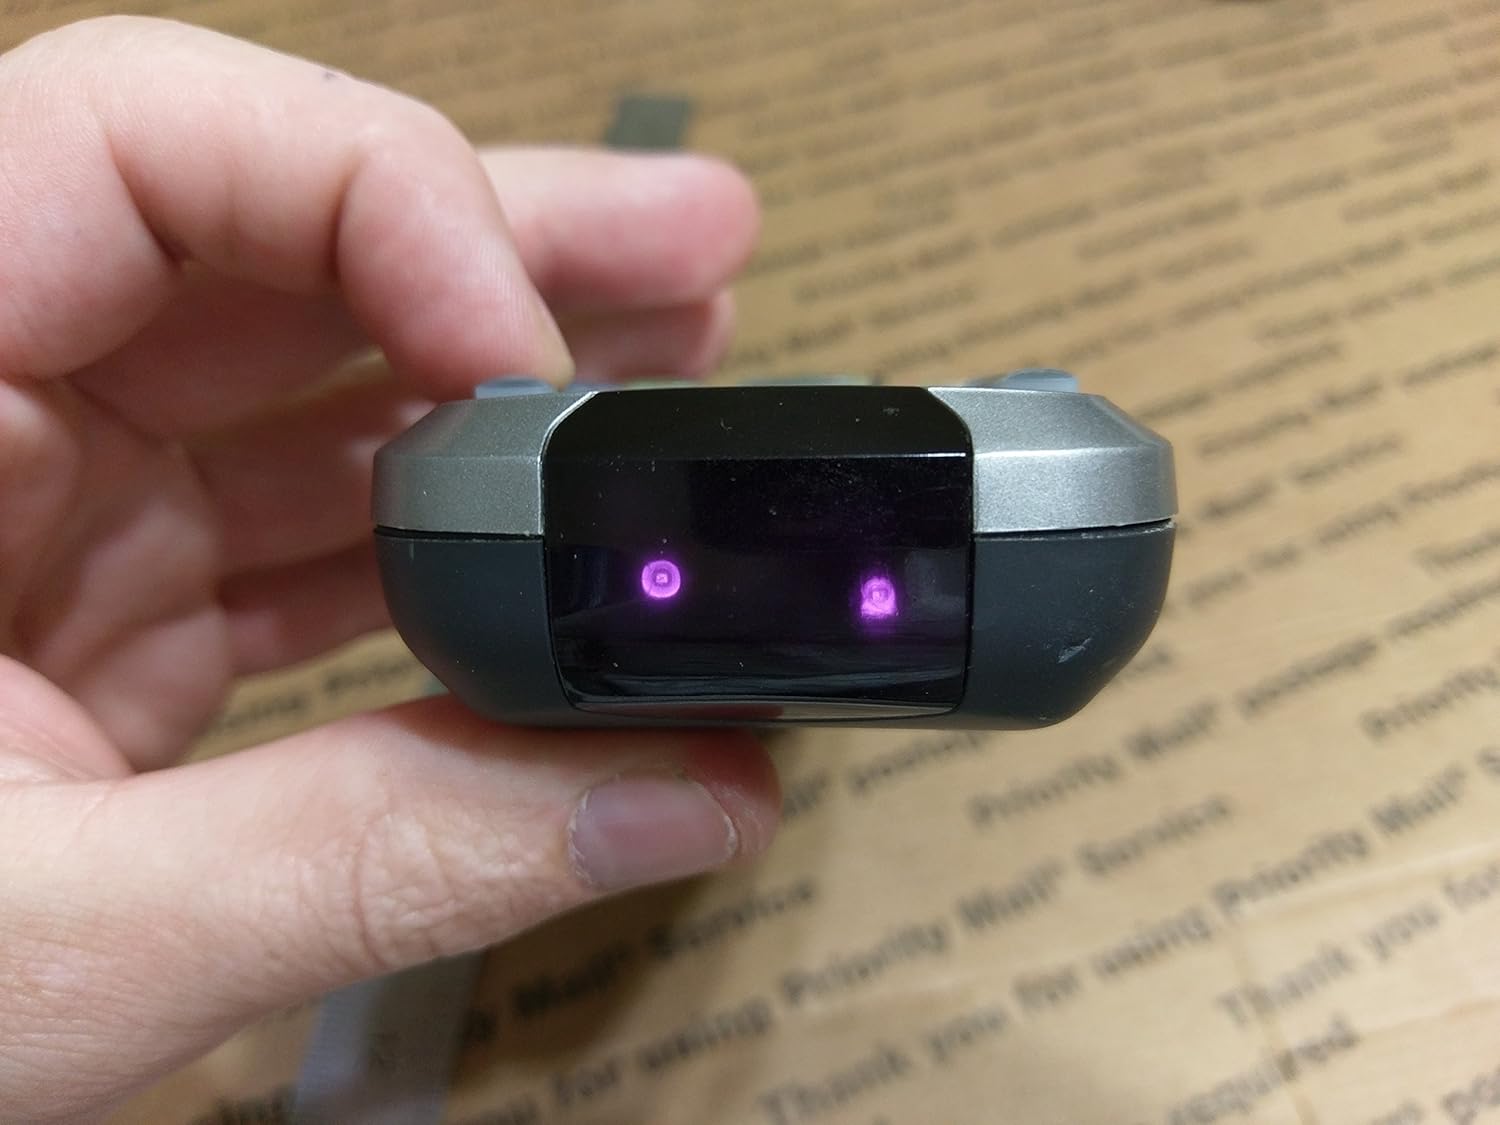
Figure 3: Top view showing IR/RF emitters.
Setup
1. Battery Installation
- Locate the battery compartment cover on the back of the remote.
- Press down on the latch and slide the cover off.
- Insert four (4) AAA batteries, ensuring correct polarity (+/-) as indicated inside the compartment.
- Slide the battery cover back into place until it clicks securely.
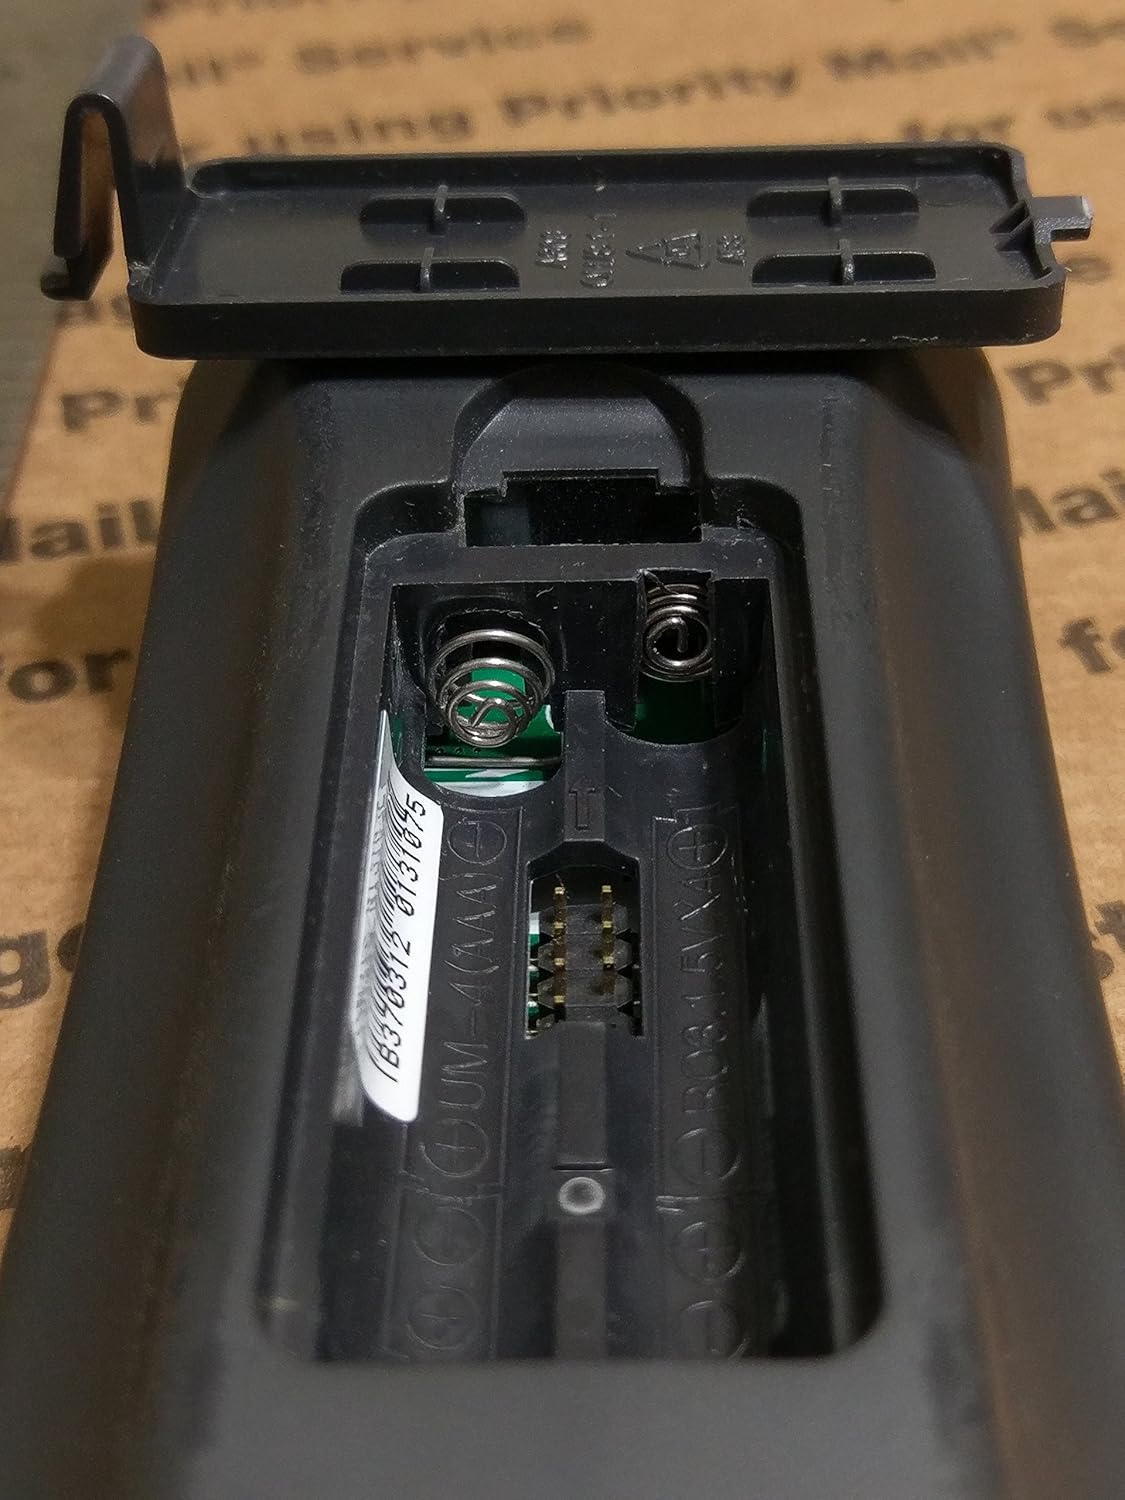
Figure 4: Battery compartment for 4 AAA batteries.
2. Initial Programming
The MX-350 can be programmed using pre-programmed codes or by learning commands directly from your original device remotes.
- Code-Based Programming: Refer to the separate code list provided with your remote or available from the manufacturer's website. Select the device type (e.g., TV, DVD) and enter the corresponding code.
- Learning Function: This allows the MX-350 to 'learn' commands from your existing remote controls. Position the MX-350 and your original remote face-to-face, typically 1-3 inches apart. Follow the on-screen prompts on the MX-350's LCD to enter learning mode and transfer commands.
For detailed programming steps, consult the full programming guide or contact customer support.
Operating Instructions
1. Device Selection
To control a specific device, press the corresponding device button (e.g., TV, CABLE, DVD) located near the top of the remote. The LCD screen will display the selected device.
2. Basic Functions
- Power (ON/OFF): Use the dedicated ON and OFF buttons to power your selected device.
- Volume (VOL +/-): Adjust the volume of your audio device.
- Channel (CH +/-): Change channels on your TV or cable box.
- Mute: Mute or unmute the audio.
- Navigation (Arrow Keys & SEL): Use the directional pad to navigate menus and the SEL (Select) button to confirm choices.
- Menu/Exit: Access and exit device menus.
- Guide/Info: Display program guides or information.
3. Advanced Functions (Macros)
Macros allow you to program a sequence of commands to be executed with a single button press. For example, a macro can turn on your TV, cable box, and audio receiver, switch to the correct input, and set a preferred volume level. Refer to the full programming guide for detailed instructions on creating and assigning macros.
4. Backlight
The MX-350 features a blue backlight for all buttons and the LCD screen, enhancing visibility in dim lighting conditions. The backlight typically activates with any button press and remains on for a few seconds.
Maintenance
Cleaning
To clean your remote, use a soft, dry cloth. Do not use abrasive cleaners, waxes, or solvents. Avoid getting moisture into any openings.
Battery Replacement
Replace the batteries when the remote's performance degrades, the backlight dims significantly, or the LCD display becomes faint. Always replace all four AAA batteries at the same time with new ones. Dispose of used batteries according to local regulations.
Troubleshooting
- Remote not responding:
- Check if the batteries are correctly inserted and have sufficient charge. Replace if necessary.
- Ensure there is a clear line of sight between the remote's IR emitter and the device's IR receiver (for IR control).
- Verify that the correct device mode is selected on the remote.
- Device not responding to commands:
- Confirm the remote is programmed with the correct code for the device. Try alternative codes if available.
- If using the learning function, ensure the commands were learned correctly. Repeat the learning process if needed.
- Check the device itself to ensure it is powered on and functioning correctly with its original remote.
- Backlight or LCD display issues:
- Low battery power can affect backlight brightness and LCD clarity. Replace batteries.
- If the display is completely blank or shows unusual characters after battery replacement, contact customer support.
If issues persist after following these troubleshooting steps, please contact Universal Remote Control customer support for further assistance.
Specifications
| Feature | Specification |
|---|---|
| Brand | Universal |
| Model Name | MX-350 Osiris (Model 8056) |
| Connectivity Technology | Infrared (IR), Radio Frequency (RF) |
| Max Number of Supported Devices | 20 (typically programmed for 10 devices) |
| Button Quantity | 35 |
| Maximum Range | 100 Feet (RF) |
| Battery Type | 4 x AAA batteries |
| Color | Black |
Warranty and Returns
This product is sold as brand new. Returns are accepted but may be subject to a return service charge of up to 25% if the item has been opened, used, and/or otherwise handled in a way that renders it not in "brand new" condition. If the item is tampered with, a refund will not be issued. This information pertains to return conditions and does not constitute a product warranty. For specific warranty details, please refer to the documentation provided at the time of purchase or contact the manufacturer directly.


