1. Introduction
This manual provides detailed instructions for the setup, operation, and maintenance of your Lionel FasTrack 036 Manual Switch, Right Hand. Designed for O Gauge electric train layouts, this switch allows for expanded track configurations and enhanced operational flexibility. Please read these instructions carefully before use to ensure proper function and longevity of your product.

Image 1.1: The Lionel FasTrack 036 Manual Switch, Right Hand.
2. Product Features
The Lionel FasTrack 036 Manual Switch offers several key features to enhance your model railway experience:
- Easy Assembly: Features a snap-together locking mechanism for secure and straightforward connections with existing FasTrack components.
- Design Flexibility: Allows for greater layout design possibilities, enabling the creation of more complex and robust railway systems.
- O Gauge Compatibility: Specifically designed for O Gauge FasTrack systems.
- Integrated Turnout: Includes a 10-inch straight track section with a 33-3/4 degree turnout.
- Curve Section: Contains one 1/4 curve piece to complete a 036 45-degree curve.
- Interchangeable Base: The manual switch base can be positioned on either the left or right side of the track for versatile placement.
3. Setup Instructions
Follow these steps to properly integrate the FasTrack 036 Manual Switch into your model railway layout:
- Unpack Components: Carefully remove the manual switch and any accompanying track sections from its packaging. Inspect all parts for any damage.
- Prepare Layout: Identify the desired location for the manual switch within your existing FasTrack layout. Ensure sufficient space for the 10-inch straight section and the 33-3/4 degree turnout.
- Connect Track Sections: Align the snap-together locking mechanisms of the manual switch with your existing FasTrack pieces. Press firmly until you hear a click, indicating a secure connection.
- Position Switch Lever: The manual switch lever can be positioned on either the left or right side of the track base. Determine the most convenient orientation for your layout and adjust as needed.
- Integrate Curve Section: Use the included 1/4 curve piece to complete a 036 45-degree curve, allowing for a smooth transition into or out of the switched track.

Image 3.1: Side view of the manual switch, showing track connections.
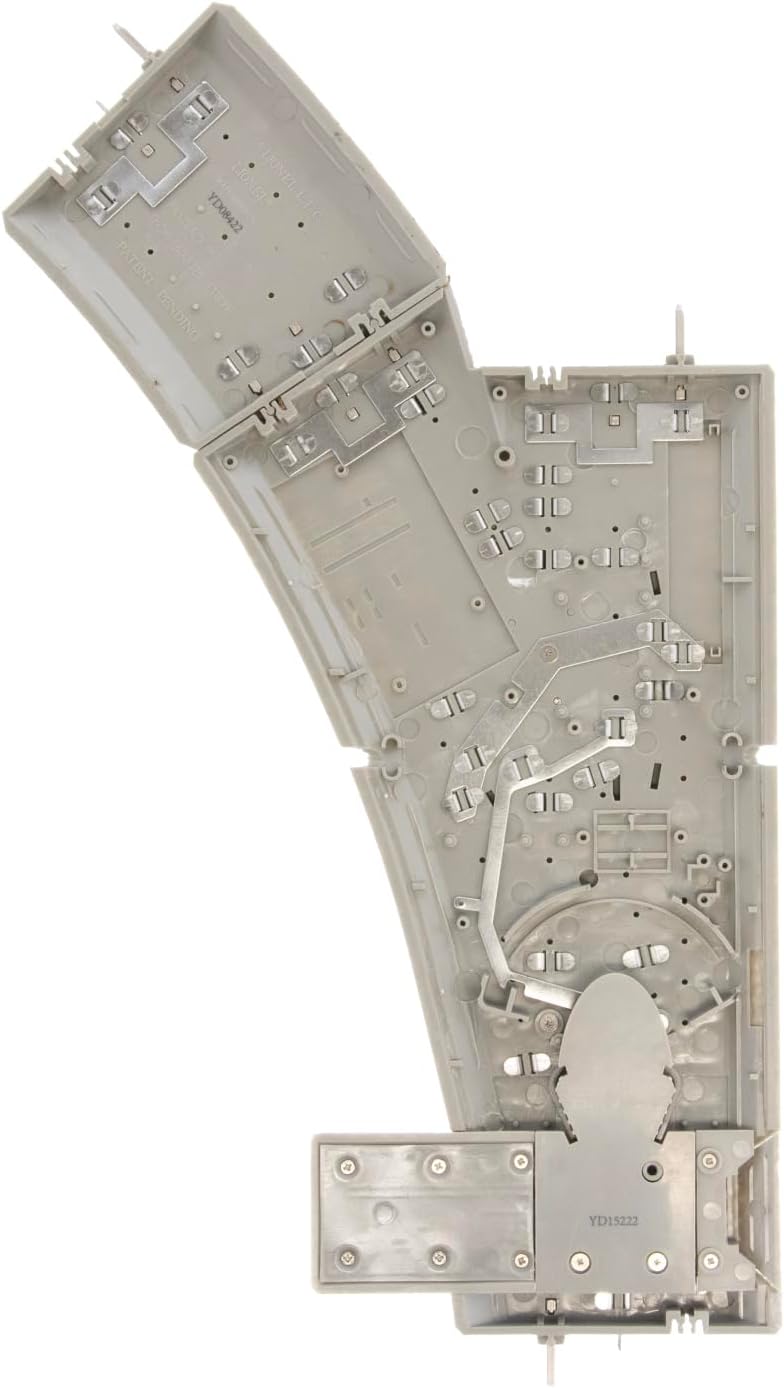
Image 3.2: Underside view, illustrating the snap-together mechanism and internal components.
4. Operating Instructions
The Lionel FasTrack 036 Manual Switch operates by direct physical interaction. It is not designed for remote or automated control.
- Identify the Switch Lever: Locate the red manual switch lever on the side of the track section.
- Change Track Direction: To change the direction of the train, gently push or pull the red lever to the desired position. The lever will click into place, indicating the track is set for either the straight path or the diverging path.
- Ensure Clear Path: Before operating your train, visually confirm that the switch rails are fully aligned with the intended track path to prevent derailments.
- Accessibility: Ensure the manual switch is placed in a location that is easily accessible by hand for operation.

Image 4.1: Close-up of the red manual switch lever.
5. Maintenance
Regular maintenance ensures the smooth operation and longevity of your manual switch.
- Keep Tracks Clean: Periodically clean the track rails and the moving parts of the switch to remove dust, debris, and any accumulated grime that could impede operation. Use a soft, dry cloth or a specialized track cleaning tool.
- Inspect Connections: Regularly check the snap-together connections to ensure they remain secure and tight. Loose connections can lead to power interruptions or derailments.
- Lubrication: Lightly lubricate any moving pivot points within the switch mechanism with a small amount of plastic-safe lubricant if movement becomes stiff. Avoid over-lubrication.
- Switch Lever Replacement: If the red switch post (lever) becomes damaged or breaks, it can be replaced. To remove the old post, pull it straight up. Insert the new post by pushing it firmly into place. The replacement part number for the red signal lever is 6102017094.
6. Troubleshooting
If you encounter issues with your Lionel FasTrack 036 Manual Switch, consider the following troubleshooting steps:
- Train Derailments at Switch:
- Ensure the switch lever is fully engaged in either the straight or diverging position.
- Check for any debris on the track or within the switch mechanism that might be obstructing the train wheels.
- Verify that all track connections leading to and from the switch are secure and properly aligned.
- Stiff or Non-Moving Switch Lever:
- Inspect for foreign objects lodged in the mechanism.
- Apply a small amount of lubricant to the pivot points of the lever.
- Broken Switch Lever:
- The red switch post is designed to be replaceable. Refer to the Maintenance section for replacement instructions.
7. Specifications
| Specification | Detail |
|---|---|
| Brand | Lionel |
| Model Number | 612018 |
| ASIN | B0006TW7P6 |
| UPC | 023922120182 |
| Gauge | O Gauge (FasTrack) |
| Switch Type | Manual, Right Hand |
| Turnout Angle | 33-3/4 degrees |
| Straight Track Length | 10 inches |
| Item Dimensions | 10 x 7 x 0.5 inches |
| Item Weight | 16 ounces |
| Material Type | Plastic |
| Operation Mode | Manual |
| Power Source | Electric (for track power) |
| Recommended Age | 14 years and up |
| Assembly Required | No |
8. Warranty and Support
Your Lionel FasTrack 036 Manual Switch is covered by a 1-Year Warranty Against Manufacturer Defects. This warranty ensures that the product is free from defects in materials and workmanship under normal use for one year from the date of purchase.
For warranty claims, technical assistance, or replacement parts, please contact Lionel customer support. Keep your proof of purchase for warranty validation.
For additional information and support, please visit the official Lionel website or contact their customer service department.


