
Revell 80-4116
Revell Fokker Dr.1 Triplane Model Kit Instruction Manual
Model: 80-4116
Product Overview
This manual provides instructions for the assembly and care of your Revell Fokker Dr.1 Triplane model kit. The Fokker Dr.1 was a highly maneuverable aircraft used during World War I, famously flown by Baron Manfred von Richthofen. This model kit allows you to recreate this iconic aircraft in 1:72 scale.
Key features of this model kit include:
- Fine surface details for an authentic look.
- Detailed cockpit with joystick and seat.
- Two detailed Spandau machine guns.
- Detailed radial engine and movable propeller.
- Decals for two different versions of the aircraft.
- Composed of 37 individual pieces.
- Scale: 1:72.

Figure 1: The Revell Fokker Dr.1 Triplane model kit box, displaying the 1:72 scale and an image of the completed model alongside the box art. This image illustrates the product as it appears in its packaging and the final assembled form.
Safety Information
WARNING: This product contains small parts. Not suitable for children under 3 years due to choking hazard. Adult supervision is recommended during assembly, especially for younger modelers.
Always use appropriate tools safely and ensure proper ventilation if using paints or adhesives (not included in kit).
Setup and Assembly
Assembly of the Revell Fokker Dr.1 Triplane model kit requires careful attention to detail. Please follow the included pictorial instructions step-by-step. It is recommended to lay out all parts before beginning assembly to ensure all components are present.
Required Tools and Materials (Not Included):
- Plastic model cement/glue
- Hobby knife or sprue cutters
- Small files or sandpaper for deburring
- Model paints (acrylic or enamel, as desired)
- Paintbrushes
- Tweezers for small parts and decals
Assembly Steps:
- Preparation: Carefully remove all parts from the sprues using a hobby knife or sprue cutters. Smooth any rough edges with a file or sandpaper. Identify parts according to the instruction diagram.
- Cockpit Assembly: Assemble the cockpit components, including the seat and joystick, as per the diagram. Paint these parts before gluing them into the fuselage halves for easier access and detail.
- Fuselage Assembly: Join the two fuselage halves, ensuring the cockpit assembly is correctly positioned inside. Apply plastic cement sparingly along the seams.
- Wing Attachment: Attach the three wings (upper, middle, lower) to the fuselage and to each other using the provided struts. Ensure proper alignment for structural integrity and aesthetic accuracy.
- Engine and Propeller: Assemble the radial engine and attach it to the front of the fuselage. The propeller should be attached in a way that allows it to rotate, if designed for that feature.
- Landing Gear: Assemble and attach the landing gear components.
- Detailing: Attach the two Spandau machine guns and any other small external details.
- Painting and Decals: Once the model is fully assembled and the glue has dried, proceed with painting according to your chosen scheme. After painting, apply the decals carefully using water and a soft brush. Refer to the decal placement guide for accuracy.

Figure 2: An artistic illustration depicting the Fokker Dr.1 Triplane in flight, showcasing its distinctive red color and tri-wing design. This image provides a visual reference for the completed model's appearance and historical context.

Figure 3: A top-down view of the assembled model, highlighting the detailed cockpit area and the arrangement of the three wings. This perspective is useful for understanding the upper fuselage and wing structure during assembly.
Operating and Display
Once assembled, your Revell Fokker Dr.1 Triplane model is designed for static display. While the propeller may be movable, the model is not intended for flight or rough handling.
Display Recommendations:
- Place the model on a stable, flat surface away from direct sunlight to prevent fading of paints and decals.
- Avoid areas with high humidity or extreme temperature fluctuations.
- Consider a display case to protect the model from dust and accidental damage.
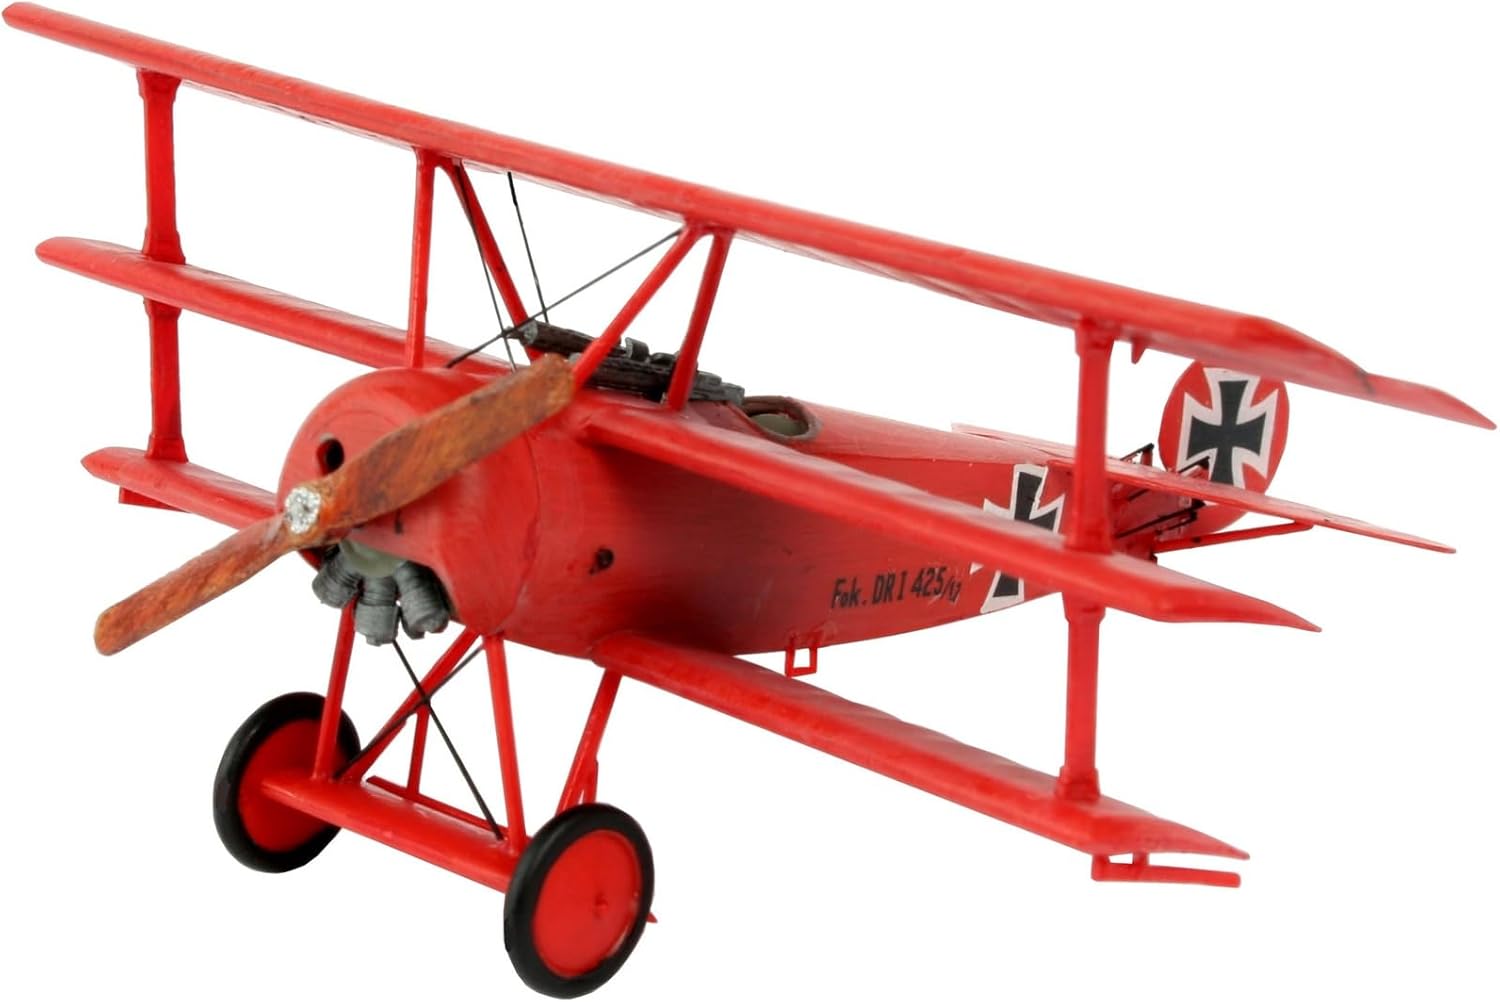
Figure 4: A side profile view of the completed model, showing the overall shape and proportions of the Fokker Dr.1 Triplane. This view is helpful for appreciating the aircraft's design.

Figure 5: A rear view of the assembled model, focusing on the tail section, rudder, and the distinctive Iron Cross markings. This image highlights the intricate details of the aircraft's rear.
Maintenance and Care
To ensure the longevity and appearance of your Revell Fokker Dr.1 Triplane model, follow these simple maintenance guidelines:
- Dusting: Gently dust the model regularly with a soft, dry brush or a can of compressed air. Avoid using abrasive materials or harsh chemicals.
- Cleaning: If necessary, lightly dampen a soft cloth with plain water to wipe surfaces, then immediately dry. Do not immerse the model in water.
- Handling: Always handle the model by its main body or sturdy sections. Avoid gripping delicate parts like wings, struts, or the propeller, as they can be easily damaged.
- Storage: If storing the model, place it in a secure box with soft padding to prevent movement and damage.
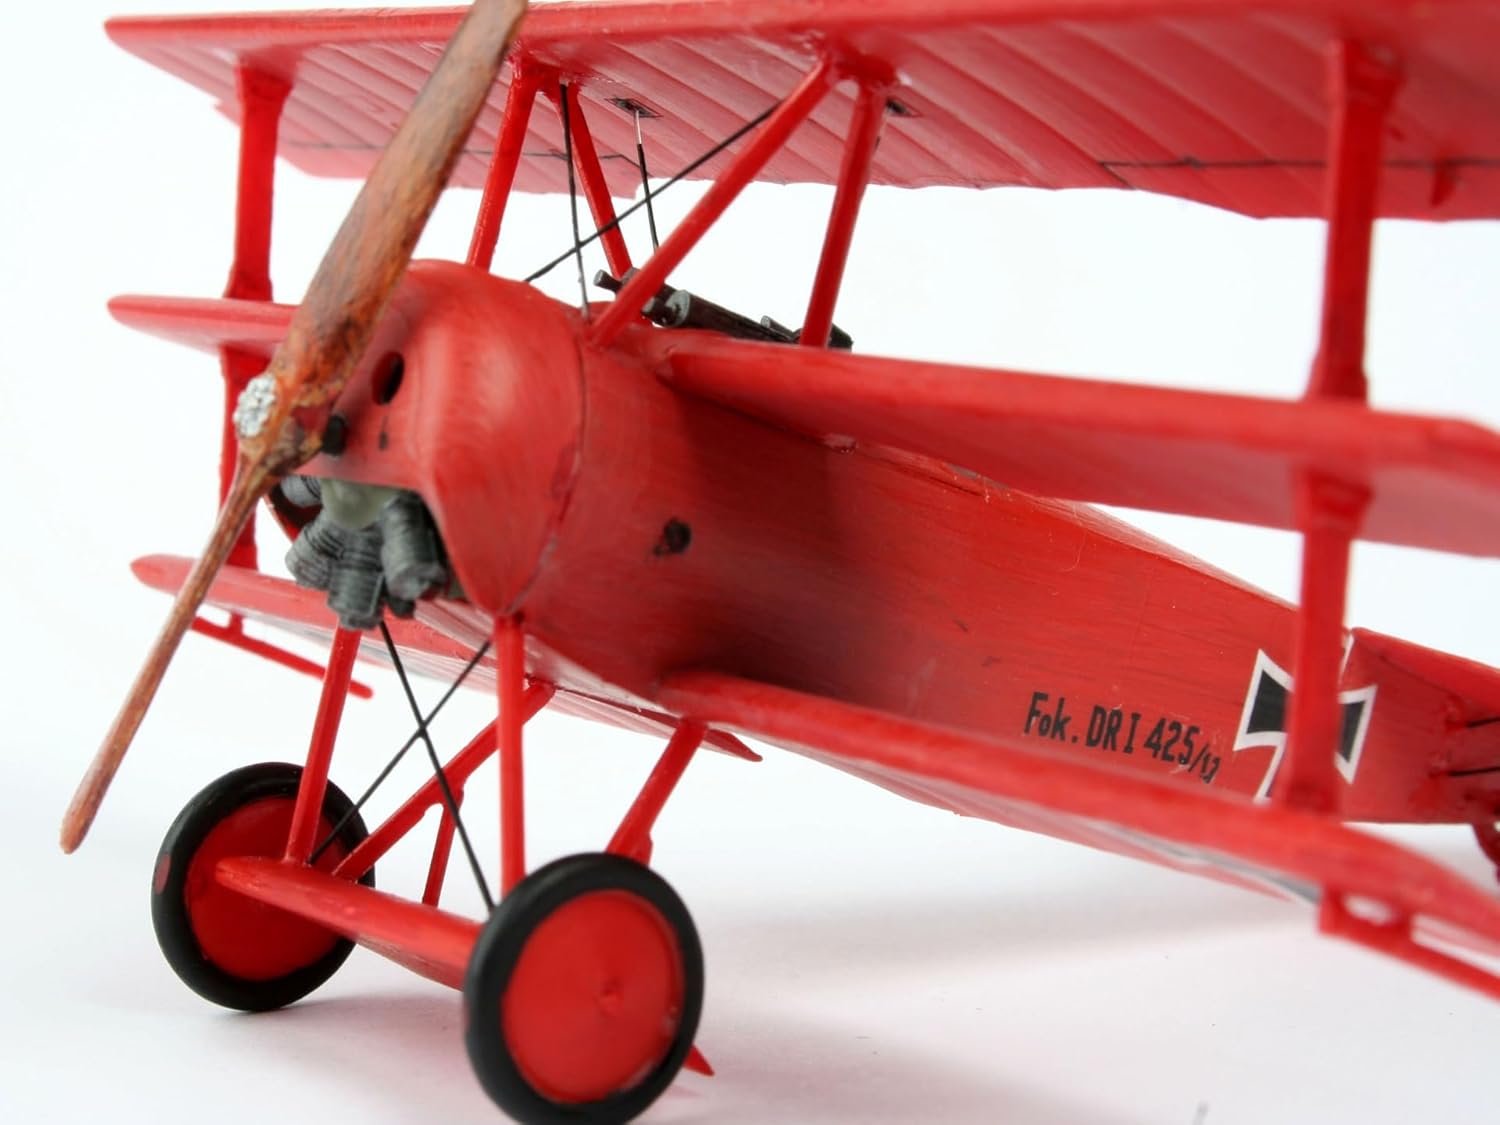
Figure 6: A front view of the completed model, showcasing the propeller, radial engine, and landing gear. This perspective emphasizes the front-end details of the aircraft.
Troubleshooting
While model assembly is generally straightforward, minor issues can arise. Here are some common troubleshooting tips:
- Parts Not Fitting: Ensure you are using the correct parts as indicated in the instructions. Sometimes, a small amount of plastic flash (excess plastic from molding) can prevent a perfect fit; carefully trim it with a hobby knife.
- Decals Tearing: Decals are delicate. Ensure the surface is clean and smooth before application. Use plenty of water and a soft brush to position them. If a decal tears, try to align the pieces as best as possible on the model.
- Glue Issues: Use plastic model cement specifically designed for polystyrene. Apply sparingly to avoid damaging the plastic or obscuring details. Allow sufficient drying time before handling glued parts.
- Missing Parts: Double-check the sprues and packaging. If a part is genuinely missing, contact Revell customer support (contact information not provided in this manual).
Specifications
| Feature | Detail |
|---|---|
| Brand | Revell |
| Model Number | 80-4116 |
| Scale | 1:72 |
| Item Weight | 3 ounces |
| ASIN | B0002HZ4NO |
| Manufacturer Recommended Age | 10 years and up |
| Date First Available | October 2, 2001 |
| Number of Pieces | 37 |
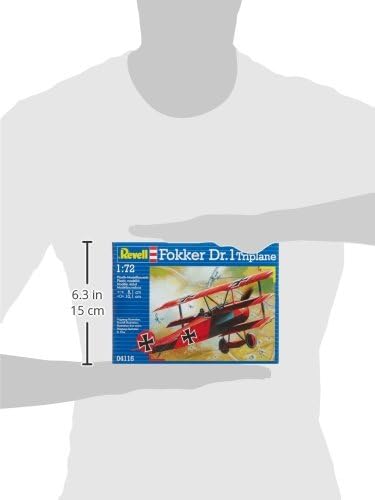
Figure 7: An image illustrating the approximate dimensions of the model kit box, indicating a length of 6.3 inches (15 cm). This provides a reference for the physical size of the product packaging.
Warranty and Support
Specific warranty information for the Revell Fokker Dr.1 Triplane model kit is not provided within this manual. For any inquiries regarding product support, missing parts, or warranty claims, please refer to the contact information provided on the product packaging or visit the official Revell website.
You can visit the official Revell store for more information: Revell Store on Amazon.
Ask a question about this manual
Ask about setup, troubleshooting, compatibility, parts, safety, or missing instructions. Manuals+ will review the question and use this page’s manual context to help answer it.