Important Safety Instructions
Please read all instructions carefully before installing and operating your Pyle PLA2680 amplifier. Keep this manual for future reference.
- Do not operate this product in wet or damp conditions.
- Ensure all wiring is correctly connected and insulated to prevent short circuits.
- Mount the amplifier securely in a well-ventilated area to prevent overheating.
- Disconnect the vehicle's battery before making any electrical connections.
- Use appropriate fuse ratings as specified to protect the amplifier and vehicle's electrical system.
- Avoid listening to audio at excessively high volumes for prolonged periods to prevent hearing damage.
Product Overview
The Pyle PLA2680 is a powerful 2-channel bridgeable MOSFET amplifier designed for car audio systems. It delivers up to 2400 watts of peak power, providing robust sound for your speakers or subwoofers. Key features include a variable electronic crossover network, variable bass boost, and comprehensive protection circuitry to ensure reliable performance.
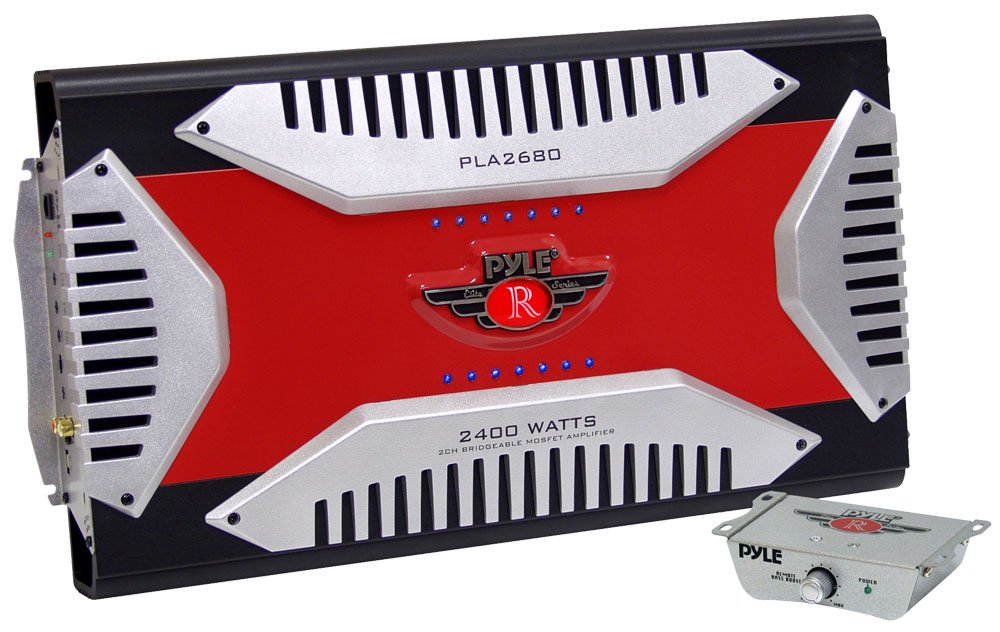
Image: Front view of the Pyle PLA2680 2-Channel Bridgeable MOSFET Amplifier, showcasing its design and control panel.
This amplifier is equipped with gold-plated RCA ports for optimal signal transfer and accepts both high-level (MOLEX) and low-level (RCA) inputs, offering flexibility for various head unit configurations. Its MOSFET Pulse Width Modulation (PWM) power supply ensures clean, distortion-free audio output.
Installation and Setup
Wiring Connections
Proper wiring is crucial for optimal performance and safety. Ensure all connections are secure and correctly polarized.
- Power Connection (BATT+): Connect a heavy-gauge power cable (e.g., 8-gauge or 4-gauge depending on total system power) directly from the amplifier's BATT+ terminal to the positive (+) terminal of the vehicle's battery. Install an in-line fuse holder with an appropriate fuse (not supplied) within 18 inches (45 cm) of the battery.
- Ground Connection (GND): Connect a heavy-gauge ground cable from the amplifier's GND terminal to a clean, unpainted metal surface on the vehicle's chassis. Ensure a good electrical contact by scraping away any paint or rust. The ground cable should be as short as possible, ideally less than 3 feet (1 meter).
- Remote Turn-On (REM): Connect a smaller gauge wire (e.g., 18-gauge) from the amplifier's REM terminal to the remote turn-on output of your head unit. This wire signals the amplifier to turn on and off with your car's stereo.
- Speaker Connections: Connect your speakers to the amplifier's speaker terminals. For 2-channel stereo operation, connect one speaker to each channel (Left+ / Left-, Right+ / Right-). For bridged mono operation (e.g., for a subwoofer), connect the speaker to the designated bridged terminals (typically Right+ and Left-). Refer to the diagram on the amplifier for specific bridging instructions. Ensure correct polarity (+ to + and - to -).
- RCA Input Connections: Connect RCA cables from the pre-amp outputs of your head unit to the RCA input jacks on the amplifier. Use high-quality shielded RCA cables to minimize noise.
- High-Level Input (MOLEX): If your head unit does not have RCA pre-amp outputs, you can use the high-level input via the supplied MOLEX connector. Connect the speaker wires from your head unit directly to the MOLEX input, ensuring correct polarity.
Initial Settings
- Gain Control: Start with the gain control set to minimum. Gradually increase it until the desired volume is achieved without distortion.
- Crossover Settings: Adjust the High-Pass Filter (HPF) and Low-Pass Filter (LPF) according to your speaker type and system configuration. For full-range speakers, you might use HPF. For subwoofers, use LPF.
- Bass Boost: Start with the bass boost at 0dB. Adjust incrementally if more bass is desired, but be cautious to avoid distortion.
Operation
Once installed and configured, the Pyle PLA2680 amplifier will automatically turn on when your head unit is activated and off when the head unit is turned off, thanks to the remote turn-on connection.
- Volume Control: Use your head unit's volume control to adjust the overall system volume. The amplifier's gain control should be set once during initial setup and generally not used for daily volume adjustments.
- Audio Source: Select your desired audio source from your head unit.
- Indicator Lights: The amplifier features indicator lights (e.g., Power, Protect) to show its operational status. A 'Protect' light indicates a fault condition (overheating, short circuit, or overload) and the amplifier will shut down to prevent damage.
Maintenance
The Pyle PLA2680 amplifier requires minimal maintenance to ensure long-term performance.
- Cleaning: Periodically wipe the amplifier's exterior with a soft, dry cloth to remove dust and dirt. Do not use harsh chemicals or abrasive cleaners.
- Ventilation: Ensure that the amplifier's cooling fins are free from obstructions to allow for proper heat dissipation.
- Connections: Occasionally check all power, ground, remote, and speaker connections to ensure they remain tight and free from corrosion. Loose connections can lead to poor performance or damage.
- Fuse Replacement: If the in-line fuse blows, replace it only with a fuse of the exact same type and rating. Using an incorrect fuse can cause serious damage or fire.
Troubleshooting
If you experience problems with your amplifier, consult the following troubleshooting guide before seeking professional service.
| Problem | Possible Cause | Solution |
|---|---|---|
| No Power / Amplifier does not turn on |
|
|
| No Sound Output |
|
|
| Distorted Sound |
|
|
| Amplifier Overheats / Protect Light On |
|
|
Specifications
The following are the technical specifications for the Pyle PLA2680 amplifier:
- Power Output: 1200 Watts x 2 (Stereo), 2400 Watts x 1 (Bridged)
- Crossover Network: Variable High/Low Electronic Crossover
- Bass Boost: Variable Bass Boost Control
- Input Sensitivity: Adjustable Gain Control
- Input Types: Gold-Plated RCA Inputs, High-Level MOLEX Inputs
- Power Supply: MOSFET Pulse Width Modulation (PWM)
- Protection Circuitry: Thermal, Overload, and Short Circuit Protection
- Dimensions (W x H x D): Approximately 10.9 inches x 2.25 inches x 19 inches (27.7 cm x 5.7 cm x 48.3 cm)
Warranty and Support
Pyle products are designed and manufactured to the highest quality standards. This product is covered by a manufacturer's warranty against defects in materials and workmanship. Please refer to the warranty card included with your purchase or visit the official Pyle website for detailed warranty terms and conditions.
For technical support, troubleshooting assistance, or warranty claims, please contact Pyle customer service. Contact information can typically be found on the Pyle website or on your product packaging.