
1. Introduction
This instruction manual provides comprehensive guidance for the ONKYO INTEC155 R-801A FM/AM Tuner Amplifier. Please read this manual thoroughly before operating the unit to ensure proper use and to maximize its performance. Keep this manual for future reference.
2. Safety Information
To prevent electric shock, fire, or damage to the unit, observe the following safety precautions:
- Do not expose the unit to rain or moisture.
- Ensure adequate ventilation. Do not block ventilation openings.
- Do not place objects filled with liquids, such as vases, on the unit.
- Do not open the casing. Refer all servicing to qualified service personnel.
- Unplug the unit from the wall outlet during lightning storms or when unused for long periods.
3. Product Overview
3.1 Front Panel

Image: Front view of the ONKYO INTEC155 R-801A tuner amplifier, showing the display, volume knob, input selectors, tuning controls, and the included remote control.
The front panel features the main power button, display screen, large motor-driven volume knob, input selector buttons (CD/DVD, MD, TAPE, CDR/PC), tuning controls, and the Acoustic Presence button.
3.2 Rear Panel

Image: Rear view of the ONKYO INTEC155 R-801A tuner amplifier, displaying various input and output terminals, including speaker connections, RCA inputs, and antenna terminals.
The rear panel provides all necessary connection terminals, including RCA inputs for various audio sources (CD/DVD, MD, TAPE, CDR/PC), corresponding outputs, speaker terminals, FM and AM antenna inputs, and a subwoofer pre-out.
3.3 Remote Control
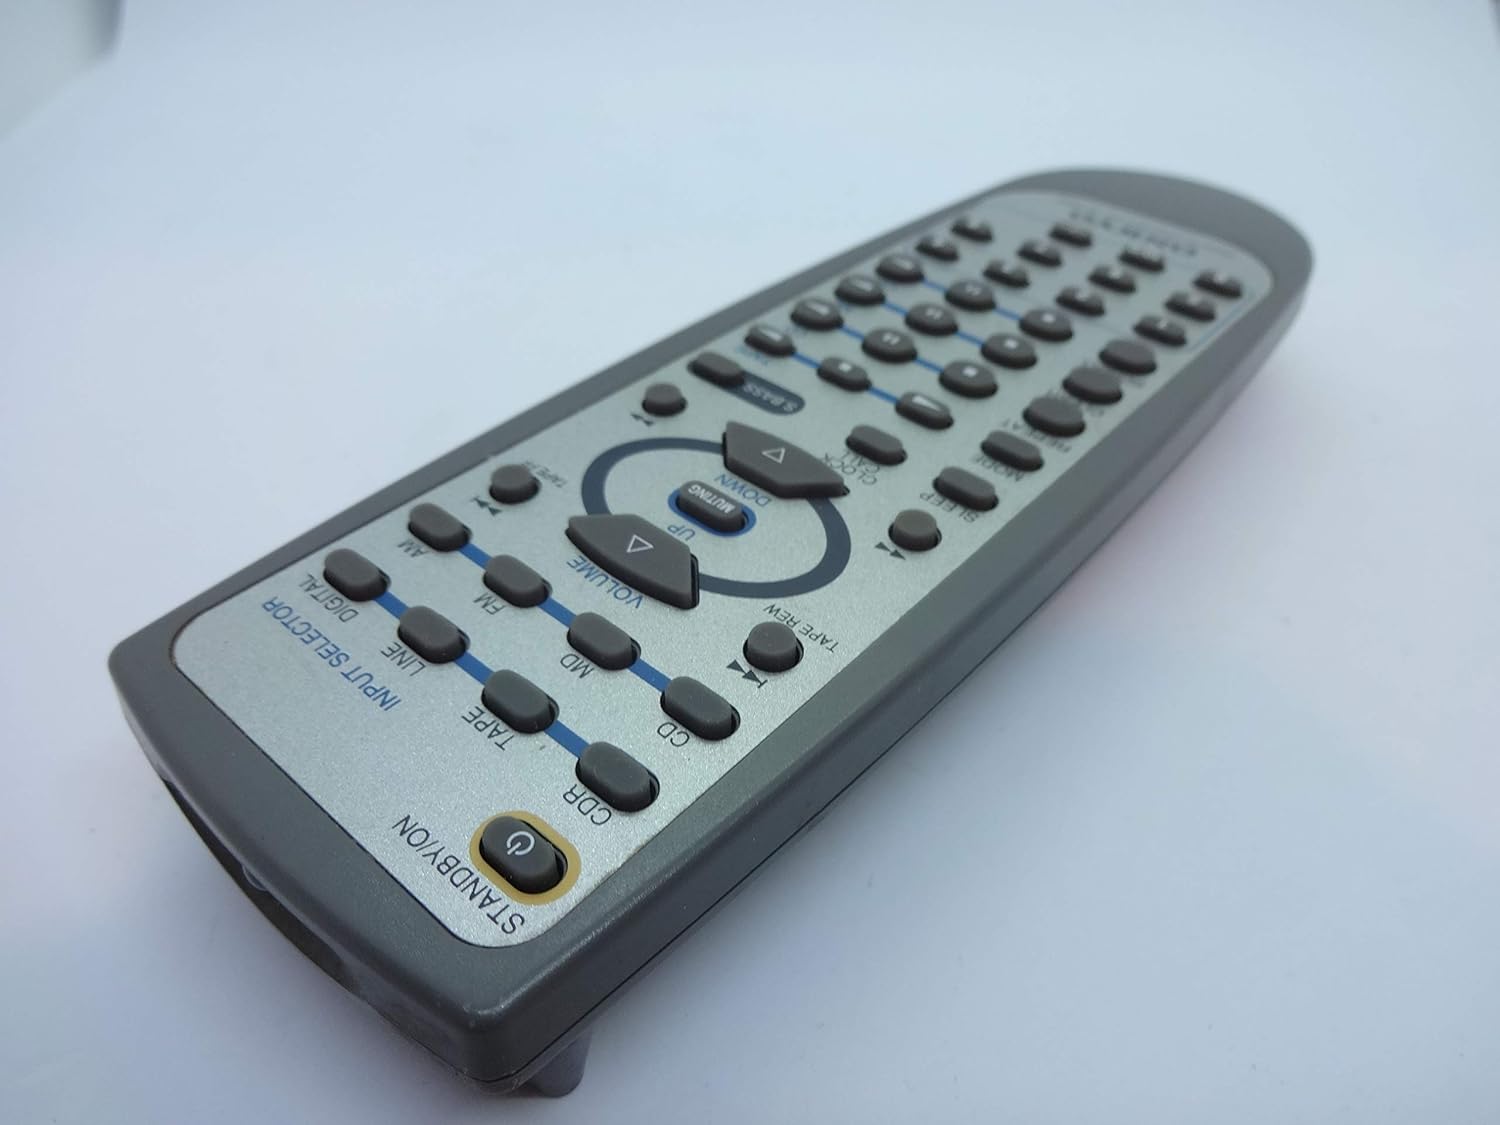
Image: Close-up view of the ONKYO INTEC155 R-801A remote control, showing buttons for power, input selection, volume, tuning, and timer functions.
The remote control allows convenient operation of all primary functions, including power, input selection, volume adjustment, FM/AM tuning, and timer settings.
4. Setup
4.1 Speaker Connections
- Connect your speakers to the SPEAKER terminals on the rear panel. Ensure correct polarity (+ to + and - to -) for each speaker.
- The unit supports speakers with an impedance of 4Ω to 16Ω.
4.2 Antenna Connections
- For FM reception, connect the supplied FM indoor antenna or an external FM antenna to the FM 75Ω COAXIAL terminal.
- For AM reception, connect the supplied AM loop antenna to the AM ANTENNA terminals.
- Position the antennas for optimal reception. The unit supports wideband FM (76.00-108.00MHz).
4.3 Audio Source Connections
Connect your audio components (e.g., CD player, MD player, tape deck, PC) to the corresponding INPUT terminals on the rear panel using RCA audio cables.
- CD/DVD IN: For CD or DVD players.
- MD IN/OUT: For MiniDisc players/recorders.
- TAPE IN/OUT: For tape decks.
- CDR/PC IN/OUT: For CD recorders or PC audio output.
4.4 Power Connection
After all other connections are made, plug the power cord into an AC wall outlet.
5. Operating Instructions
5.1 Power On/Off
Press the POWER button on the front panel or the STANDBY/ON button on the remote control to turn the unit on or off.
5.2 Input Selection
Press the desired input selector button (e.g., CD/DVD, MD, TAPE, CDR/PC) on the front panel or remote control to select the audio source.
5.3 Volume Adjustment
Rotate the VOLUME knob on the front panel or use the VOLUME UP/DOWN buttons on the remote control to adjust the sound level.
5.4 FM/AM Tuning
- Press the FM or AM button on the remote control to select the desired band.
- Manual Tuning: Use the TUNING UP/DOWN buttons to manually tune to a station.
- Auto Scan: Press and hold the TUNING UP/DOWN buttons to automatically scan for the next available station.
- Presets: The unit allows storing up to 30 FM/AM stations. To store a station, tune to it, then press MEMORY followed by a preset number. To recall, press the preset number.
5.5 Timer Functions
The R-801A includes various timer functions:
- Weekday/Weekend Timer: Set the unit to turn on/off at specific times on weekdays or weekends.
- Sleep Timer: Automatically turns off the unit after a set period.
- Record Timer (Rec): Program the unit to start recording from a selected source at a specific time.
- EVERYDAY Timer Recording: Enables daily recording at a set time.
5.6 Acoustic Presence
Press the ACOUSTIC PRESENCE button on the front panel to activate the 4-stage Acoustic Presence circuit, which enhances lower frequencies for a richer sound experience.
6. Features
The ONKYO INTEC155 R-801A incorporates several advanced technologies for superior audio performance:
- Wide Range Amplifier Technology (WRAT): This innovative technology is designed to handle the wide dynamic range of modern audio formats. It achieves this by stabilizing the ground potential, reducing reliance on negative feedback (NFB) circuits that can degrade sound quality from speaker back-EMF, and significantly improving the instantaneous current supply capability to drive speakers more accurately. This design avoids excessive circuit dependency and unnecessary wide-range specifications, delivering performance comparable to full-size component systems.
- Discrete Amplifier Configuration: Unlike designs heavily reliant on power ICs, the R-801A features a discrete amplifier where carefully selected individual components are laid out on the circuit board. This approach offers advantages in heat dissipation and design flexibility, contributing to enhanced audio quality.
- Motor-Driven Volume: The volume control, a critical component for sound quality, utilizes an analog resistance type for superior audio performance. It is motor-driven, allowing for remote control operation. The volume knob itself is crafted from rigid aluminum, reflecting a luxurious specification beyond its class.
- 4-Stage Acoustic Presence Circuit: This circuit naturally boosts frequencies even lower than traditional Super Bass ranges. This new concept enhances the atmospheric space and depth of the soundstage, enriching the musical experience.
7. Maintenance
Regular cleaning helps maintain the unit's appearance and performance. Use a soft, dry cloth to wipe the exterior. Avoid abrasive cleaners or solvents. Ensure proper ventilation by keeping the unit's vents clear of obstructions.
8. Troubleshooting
If you encounter any issues, refer to the following table for common problems and solutions. If the problem persists, consult a qualified service technician.
| Problem | Possible Cause | Solution |
|---|---|---|
| No power | Power cord disconnected; Power outlet malfunction | Check power cord connection; Try a different outlet |
| No sound | Incorrect input selected; Volume too low; Speaker cables disconnected | Select correct input; Increase volume; Check speaker connections |
| Poor radio reception | Antenna not connected or poorly positioned | Connect antennas securely; Adjust antenna position for best reception |
| Remote control not working | Batteries depleted; Obstruction between remote and unit | Replace batteries; Remove obstructions; Ensure remote is pointed at the unit's sensor |
9. Specifications
- Brand: Onkyo
- Model Number: R-801A
- Power Output: 24W + 24W
- FM Frequency Range: 76.00 – 108.00 MHz (Wideband FM compatible)
- Inputs: 4 systems (CD/DVD, MD, TAPE, CDR/PC)
- Outputs: 3 systems (MD, TAPE, CDR/PC)
- Color: Silver
- ASIN: B0001XOVTC
- First Available Date: February 9, 2005
10. Warranty and Support
For warranty information or technical support, please refer to the documentation provided at the time of purchase or contact your local Onkyo service center. Keep your purchase receipt for warranty claims.


