1. Introduction
This manual provides instructions for the setup, operation, maintenance, and troubleshooting of the InFocus LP540 Multimedia Video Projector. The LP540 is designed for presenting visual content with an XGA 1024x768 native resolution and 1700 ANSI lumens brightness. It features a zoom lens with manual focus and zoom adjustment, and includes a 2-watt speaker for audio output.
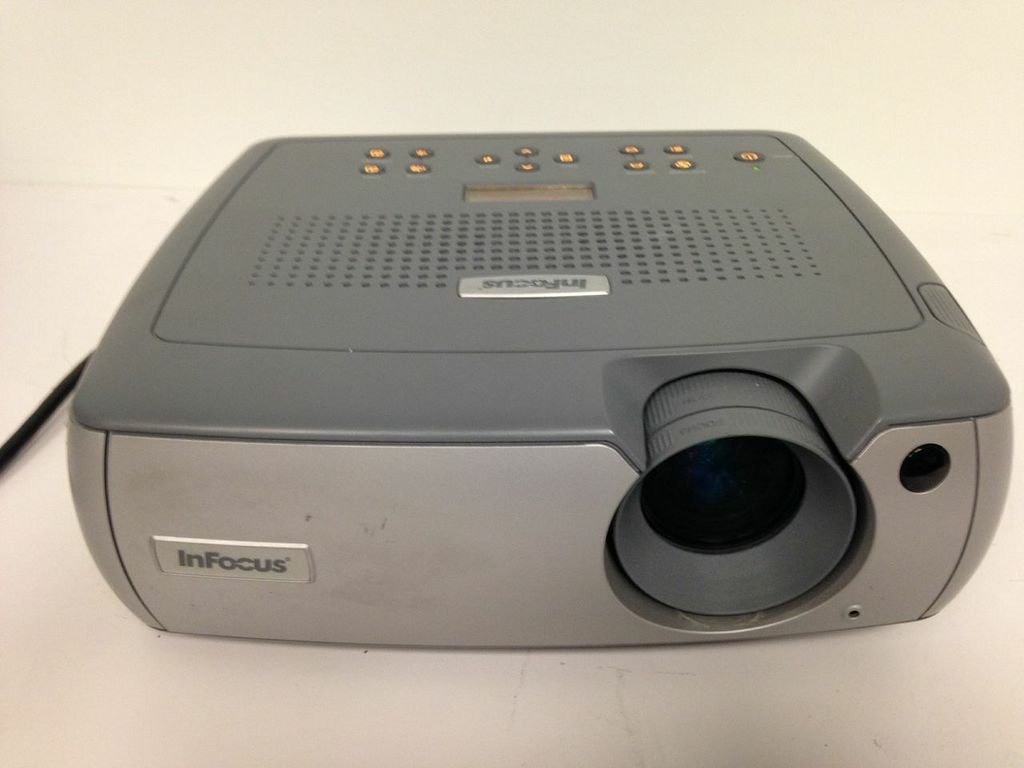
Figure 1: Front-side view of the InFocus LP540 Projector, showing the lens and InFocus branding.
2. Setup
2.1 Unpacking and Contents
Carefully unpack the projector and verify that all components are present:
- InFocus LP540 Projector
- Navigator remote control
- Power cord
- M1-A computer cable with USB mouse
- 3.5mm computer audio cable
- RCA audio/video cable
- Color-coded cable straps
- Soft carrying case
- User's guide and CD
2.2 Projector Placement
The LP540 supports front, rear, and ceiling projection methods. For optimal image quality, place the projector on a stable, flat surface or mount it securely. Ensure adequate ventilation around the unit.
2.3 Connecting Power
- Connect the power cord to the projector's power inlet.
- Plug the other end of the power cord into a grounded electrical outlet.
2.4 Connecting Video and Audio Sources
The LP540 offers various input ports for video and audio connections. Refer to Figure 2 for port locations.

Figure 2: Rear panel of the InFocus LP540 Projector, displaying monitor out, computer in, audio in, video in, and serial control ports.
- Computer Input: Use the M1-A computer cable to connect your computer to the 'computer 1' or 'computer in' port. The M1-A cable also supports USB mouse functionality.
- Video Input: Connect video sources (e.g., DVD player, VCR) using the RCA audio/video cable to the 'video in' ports (yellow for video, red/white for audio).
- Audio Input: For separate audio input from a computer, use the 3.5mm computer audio cable to connect to the 'audio in' port.
- Serial Control: The 'serial control' port (RS-232) allows for external control of the projector.
- Monitor Out: The 'monitor out' port allows you to connect an external monitor to display the same image as the projector.
2.5 Image Adjustment
After connecting and powering on, adjust the image:
- Focus: Rotate the focus ring on the lens until the image is sharp and clear.
- Zoom: Adjust the zoom ring on the lens to achieve the desired image size. The projector can display images from 40 inches to 300 inches diagonally.
3. Operating the Projector
3.1 Powering On/Off
- To Power On: Press the power button on the projector's control panel or the remote control. The power indicator light will illuminate.
- To Power Off: Press the power button again. The projector will enter a cooling cycle before completely shutting down. Do not unplug the projector during the cooling cycle.
3.2 Using the Remote Control
The included navigator remote control allows for convenient operation of the projector from a distance. It provides access to menu navigation, input selection, volume control, and other functions.
3.3 Input Source Selection
Use the 'Input' button on the projector's control panel or remote control to cycle through available input sources (e.g., Computer 1, Video). The projector will automatically detect active signals.
3.4 On-Screen Display (OSD) Menu
Press the 'Menu' button on the projector or remote to access the On-Screen Display. Use the arrow keys to navigate and 'Enter' to select options. The OSD allows adjustment of various settings:
- Image Settings: Adjust brightness, contrast, color, tint, and sharpness.
- Display Settings: Change aspect ratio, keystone correction, and projection method.
- Audio Settings: Control volume and mute.
- Advanced Settings: Access lamp timer, language, and other system options.
3.5 Audio Output
The projector features a built-in 2-watt speaker. Adjust the volume using the remote control or the OSD menu. Ensure external audio sources are properly connected to the 'audio in' ports.
3.6 Wireless Connectivity (Optional)
The LP540 supports wireless connectivity with a LiteShow module (sold separately). Refer to the LiteShow module's documentation for installation and setup instructions.
4. Maintenance
4.1 Lamp Care and Replacement
The projector lamp has a finite lifespan. When the lamp life is nearing its end, a warning message may appear, or the image brightness may decrease significantly. Replace the lamp with an authorized InFocus replacement lamp only. Refer to the full user manual on the included CD for detailed lamp replacement instructions.
4.2 Cleaning the Lens
Use a soft, lint-free cloth specifically designed for optical lenses to gently clean the projector lens. Avoid using abrasive cleaners or excessive force, as this can scratch the lens surface.
4.3 Cleaning Air Filters
Regularly clean the projector's air filters to ensure proper ventilation and prevent overheating. Dust and debris can accumulate, reducing cooling efficiency. Refer to the full user manual for filter location and cleaning procedures.
4.4 General Cleaning
Wipe the projector's exterior casing with a soft, damp cloth. Do not use harsh chemicals or solvents. Ensure the projector is powered off and unplugged before cleaning.
5. Troubleshooting
This section addresses common issues you may encounter with the InFocus LP540 projector. For more detailed troubleshooting, consult the complete user manual.
- No Power:
- Ensure the power cord is securely connected to both the projector and a working electrical outlet.
- Check if the power indicator light is on. If not, try a different outlet.
- No Image on Screen:
- Verify that the correct input source is selected (e.g., Computer 1, Video).
- Check all video cables for secure connections.
- Ensure the computer or video source is powered on and outputting a signal.
- Adjust the projector's brightness and contrast settings via the OSD menu.
- Poor Image Quality (Blurry, Distorted, Incorrect Colors):
- Adjust the focus and zoom rings on the lens.
- Check the resolution settings on your computer to ensure they are compatible with the projector's native resolution (1024x768).
- Perform keystone correction if the image is trapezoidal.
- Adjust color, tint, and sharpness settings in the OSD menu.
- No Sound:
- Ensure audio cables are securely connected to the 'audio in' port.
- Check the volume level on the projector and the audio source.
- Verify that the projector is not muted.
- Remote Control Not Working:
- Check and replace the batteries in the remote control.
- Ensure there are no obstructions between the remote and the projector's IR receiver.
6. Specifications
The following table details the technical specifications for the InFocus LP540 Multimedia Video Projector:
| Feature | Specification |
|---|---|
| Brand | InFocus |
| Model Name | LP540 |
| Display Type | LCD |
| Native Resolution | 1024 x 768 (XGA) |
| Brightness | 1700 ANSI Lumens (max.) |
| Contrast Ratio | 400:1 |
| Image Size (Diagonal) | 40 inches to 300 inches |
| Connectivity Technology | USB |
| Hardware Connectivity | USB |
| Special Feature | Built-in speakers |
| Audio Output | Two 2-watt speakers |
| Lamp Wattage | 170 Watts |
| Wattage (Total) | 260 watts |
| Control Method | Remote, Keypad, RS-232 |
| Form Factor | Portable |
| Mounting Type | Tabletop Mount |
| Item Weight | 14.6 Pounds |
| External Testing Certification | UL |
| UPC | 797212604897 |
7. Warranty Information
The InFocus LP540 Projector comes with a 2-year projector warranty. Please retain your proof of purchase for warranty claims. For specific terms and conditions, refer to the warranty documentation included with your product or contact InFocus customer support.
8. Support
For further assistance, technical support, or service inquiries regarding your InFocus LP540 Multimedia Video Projector, please visit the official InFocus website or contact their customer service department. Contact information can typically be found on the manufacturer's website or in the full user manual provided on the included CD.