Introduction
The Minolta Dimage Z1 is a 3.2-megapixel digital camera designed for both advanced photographers and enthusiasts. It features a powerful 10x optical zoom lens, a rapid autofocus system, and various shooting modes to capture high-quality images and TV-quality video. This manual provides detailed instructions on setting up, operating, maintaining, and troubleshooting your Dimage Z1 camera.
Setup
Unpacking and Contents
Before using your camera, ensure all components are present. The package typically includes:
- Minolta Dimage Z1 Digital Camera
- 16 MB Secure Digital (SD) Memory Card
- Four AA Alkaline Batteries
- USB Cable
- AV Cable
- Lens Cap
- Accessory Shoe Cap
- Neck Strap
- Dimage Viewer Software CD-ROM
- ArcSoft VideoImpression Software CD-ROM
Battery Installation
The Dimage Z1 operates on four AA batteries. For optimal performance and longer shooting times, rechargeable NiMH (Nickel Metal Hydride) batteries are recommended. To install:
- Locate the battery compartment on the bottom of the camera.
- Open the battery compartment cover.
- Insert four AA batteries, ensuring correct polarity (+/-) as indicated inside the compartment.
- Close the battery compartment cover securely.

Figure 1: Bottom view of the Minolta Dimage Z1, highlighting the battery compartment and tripod mount.
Memory Card Installation
The camera uses Secure Digital (SD) or MultiMediaCard (MMC) memory cards. A 16 MB SD card is included to get you started.
- Locate the memory card slot, typically on the side or bottom of the camera.
- Open the memory card slot cover.
- Insert the SD or MMC card with the metal contacts facing the correct direction (refer to the diagram near the slot).
- Gently push the card until it clicks into place.
- Close the memory card slot cover securely.
Initial Power On
After installing batteries and a memory card, turn on the camera using the power switch. The camera should power on in approximately 2 seconds. You may be prompted to set the date and time during the first startup.
Operating the Camera
Basic Photography
The Dimage Z1 features a 3.2-megapixel CCD sensor, producing images up to 2048 x 1536 pixels. It boasts a 10x optical zoom lens (equivalent to 38-380mm in 35mm format) and a 4x digital zoom.
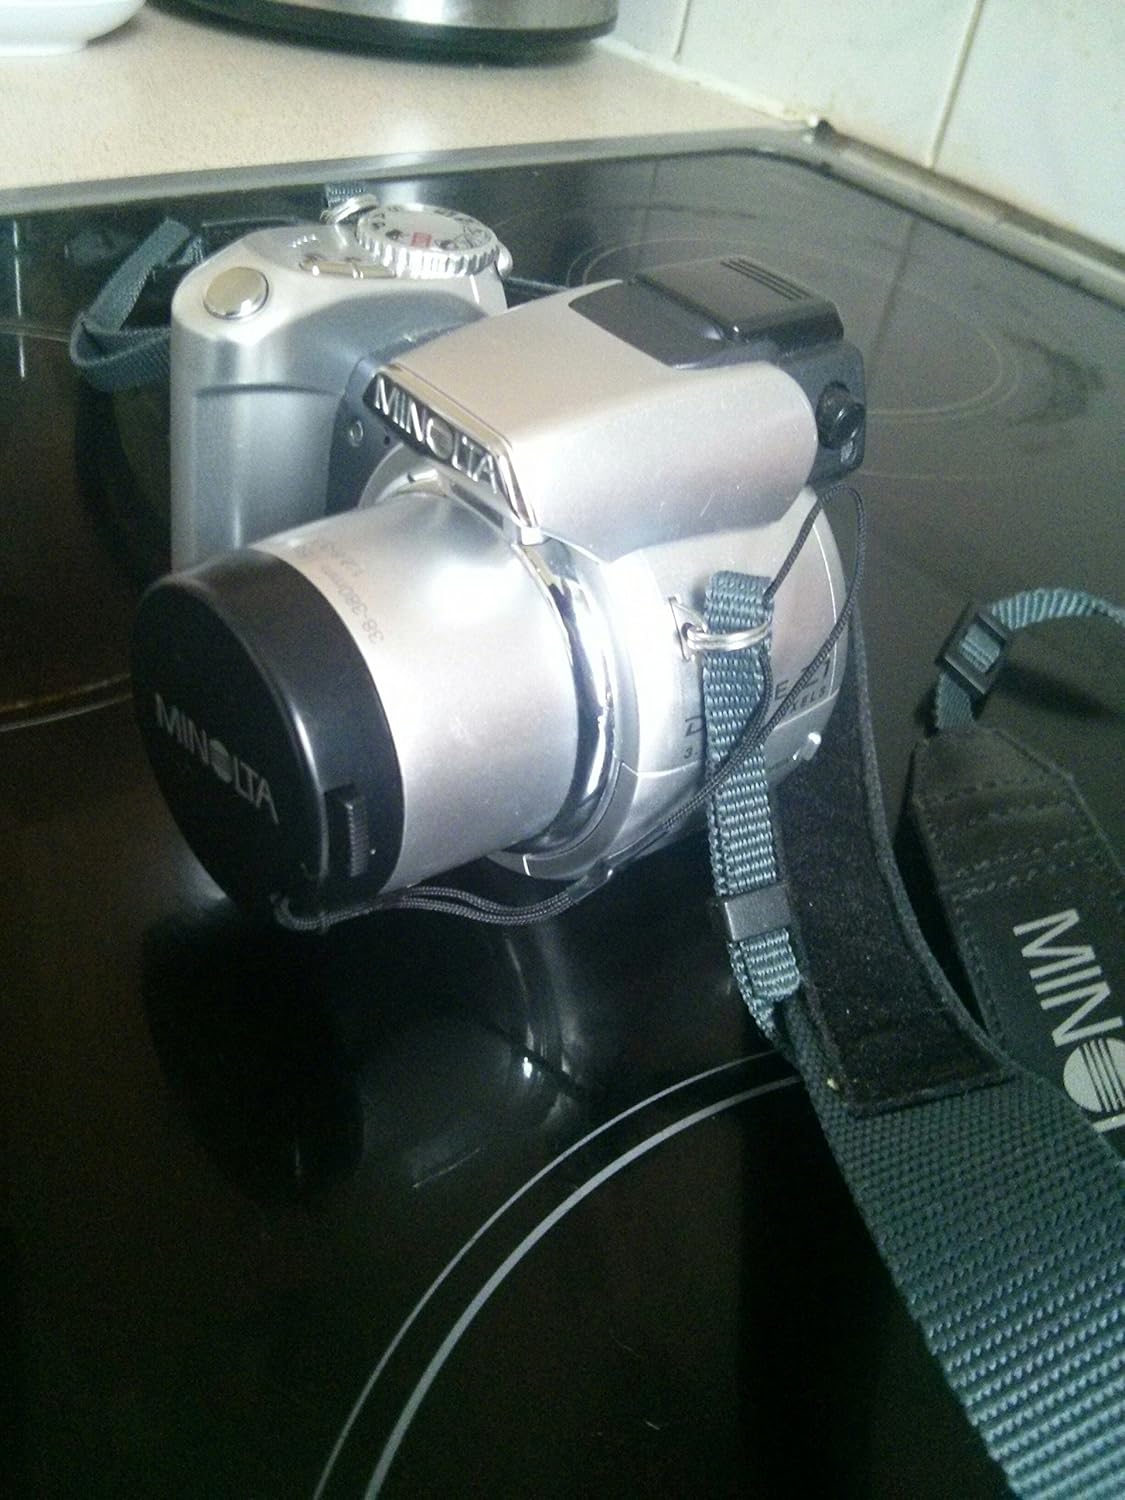
Figure 2: Front-side view of the Minolta Dimage Z1 camera, showcasing its design and lens.
To take a picture:
- Turn the mode dial to your desired shooting mode (e.g., AUTO for automatic settings).
- Frame your shot using the 1.5-inch LCD monitor or the electronic viewfinder.
- Press the shutter button halfway down to activate autofocus. The camera will quickly focus on your subject.
- Press the shutter button fully to capture the image.

Figure 3: Top view of the Minolta Dimage Z1, illustrating the main controls including the mode dial.
Shooting Modes
The mode dial allows you to select various shooting modes:
- AUTO: Fully automatic mode for general photography.
- Program (P): Camera sets aperture and shutter speed, but you can adjust other settings.
- Aperture-Priority (A): You set the aperture, camera sets shutter speed.
- Shutter-Priority (S): You set the shutter speed, camera sets aperture.
- Manual (M): You control both aperture and shutter speed.
- Digital Subject Programs: Includes Portrait, Sports Action, Sunset, and Night Portrait for optimized settings in specific scenarios.
Flash Modes
The built-in flash offers several modes:
- Automatic: Flash fires automatically when needed.
- Auto with Red-eye Reduction: Fires a pre-flash to reduce red-eye.
- Fill-flash: Flash fires regardless of ambient light.
- Slow-Sync: Combines flash with slow shutter speed for balanced exposure of subject and background.
- Off: Flash is disabled.
The camera also features a hot shoe for compatible Minolta external flash units.
White Balance
Adjust white balance to ensure accurate color reproduction under different lighting conditions:
- Automatic: Camera automatically adjusts white balance.
- Preset: Daylight, Cloudy, Tungsten, Fluorescent, Flash.
- Custom: Allows you to manually set white balance based on a white object in the scene.
Color Modes
Experiment with different color modes to achieve desired artistic effects:
- Natural Color
- Vivid Color
- Black and White
- Sepia
Movie Mode
The Dimage Z1 can record TV-quality video (comparable to S-VHS) with sound. You can select from three resolution modes: 640 x 480 (VGA), 320 x 240, and 160 x 120. Video can be captured at 30 frames per second (fps) for smooth playback, or 15 fps to maximize recording time. Recording length is limited only by your memory card capacity.
LCD Monitor and Viewfinder
The camera features a 1.5-inch polysilicon TFT color LCD with an anti-reflection coating and auto amplification. It also includes a unique Switch Finder system that reflects the LCD image to the viewfinder, allowing you to see what the CCD sees through the viewfinder.

Figure 4: Rear view of the Minolta Dimage Z1, displaying the LCD monitor and control layout.
Image Storage and Transfer
Images and videos are stored on SD or MMC memory cards. To transfer files to a computer, connect the camera via the supplied USB 1.1 cable. The camera is compatible with Windows Me/2000/XP and Mac OS 8.6 or later without requiring additional software installation.
Maintenance
General Care
- Keep the camera away from extreme temperatures, humidity, dust, and strong magnetic fields.
- Avoid dropping or subjecting the camera to strong vibrations.
- When not in use, store the camera with the lens cap on and in a protective case.
- Remove batteries if the camera will not be used for an extended period to prevent leakage.
Cleaning the Camera
- Camera Body: Wipe with a soft, dry cloth. For stubborn dirt, use a cloth lightly dampened with water and then dry thoroughly. Do not use organic solvents or strong cleaning agents.
- Lens: Use a lens brush or a blower to remove dust. For smudges, use a specialized lens cleaning cloth and lens cleaning fluid. Avoid touching the lens surface with your fingers.
- LCD Monitor: Gently wipe with a soft, dry cloth. Avoid pressing hard on the screen.
Troubleshooting
This section addresses common issues you might encounter with your Minolta Dimage Z1.
| Problem | Possible Cause | Solution |
|---|---|---|
| Camera does not power on. | Batteries are dead or incorrectly inserted. | Replace batteries or reinsert them with correct polarity. Ensure battery compartment is closed. |
| "Unable to use card" error. | Memory card is full, corrupted, or incompatible. | Delete unnecessary files, format the card (this will erase all data), or try a different compatible SD/MMC card. |
| Images are blurry. | Camera shake, subject movement, or out of focus. | Hold the camera steady, use a tripod, or increase shutter speed. Ensure autofocus locks onto the subject. Clean the lens. |
| Flash does not fire. | Flash mode is set to "Off" or batteries are low. | Change flash mode to Auto or Fill-flash. Replace batteries. |
| Cannot transfer photos to computer. | USB cable not connected properly, or driver issue. | Ensure USB cable is securely connected to both camera and computer. Try a different USB port. Restart computer. |
Specifications
| Feature | Description |
|---|---|
| Model Name | Minolta Dimage Z1 |
| Effective Still Resolution | 3.2 MP |
| Photo Sensor Size | 1/2.7-inch CCD |
| Maximum Image Size | 2048 x 1536 pixels |
| Optical Zoom | 10x |
| Digital Zoom | 4x |
| Lens | f/2.8-3.5, 38-380mm (35mm equivalent) |
| Minimum Shutter Speed | 15 seconds |
| Maximum Shutter Speed | 1/1000 seconds |
| Screen Size | 1.5 inches (113,000 dots) |
| Viewfinder | Electronic (Switch Finder) |
| Storage Media | SD/MMC card |
| Connectivity | USB 1.1, AV Out |
| Power Source | 4 x AA batteries |
| Dimensions (LxWxD) | Approx. 4.31 x 3.05 x 3.15 inches |
| Weight | Approx. 10.8 ounces (excluding battery) |
| Video Resolution | 640x480 (VGA) at 30fps |
| Supported File Formats | JPEG (still images), MOV (video) |
Warranty and Support
Warranty Information
The Minolta Dimage Z1 comes with a 1 Year Limited Warranty from the manufacturer. Please retain your proof of purchase for warranty claims. For specific terms and conditions, refer to the warranty card included with your product or contact Minolta customer service.
Additional Support
For further assistance or detailed information, you may refer to the official User Manual (PDF) available online.


