Introduction
The Vivitar HF-TR59 Digital Camera Tripod is designed to provide stable support for most film and digital cameras, as well as camcorders. This manual provides essential instructions for the safe and effective setup, operation, and maintenance of your tripod, ensuring optimal performance and longevity.
Product Features
- Lightweight and Collapsible: Designed for portability, the tripod collapses to just 22 inches for easy transport and storage.
- Versatile Compatibility: Suitable for use with most digital cameras, film cameras, and camcorders.
- Quick Release Mount: Features a quick-release plate for fast and convenient attachment and detachment of your camera, allowing for seamless transitions to handheld shooting.
- 3-Way Pan and Tilt Head: Equipped with a professional grip for fluid 3-way panning (horizontal) and tilting (vertical) movements, enabling precise camera positioning.
- Carrying Case Included: Comes with a dedicated carrying case for protection and ease of transport.
Safety Information
- Always ensure the tripod is placed on a stable, level surface before mounting any equipment.
- Do not exceed the maximum weight capacity of the tripod. Overloading can lead to instability and damage to your equipment.
- Ensure all leg locks and head adjustments are securely tightened before leaving your camera unattended.
- Keep fingers and clothing clear of moving parts when adjusting the tripod.
- Do not expose the tripod to extreme temperatures or harsh weather conditions for prolonged periods.
- Keep out of reach of children to prevent accidental injury.
Setup
1. Unpacking
Carefully remove the tripod and its carrying case from the packaging. Inspect for any signs of damage during transit.
2. Extending the Legs
Release the leg locks on each section of the tripod legs. Extend the legs to the desired height and spread them to create a stable base. Ensure all leg locks are firmly secured to prevent collapse.
3. Adjusting the Center Column
To adjust the overall height, rotate the crank handle to raise or lower the center column. Once the desired height is achieved, tighten the center column locking ring to secure it in place.
4. Attaching Your Camera
- Locate the quick-release plate on the tripod head.
- Detach the quick-release plate from the tripod head by disengaging its locking mechanism.
- Screw the quick-release plate securely onto the tripod mounting thread on the bottom of your camera or camcorder.
- Align the quick-release plate with the receiver on the tripod head and slide it into place until it clicks and locks securely. Verify that the camera is firmly attached before releasing your grip.
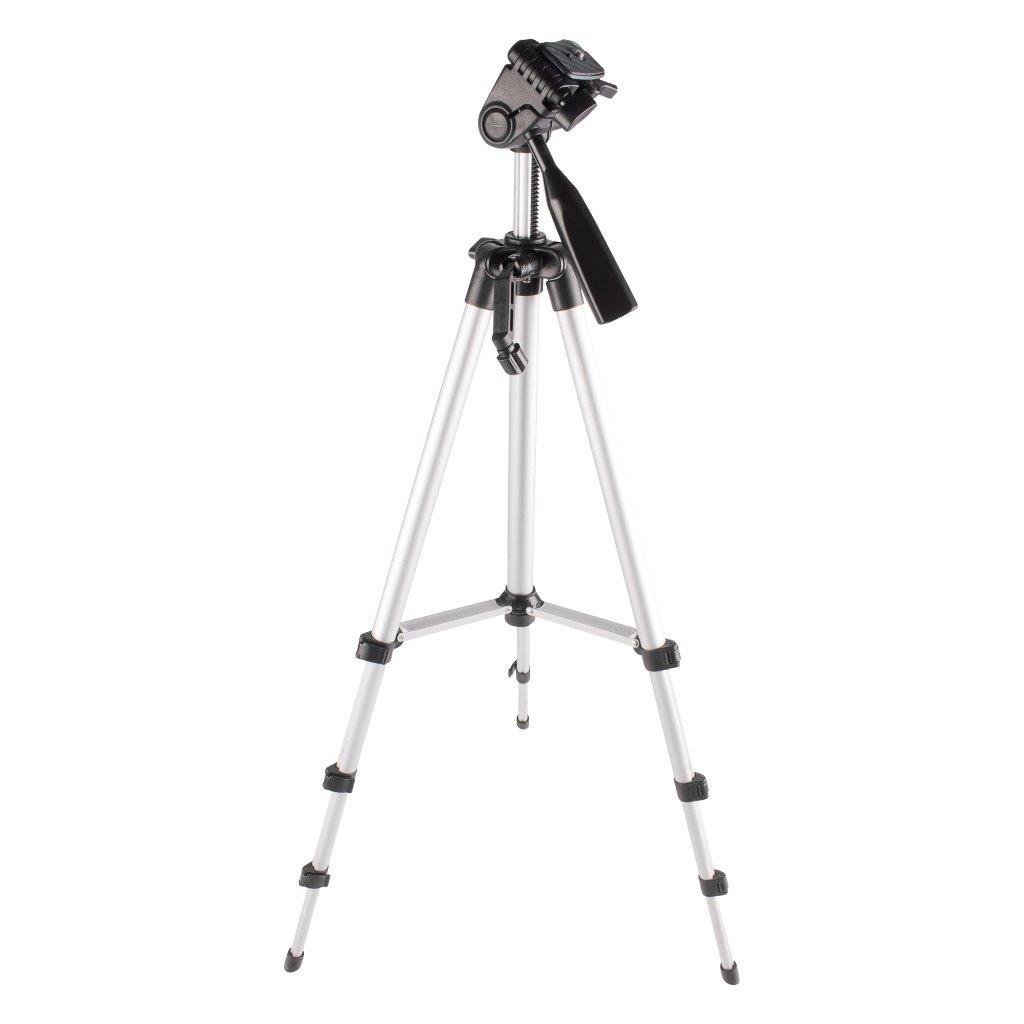
Image: The Vivitar HF-TR59 Digital Camera Tripod with a camera mounted, demonstrating its extended height and stable setup.
Operating
Panning and Tilting
The HF-TR59 features a 3-way pan and tilt head. To adjust the camera's horizontal (pan) or vertical (tilt) angle, loosen the corresponding locking knob on the professional grip handle. Gently move the handle to achieve the desired position, then tighten the knob to secure the camera in place. For smooth video recording, loosen the knobs just enough to allow fluid movement without excessive play.
Using the Quick Release Plate
The quick-release plate allows for rapid attachment and detachment of your camera. To remove the camera, disengage the quick-release plate lock and slide the camera (with the plate attached) off the tripod head. To reattach, align the plate with the receiver and push it firmly until it locks into position.
Leveling Your Camera
Utilize the built-in spirit levels on the tripod head to ensure your camera is perfectly level. Adjust the tripod legs or the head's tilt until the bubble in the spirit level is centered, indicating a level position for your shots.
Maintenance
Cleaning
Wipe the tripod with a soft, dry cloth after each use to remove dust and dirt. For aluminum parts, a slightly damp cloth can be used, followed immediately by drying to prevent water spots. Avoid using abrasive cleaners or solvents, as these can damage the finish and plastic components.
Storage
When not in use, collapse the tripod to its minimum height (22 inches) and store it in the provided carrying case. Keep the tripod in a dry, cool environment, away from direct sunlight and excessive humidity, to prolong its lifespan.
Troubleshooting
- Tripod is unstable: Ensure all leg locks are fully engaged and the center column is securely locked. Verify that the camera is properly mounted on the quick-release plate and that the plate is locked into the tripod head. Confirm the tripod is placed on a flat, stable surface.
- Difficulty with panning/tilting: Check that the pan and tilt locking knobs are sufficiently loosened. If movement remains stiff, inspect for any debris obstructing the mechanism. Do not force movements.
- Quick-release plate not securing: Ensure the plate is correctly aligned with the receiver on the tripod head and pushed in completely until the locking mechanism engages. Check for any obstructions in the receiver slot.
Specifications
| Model Name | HF-TR59 |
| Material | Aluminum |
| Maximum Height | 59 Inches |
| Minimum Height (Collapsed) | 22 Inches |
| Item Weight | 1 Pound |
| Product Dimensions (Collapsed) | 3 x 3 x 19.5 inches |
| Compatible Devices | Camcorder, Camera |
| Special Feature | Lightweight, Portable, Compact |
| Tripod Head Type | Pan Heads |
Warranty and Support
The Vivitar HF-TR59 Digital Camera Tripod is manufactured by Sakar and typically includes a 1-year limited warranty. For specific warranty details, claims, or technical support, please refer to the documentation included with your purchase or visit the official Vivitar support website. Please retain your proof of purchase for warranty service.


