Sony TCM-200DV
Sony TCM-200DV Standard Cassette Voice Recorder User Manual
Model: TCM-200DV
1. Introduction
This manual provides detailed instructions for the operation and maintenance of your Sony TCM-200DV Standard Cassette Voice Recorder. This device is designed for reliable audio recording and playback using standard cassette tapes. It features voice-operated recording, an external microphone jack, a built-in microphone, and a large integrated speaker for clear audio output.
Please read this manual thoroughly before using the recorder to ensure proper operation and to maximize the lifespan of your device.
2. Key Features
- Double Recording Time: Allows recording at normal or half-normal speed, effectively doubling the recording capacity of a standard cassette.
- Voice Operated Recording (VOR): Automatically starts and stops recording when sound is detected, conserving tape and battery life.
- Playback Speed Control: Adjust playback speed by +30% or -15% for easier transcription or review.
- External Microphone Jack: Provides flexibility for connecting an external microphone for enhanced audio input.
- Long Battery Life: Offers up to 25 hours of continuous operation on a single set of batteries.
- Built-in Microphone: Convenient for immediate recording without external accessories.
- Large Speaker: Ensures clear and audible playback directly from the unit.
3. Package Contents
Upon unpacking, please verify that all items listed below are present and in good condition:
- Sony TCM-200DV Standard Cassette Voice Recorder Unit
- User Manual (this document)
- Wrist Strap (pre-attached or included separately)
- (Optional: Blank Cassette Tape, AC Power Adapter - check product packaging for specifics)

Figure 3.1: The Sony TCM-200DV Standard Cassette Voice Recorder as typically seen in its retail packaging, showcasing the product and its branding.
4. Setup
4.1 Battery Installation
- Locate the battery compartment on the back of the unit.
- Slide the battery compartment cover in the direction indicated by the arrow to open it.
- Insert two (2) AA (R6) batteries, ensuring the correct polarity (+ and -) as marked inside the compartment.
- Close the battery compartment cover securely until it clicks into place.

Figure 4.1: Rear view of the Sony TCM-200DV, highlighting the battery compartment and product information labels.
4.2 Loading a Cassette Tape
- Press the EJECT button to open the cassette compartment door.
- Insert a standard cassette tape with the open edge facing the recorder and the full reel on the left side.
- Gently close the cassette compartment door until it latches.
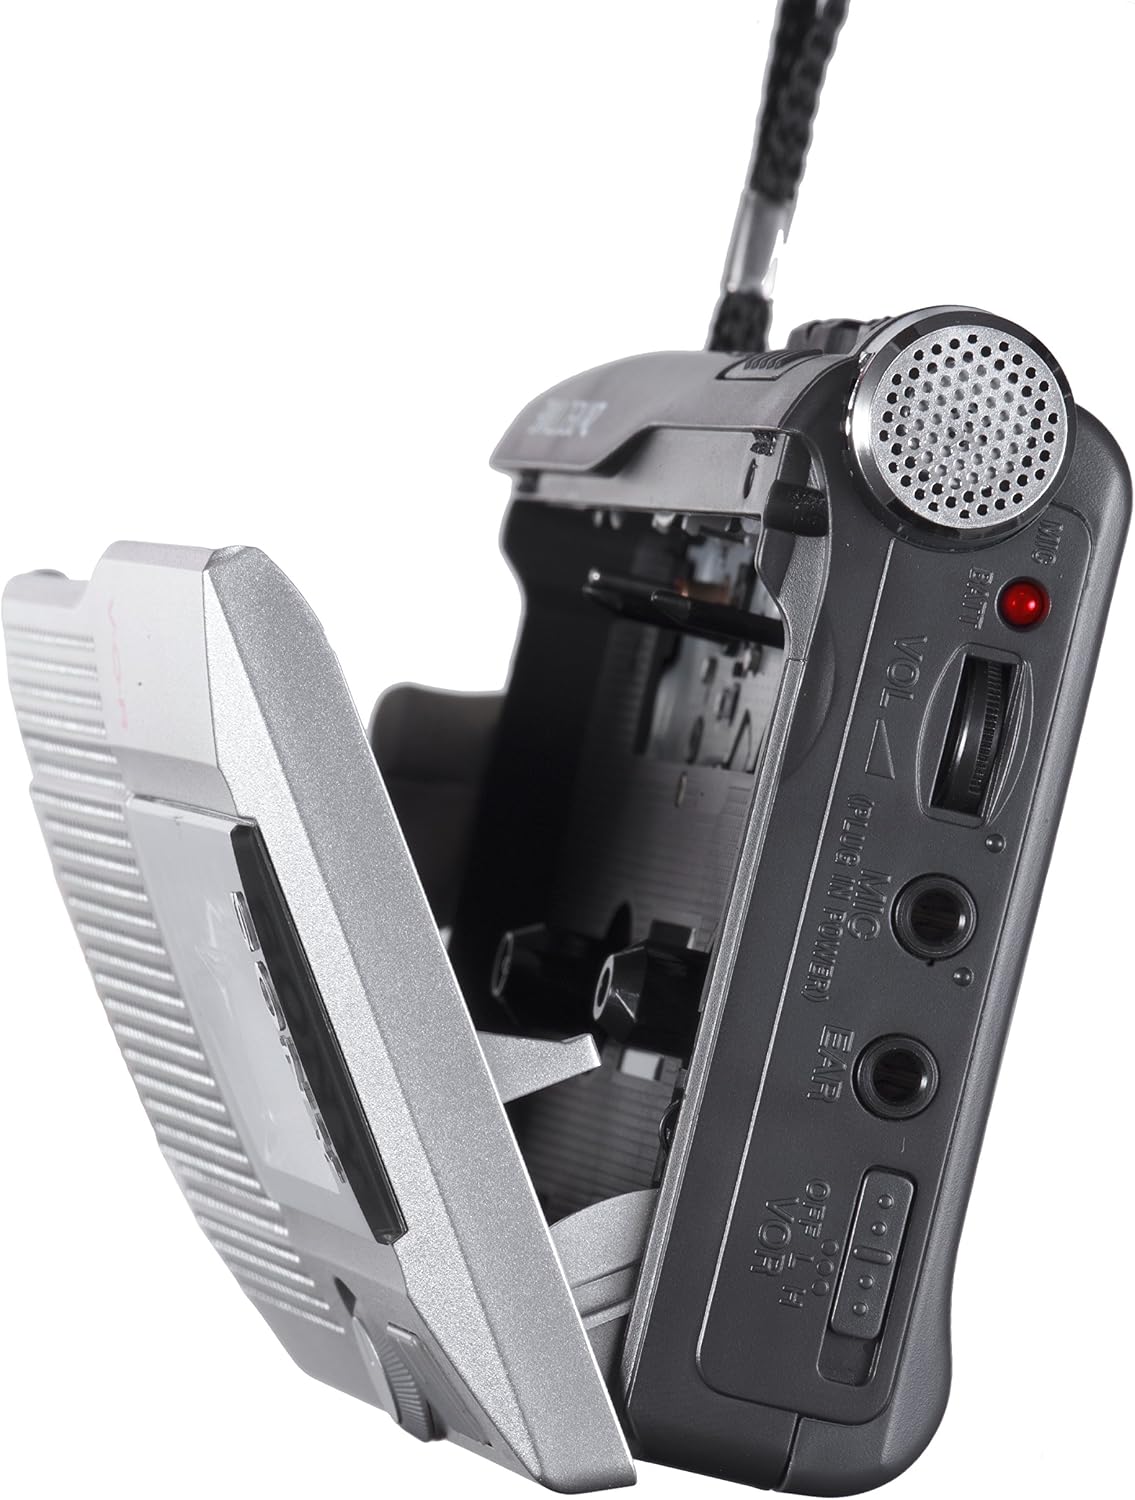
Figure 4.2: Side view of the Sony TCM-200DV with the cassette compartment door open, ready for tape insertion.
5. Operating Instructions

Figure 5.1: Front view of the Sony TCM-200DV, showing the speaker grille, cassette window, and main controls.

Figure 5.2: Side view of the Sony TCM-200DV, detailing the playback, recording, and fast-forward/rewind buttons.
5.1 Recording
5.1.1 Standard Recording
- Ensure a cassette tape is loaded.
- Press the REC (Record) button. The PLAY button will also engage simultaneously. The recording indicator light will illuminate.
- Speak clearly into the built-in microphone or connected external microphone.
- To stop recording, press the STOP/EJECT button.
5.1.2 Voice Operated Recording (VOR)
- Set the VOR switch (if available on your model) to the ON position.
- Press the REC button. The recorder will now automatically start recording when sound is detected and pause when silence occurs.
- To stop VOR recording, press the STOP/EJECT button.
5.1.3 Double Recording Time (2X REC TIME)
- To activate double recording time, slide the REC TIME switch to the DOUBLE position before starting recording. This will record at half the normal tape speed, extending recording capacity.
- For standard recording speed, ensure the switch is in the NORMAL position.
5.2 Playback
- Ensure a recorded cassette tape is loaded.
- Press the PLAY button. Audio will be played through the built-in speaker.
- Adjust the VOLUME control to your desired listening level.
- To stop playback, press the STOP/EJECT button.
5.2.1 Playback Speed Control
- During playback, rotate the SPEED CONTROL dial to adjust the playback speed.
- Turn towards FAST to increase speed (up to +30%).
- Turn towards SLOW to decrease speed (down to -15%).
5.3 Fast Forward and Rewind
- To fast forward, press the FF/CUE button.
- To rewind, press the REW/REVIEW button.
- Press STOP/EJECT to stop winding.
5.4 Using External Microphone/Earphone
- Connect an external microphone to the MIC jack for alternative audio input.
- Connect earphones to the EAR jack for private listening during playback.
6. Maintenance
6.1 Cleaning the Tape Path
Regular cleaning of the tape head, pinch roller, and capstan is essential for optimal recording and playback quality. Use a cotton swab lightly moistened with isopropyl alcohol.
- Open the cassette compartment.
- Gently wipe the tape head (the shiny metal block), pinch roller (rubber wheel), and capstan (metal shaft) until clean.
- Allow components to dry completely before closing the compartment or inserting a tape.
6.2 Battery Care
- Remove batteries if the unit will not be used for an extended period to prevent leakage.
- Do not mix old and new batteries, or different types of batteries.
- Dispose of used batteries according to local regulations.
6.3 General Care and Storage
- Keep the unit away from direct sunlight, heat sources, and excessive dust or moisture.
- Avoid dropping the unit or subjecting it to strong impacts.
- Store cassette tapes in their cases to protect them from dust and magnetic fields.
7. Troubleshooting
| Problem | Possible Cause | Solution |
|---|---|---|
| Unit does not power on. | Dead or incorrectly inserted batteries. | Replace batteries with new ones, ensuring correct polarity. |
| No sound during playback. | Volume too low; tape not recorded; dirty tape head. | Increase volume; ensure tape has content; clean tape head. |
| Recording is distorted or unclear. | Microphone too far/close; dirty tape head; faulty tape. | Adjust microphone distance; clean tape head; try a new tape. |
| Tape does not move or jams. | Tape tangled or damaged; dirty pinch roller/capstan. | Inspect tape for damage; clean pinch roller and capstan. |
| VOR not working correctly. | VOR switch off; ambient noise too high/low. | Ensure VOR switch is ON; adjust recording environment. |
If the problem persists after attempting these solutions, please contact Sony customer support.
8. Specifications
| Brand | Sony |
| Model | TCM-200DV |
| Dimensions (L x W x H) | 26.67 x 15.24 x 5.72 cm |
| Weight | 172.37 g |
| Batteries Required | 2 x AA (Alkaline recommended) |
| Average Battery Life | Up to 25 Hours |
| Microphone Form Factor | Built-in |
| Hardware Interface | USB (as per product data, though primary function is cassette) |
| Memory Capacity | 512 GB (as per product data, note: this is unusual for a cassette recorder) |
| Media Format | Cassette Tape (Audio MP3 listed in data, but primary is cassette) |
| Compatible Devices | Personal Computer (as per product data) |
Note: Some specifications like "Memory Capacity" and "Hardware Interface" may refer to general product data fields and might not directly apply to the primary cassette recording function of this specific model. The core function is analog cassette recording.
9. Warranty and Support
9.1 Manufacturer's Warranty
Sony products are covered by a limited manufacturer's warranty. The terms and duration of the warranty may vary by region and product. Please refer to the warranty card included with your product or visit the official Sony website for detailed warranty information.
9.2 Customer Support
For technical assistance, troubleshooting, or service inquiries, please contact Sony customer support. You can find contact information (phone numbers, email, support portals) on the official Sony website or through the support section of your product's documentation.
When contacting support, please have your product model number (TCM-200DV) and serial number (if applicable) ready.
Official Sony Website: www.sony.com
Ask a question about this manual
Ask about setup, troubleshooting, compatibility, parts, safety, or missing instructions. Manuals+ will review the question and use this page’s manual context to help answer it.