
Important Safety Instructions
When using electrical appliances, basic safety precautions should always be followed to reduce the risk of fire, electric shock, and/or injury to persons, including the following:
- Read all instructions before operating the coffee maker.
- Do not touch hot surfaces. Use handles or knobs.
- To protect against electrical hazards, do not immerse cord, plugs, or the coffee maker in water or other liquid.
- Close supervision is necessary when any appliance is used by or near children.
- Unplug from outlet when not in use and before cleaning. Allow to cool before putting on or taking off parts, and before cleaning the appliance.
- Do not operate any appliance with a damaged cord or plug, or after the appliance malfunctions or has been damaged in any manner. Return appliance to the nearest authorized service facility for examination, repair, or adjustment.
- The use of accessory attachments not recommended by the appliance manufacturer may result in fire, electric shock, or injury to persons.
- Do not use outdoors.
- Do not let cord hang over edge of table or counter, or touch hot surfaces.
- Do not place on or near a hot gas or electric burner, or in a heated oven.
- Always attach plug to appliance first, then plug cord into the wall outlet. To disconnect, turn any control to "off", then remove plug from wall outlet.
- Do not use appliance for other than intended use.
- This appliance has a polarized plug (one blade is wider than the other). To reduce the risk of electric shock, this plug is intended to fit into a polarized outlet only one way. If the plug does not fit fully into the outlet, reverse the plug. If it still does not fit, contact a qualified electrician. Do not attempt to modify the plug in any way.
- Ensure the voltage selector switch is set correctly for your region (120V or 240V) before plugging in.
Product Overview
The Rival TJ10 Travel Coffee Maker is designed for convenience and portability, allowing you to brew coffee on the go. Familiarize yourself with its components:
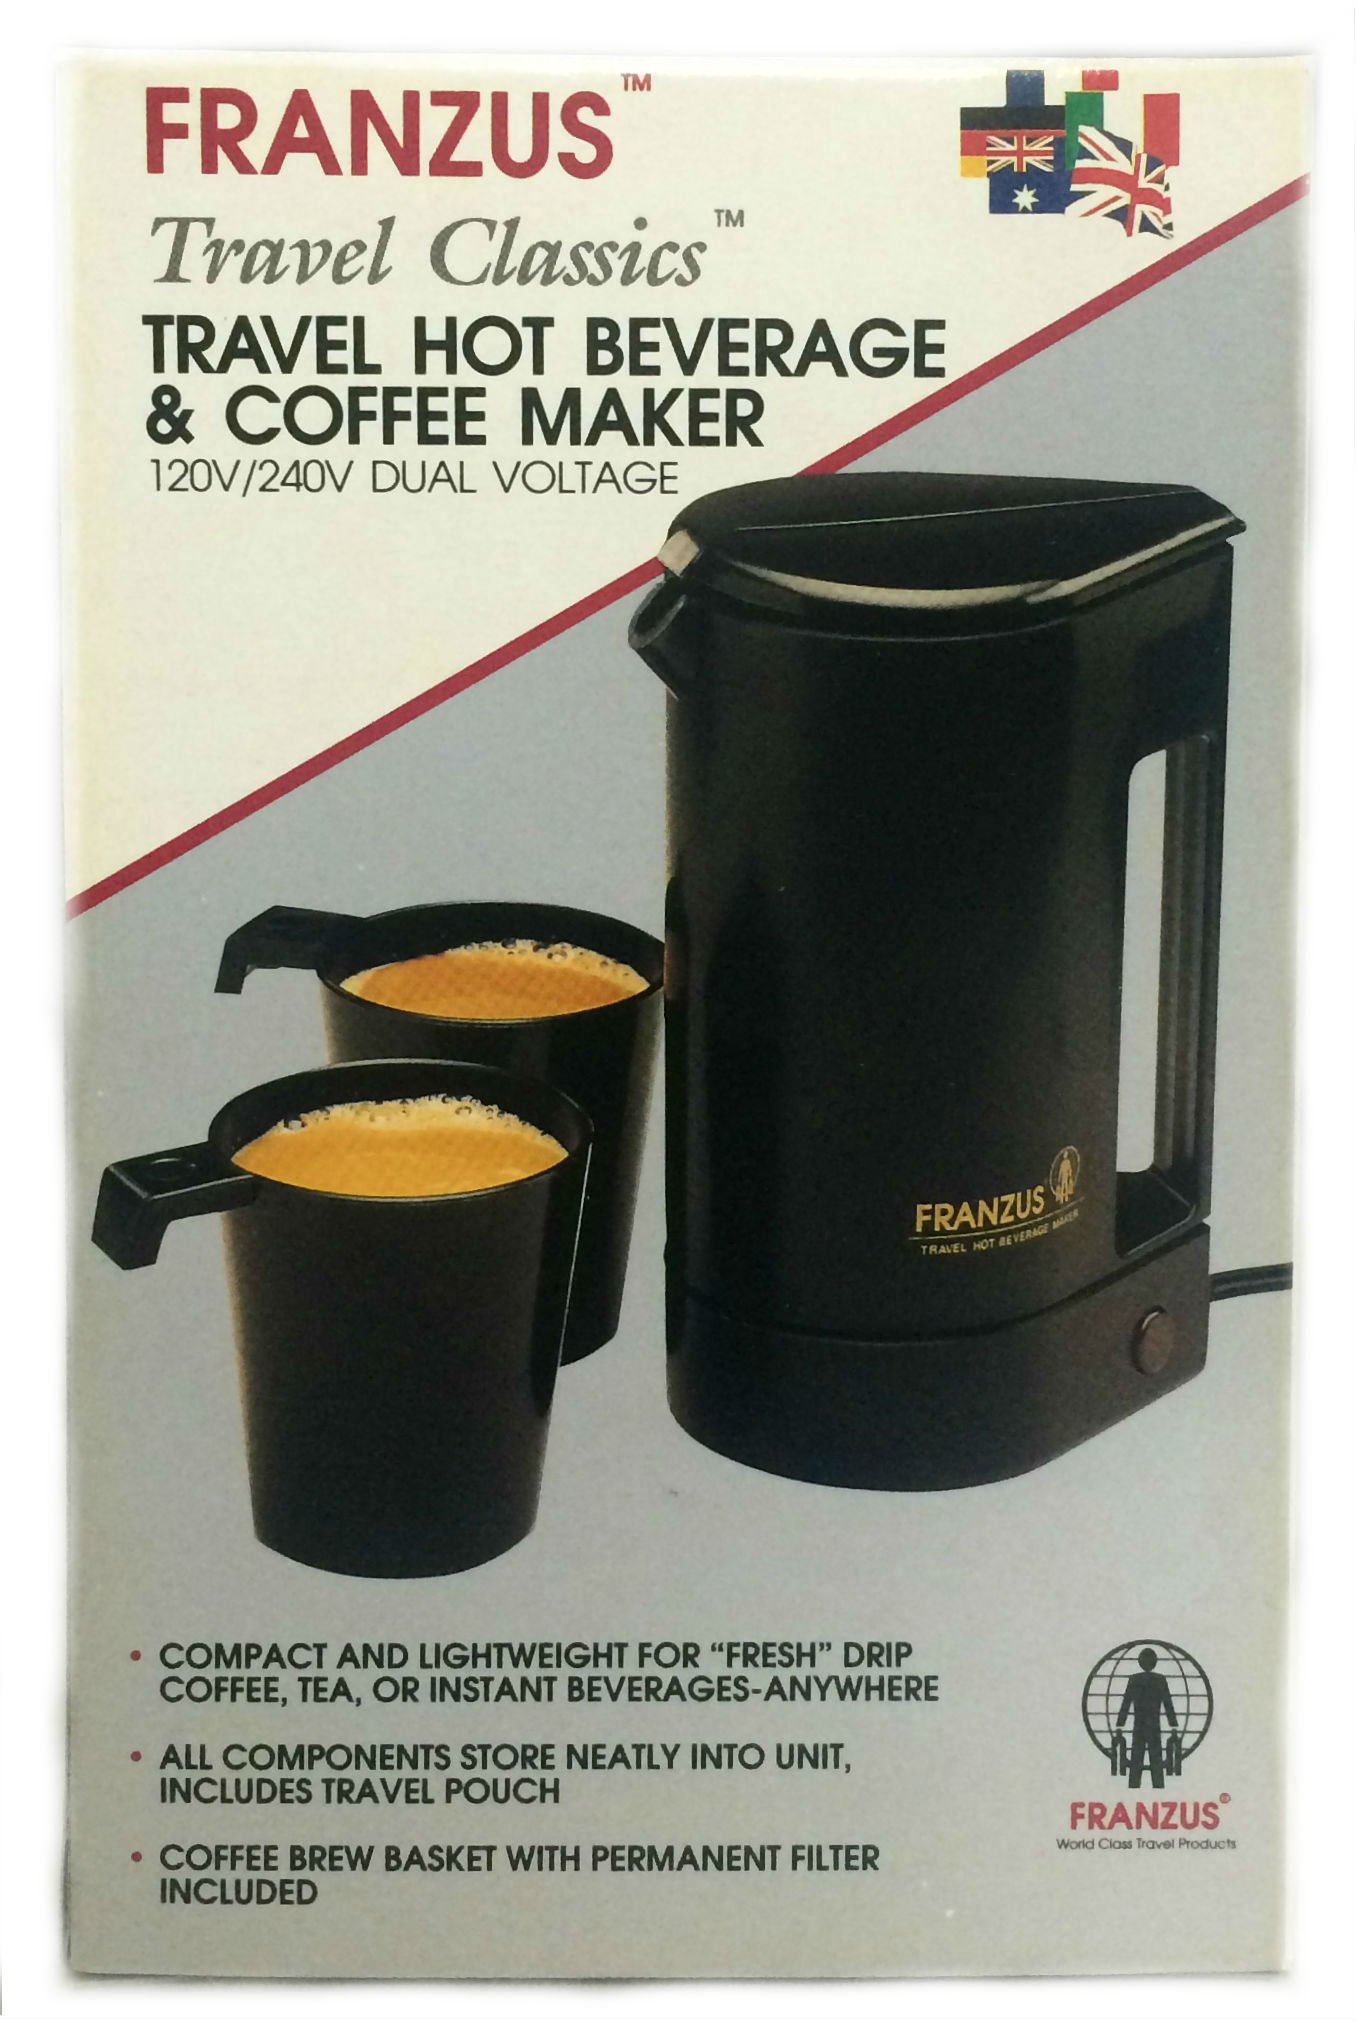
Image: The Rival TJ10 Travel Coffee Maker, showcasing its compact design, included travel cups, and a travel pouch. The main unit is black with a clear water reservoir and a power switch.
- Main Unit: The primary body of the coffee maker containing the heating element and water reservoir.
- Brew Basket with Permanent Mesh Filter: Holds coffee grounds during brewing. The integrated mesh filter eliminates the need for disposable paper filters.
- Water Reservoir: The compartment where water is added for brewing.
- On Indicator Light: Illuminates when the coffee maker is powered on and brewing.
- Dual Voltage Switch: Allows selection between 120V and 240V operation for international travel.
- 2 x 5oz. Beverage Cups: Two plastic cups included for immediate serving.
- Adaptor Plug: For compatibility with various international outlets.
- Travel Pouch: A soft bag for convenient storage and transport of the coffee maker and its accessories.
Setup
- Unpack: Carefully remove all components from the packaging. Retain packaging for future storage or transport.
- Initial Cleaning: Before first use, wash the brew basket, permanent mesh filter, and beverage cups in warm, soapy water. Rinse thoroughly and dry. Wipe the exterior of the main unit with a damp cloth.
- Voltage Selection: Locate the dual voltage switch on the coffee maker. Set it to the appropriate voltage (120V or 240V) for your current location. Incorrect voltage selection can damage the appliance.
- First Brew Cycle (Cleaning): Fill the water reservoir with clean water up to the maximum fill line. Place the empty brew basket with the permanent filter in position. Place one of the included cups under the dispenser. Plug the coffee maker into a suitable electrical outlet. Turn the coffee maker on and allow it to complete a full brew cycle with only water. Discard the hot water. Repeat this process once more to ensure thorough cleaning.
Operating Instructions
Follow these steps to brew coffee with your Rival TJ10 Travel Coffee Maker:
- Prepare Water: Ensure the voltage switch is correctly set. Open the water reservoir lid and fill with fresh, cold water. Do not exceed the maximum fill line.
- Add Coffee Grounds: Place the permanent mesh filter into the brew basket. Add your desired amount of ground coffee into the filter. For best results, use medium-ground coffee. Do not overfill.
- Assemble: Place the brew basket with coffee grounds into its designated slot in the coffee maker. Close the water reservoir lid securely.
- Position Cup: Place one of the included 5oz beverage cups (or your own heat-resistant mug) directly under the coffee dispenser spout.
- Brew Coffee: Plug the coffee maker into a suitable electrical outlet. Turn the power switch to the "ON" position. The on indicator light will illuminate, signifying that brewing has started.
- Serving: Once the brewing cycle is complete and the indicator light turns off (or the water reservoir is empty), carefully remove the cup of hot coffee. The brewing process is quick, typically taking about 2 minutes.
- After Brewing: Unplug the coffee maker from the outlet. Allow the unit to cool down before cleaning.
Note: This appliance functions by heating water which is then poured over coffee grounds in a separate filter basket. It is not a traditional drip coffee maker where water drips through the grounds automatically. You may need to manually pour the hot water over the grounds if the initial flow is insufficient, or if you prefer a stronger brew by allowing more contact time.
Maintenance
Regular cleaning and maintenance will ensure the longevity and optimal performance of your coffee maker.
- Daily Cleaning: After each use, unplug the coffee maker and allow it to cool. Remove the brew basket and permanent filter, discard used coffee grounds, and rinse them under running water. Wash the beverage cups. Wipe the exterior of the coffee maker with a damp cloth. Do not use abrasive cleaners or scouring pads.
- Descaling: Mineral deposits from water can build up over time, affecting performance. Descale your coffee maker every 2-4 weeks, depending on water hardness.
- Fill the water reservoir with a solution of equal parts white vinegar and water.
- Place an empty cup under the dispenser.
- Run a brew cycle with the vinegar solution.
- Turn off the coffee maker and let the solution sit for 15-20 minutes.
- Run another brew cycle to empty the reservoir.
- Rinse by running 2-3 cycles with fresh, clean water to remove any vinegar residue.
- Storage: Ensure the coffee maker is clean and completely dry before storing. Store it in a cool, dry place, preferably in its original travel pouch.
Troubleshooting
| Problem | Possible Cause | Solution |
|---|---|---|
| Coffee maker does not turn on. | Not plugged in; power switch off; no power at outlet; incorrect voltage selected. | Ensure plug is securely in outlet. Turn power switch to "ON". Check household fuse/breaker. Verify voltage switch is set correctly (120V/240V). |
| Water is not heating. | Heating element malfunction; insufficient water. | Ensure water reservoir is filled above minimum level. If problem persists, contact customer support. |
| Coffee brews too slowly or not at all. | Clogged filter; mineral buildup; too many coffee grounds. | Clean the permanent filter. Descale the coffee maker. Reduce the amount of coffee grounds. |
| Coffee tastes weak. | Too little coffee; coarse grind; insufficient contact time with water. | Increase coffee grounds. Use a finer grind. Ensure hot water is poured over grounds effectively. |
| Leaking from the unit. | Overfilled water reservoir; components not assembled correctly. | Do not fill water past the maximum line. Ensure brew basket and lid are properly seated. |
Specifications
- Brand: Rival
- Model: TJ10
- Voltage: Dual Voltage (120V / 240V)
- Filter Type: Reusable Permanent Mesh Filter
- Included Components: Coffee Maker Unit, Brew Basket, Permanent Mesh Filter, 2 x 5oz Beverage Cups, Adaptor Plug, Travel Pouch
- Operation Mode: Fully Automatic (water heating), Manual pour over (coffee brewing)
- Color: Black
- GTIN/UPC: 039052520006
Warranty and Support
This Rival TJ10 Travel Coffee Maker is covered by a limited manufacturer's warranty. Please refer to the warranty card included with your purchase for specific terms and conditions, including warranty duration and coverage details.
For technical support, troubleshooting assistance beyond this manual, or to inquire about warranty service, please contact Rival customer service. Contact information can typically be found on the product packaging, the official Rival website, or the warranty card.
