Introduction
This manual provides essential instructions for the proper setup, operation, and maintenance of your CONTAX N1 35mm SLR Camera Body. The CONTAX N1 is engineered for superior photographic performance, offering advanced features for both automatic and manual control. Please read this manual thoroughly to ensure optimal use and longevity of your camera.
Setup
1. Battery Installation
The CONTAX N1 requires appropriate batteries for operation. Locate the battery compartment, typically on the bottom or side of the camera body. Insert the batteries according to the polarity indicators (+/-) inside the compartment. Close the compartment securely.
2. Lens Attachment
To attach a CONTAX N-series lens (not included), align the red or white index mark on the lens barrel with the corresponding mark on the camera's lens mount. Gently insert the lens into the mount and rotate it clockwise until it clicks into place. Ensure the lens is firmly seated.

Front view of the CONTAX N1 camera body, showing the lens mount and release button. This is where compatible N-series lenses are attached.
3. Film Loading
Open the camera back by sliding the release latch. Place a 35mm film cassette into the film chamber on the left side. Pull the film leader across to the take-up spool on the right, ensuring it engages with the sprockets. Close the camera back firmly. The camera will automatically advance the film to the first frame.

The open film compartment of the CONTAX N1, illustrating the film chamber on the left and the take-up spool on the right, ready for 35mm film loading.
4. Setting ISO
The camera can automatically detect the ISO from DX-coded film. For non-DX coded film or manual override, use the ISO dial, typically located on the top left of the camera body, to set the film's sensitivity (e.g., ISO 100, 200, 400).
Operating the Camera
1. Power On/Off
Locate the power switch, usually near the shutter button. Turn the switch to the 'ON' position to activate the camera. Turn it to 'OFF' when not in use to conserve battery life.
2. Exposure Modes
The CONTAX N1 offers multiple exposure modes, selectable via a dial on the top of the camera:
- Program Auto (P): The camera automatically sets both aperture and shutter speed for optimal exposure.
- Shutter-Priority Auto (Tv): You set the shutter speed, and the camera selects the appropriate aperture.
- Aperture-Priority Auto (Av): You set the aperture, and the camera selects the appropriate shutter speed.
- Manual (M): You manually set both aperture and shutter speed.
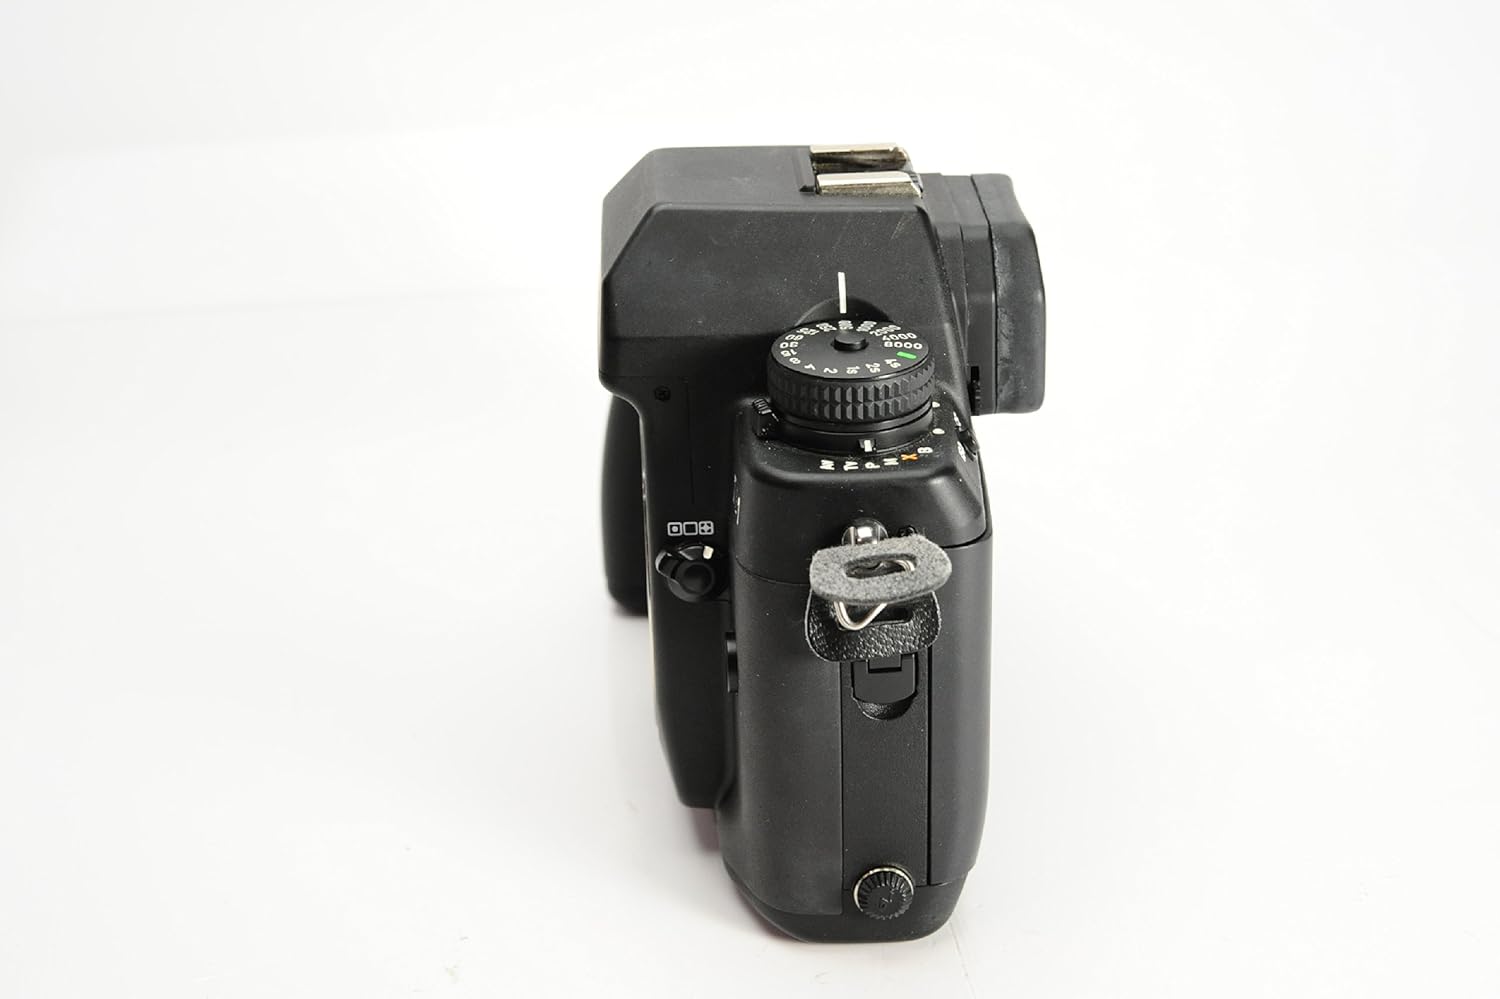
Top view of the CONTAX N1 camera, highlighting the exposure mode dial (P, Tv, Av, M) and other control dials for shutter speed and ISO settings.
3. Metering Modes
Select from three metering choices to suit different lighting conditions:
- Matrix Metering: Evaluates the entire scene for balanced exposure.
- Center-Weighted Average Metering: Prioritizes the central area of the frame.
- Spot Metering: Measures a small, specific area for precise exposure control.
4. Focusing
The CONTAX N1 features an Auto/Manual Dual Focus Mechanism with a 5-Point Wide Array Diagonal Focus System. Use the focus mode selector (AF/MF) to switch between autofocus and manual focus. In autofocus, the camera uses its 5-point system to achieve sharp focus. The Fine Focus ABC (Auto Bracketing Control) allows for minute adjustments by shifting the focusing point in three automatic stages.

Rear view of the CONTAX N1, displaying the viewfinder and various control buttons, including those for selecting autofocus (SAF, CAF) and manual focus modes.
5. Taking a Picture
Compose your shot through the viewfinder. Press the shutter button halfway down to activate the autofocus and exposure metering. Once focus is achieved and exposure is set, press the shutter button fully to take the picture. The camera will automatically advance the film to the next frame.
Maintenance
1. Cleaning the Camera Body
Use a soft, lint-free cloth to wipe the camera body. For stubborn dirt, slightly dampen the cloth with water or a mild camera cleaning solution. Avoid using harsh chemicals or abrasive materials. Keep the camera away from dust and moisture.
2. Cleaning the Lens
Use a lens blower brush to remove loose dust from the lens surface. For smudges or fingerprints, use a specialized lens cleaning solution and a clean microfiber lens cloth. Apply the solution to the cloth, not directly to the lens. Clean in a circular motion from the center outwards.
3. Storage
When not in use, store the camera in a cool, dry place, preferably in a camera bag or case to protect it from dust, impacts, and extreme temperatures. Remove batteries if storing for extended periods to prevent leakage.
Troubleshooting
- Camera not powering on: Check battery installation and ensure batteries are fresh. Verify the power switch is in the 'ON' position.
- Film not advancing: Ensure film is correctly loaded and the leader is engaged with the take-up spool. Check if the film counter is advancing.
- Autofocus not working: Ensure the lens is properly attached and the focus mode is set to AF. Check for sufficient light and contrast in the subject.
- Exposure issues (too dark/bright): Verify the selected exposure mode and metering mode are appropriate for the scene. Check ISO setting.
- Error codes: Refer to the camera's display for specific error codes. Consult the full product manual or manufacturer's support for detailed explanations.
Specifications
| Feature | Description |
|---|---|
| Model Name | N1 |
| Film Format Type | 35mm |
| Exposure Control | Automatic, Manual |
| Special Features | Auto Exposure, Dual Focus Mechanism |
| Focus System | Auto/Manual Dual Focus Mechanism using a 5 Point Wide Array Diagonal Focus System, Fine Focus ABC |
| Metering Choices | Matrix, Center-Weighted Average, Spot |
| Included Components | Camera Body Only |
| Manufacturer Part Number | 141000 |
| UPC | 067215015281 |
Warranty and Support
For information regarding product warranty, service, or technical support, please refer to the documentation included with your purchase or visit the official Contax website. Keep your proof of purchase for warranty claims.