
Panasonic PVV4611
Panasonic PV-V4611 4-Head Hi-Fi Stereo VCR User Manual
Model: PV-V4611
Introduction
This manual provides detailed instructions for the setup, operation, maintenance, and troubleshooting of your Panasonic PV-V4611 4-Head Hi-Fi Stereo VCR. Please read this manual thoroughly before using the unit to ensure proper operation and to maximize your viewing and recording experience.
The Panasonic PV-V4611 is designed to deliver a crisp, clear picture and enhanced audio output, making it suitable for home theater systems. It includes features such as VCR Plus+, commercial skip, and an auto clock set function for convenience.
Setup
Unpacking and Placement
Carefully remove the VCR from its packaging. Ensure all components are present, including the VCR unit and the universal remote control. Place the VCR on a stable, flat surface, away from direct sunlight, heat sources, and excessive dust. Allow for adequate ventilation around the unit.
Connecting to Your Television
The PV-V4611 VCR can be connected to your television using various methods. The most common connection uses RCA audio/video cables.
- RCA Audio/Video Connection:
- Connect the yellow video output jack on the back of the VCR to the yellow video input jack on your television.
- Connect the white audio output jack (left channel) on the back of the VCR to the white audio input jack (left channel) on your television.
- Connect the red audio output jack (right channel) on the back of the VCR to the red audio input jack (right channel) on your television.
- Ensure your television is set to the correct input source (e.g., Video 1, AV, Input 1) to view the VCR's output.
- Antenna/Cable Connection (RF):
- Connect your antenna or cable TV line to the "Antenna In" or "RF In" jack on the back of the VCR.
- Connect an RF coaxial cable from the "RF Out" or "TV Out" jack on the VCR to the "Antenna In" or "RF In" jack on your television.
- Tune your television to channel 3 or 4 (as selected on the VCR) to receive the VCR's signal.

Figure 1: Rear panel connections of the PV-V4611 VCR, including RCA audio/video outputs and RF coaxial connections.
Power Connection
Once all audio/video connections are made, plug the VCR's power cord into a standard electrical outlet.
Initial Clock Setting (Auto Set)
The PV-V4611 features an auto clock set function. The VCR will automatically update the time and date by receiving the Extended Data Service signal from your local PBS channel. In the event of a power outage, the time and date will automatically reset within 24 hours once power is restored.
If auto-setting is not possible or desired, you can manually set the clock using the on-screen display and remote control. Refer to the "Operating Your VCR" section for navigation instructions.
Operating Your VCR
Basic Playback
- Insert a VHS tape into the tape slot. The VCR will automatically load the tape.
- Press the PLAY button on the VCR or the remote control.
- To stop playback, press the STOP/EJECT button.
- To fast forward or rewind, press the FF or REW buttons respectively.

Figure 2: Front view of the PV-V4611 VCR, showing the tape slot, power button, channel controls, and playback buttons.

Figure 3: Detailed view of the playback and recording controls on the right side of the VCR's front panel.
Recording Programs
One-Touch Recording (OTR)
To quickly record the program currently being viewed:
- Ensure a blank or recordable tape is inserted.
- Press the REC button on the VCR or remote control. Each press will add 30 minutes to the recording time.
- To stop recording, press the STOP/EJECT button.
Timer Recording with VCR Plus+
VCR Plus+ simplifies programming recordings by allowing you to enter numerical codes found in TV listings or TV Guide. This feature streamlines the recording process.
- Locate the VCR Plus+ code for the desired program in your TV listing.
- On the remote control, press the VCR Plus+ button (if available) or navigate to the programming menu via the MENU button.
- Enter the VCR Plus+ code using the numeric keypad on the remote.
- Confirm the program details (date, time, channel) displayed on the screen.
- Ensure a recordable tape is in the VCR and the unit is powered on or in standby mode.

Figure 4: The PV-V4611 VCR and its accompanying universal remote control, which is illuminated for ease of use in low light.
Advanced Playback Features
Commercial Skip
During playback, you can rapidly advance past commercial breaks. Press the COMMERCIAL SKIP button (or similar function on the remote) to skip forward in one-, two-, or three-minute increments.
Index Search
If you recorded programs using the index search feature, you can quickly locate specific segments. During playback, use the INDEX SEARCH button to jump to the next recorded index point.
Program-End Search
To quickly navigate to the end of a recorded program, press the PROGRAM END SEARCH button. This will fast forward the tape to the end of the current recording.
On-Screen Display (OSD)
The PV-V4611 features multilingual on-screen displays, allowing you to view programming guides and menus in English, Spanish, or French. Use the MENU button on the remote and the arrow keys to navigate through the options and select your preferred language.
Maintenance
Cleaning the VCR
- Exterior: Wipe the exterior of the VCR with a soft, dry cloth. For stubborn marks, use a slightly damp cloth and then dry thoroughly. Avoid using abrasive cleaners or solvents.
- Tape Heads: Over time, tape heads can accumulate dust and debris, affecting picture and sound quality. Use a commercially available VHS head cleaning tape periodically (e.g., every 50-100 hours of use) to maintain optimal performance. Follow the instructions provided with the cleaning tape.
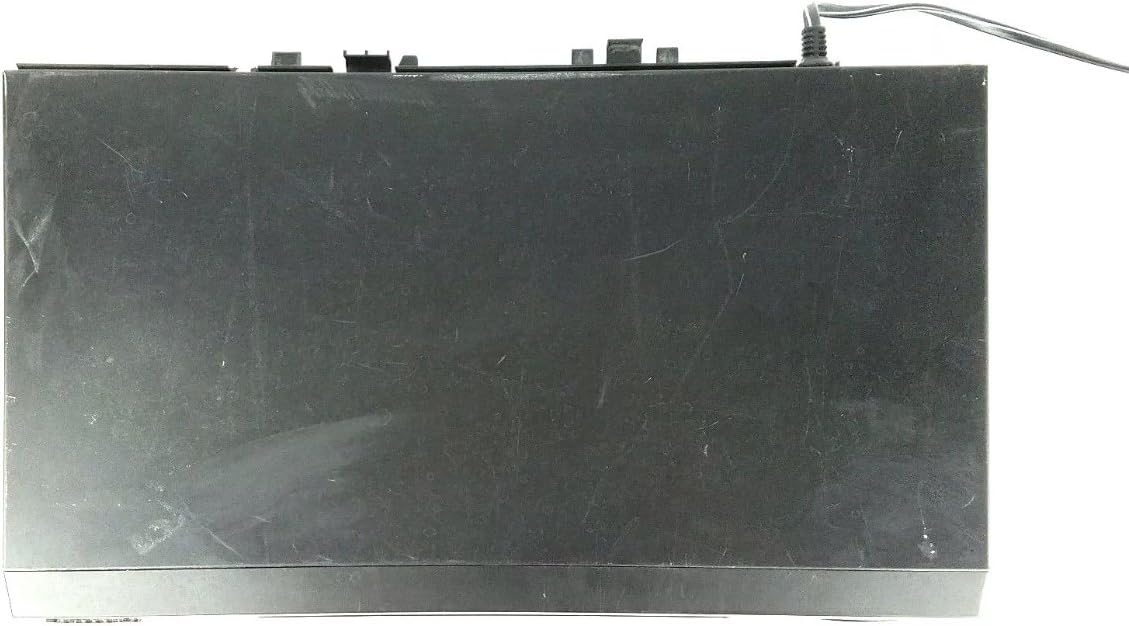
Figure 5: Top view of the PV-V4611 VCR, illustrating its compact design. Regular dusting helps maintain its appearance.
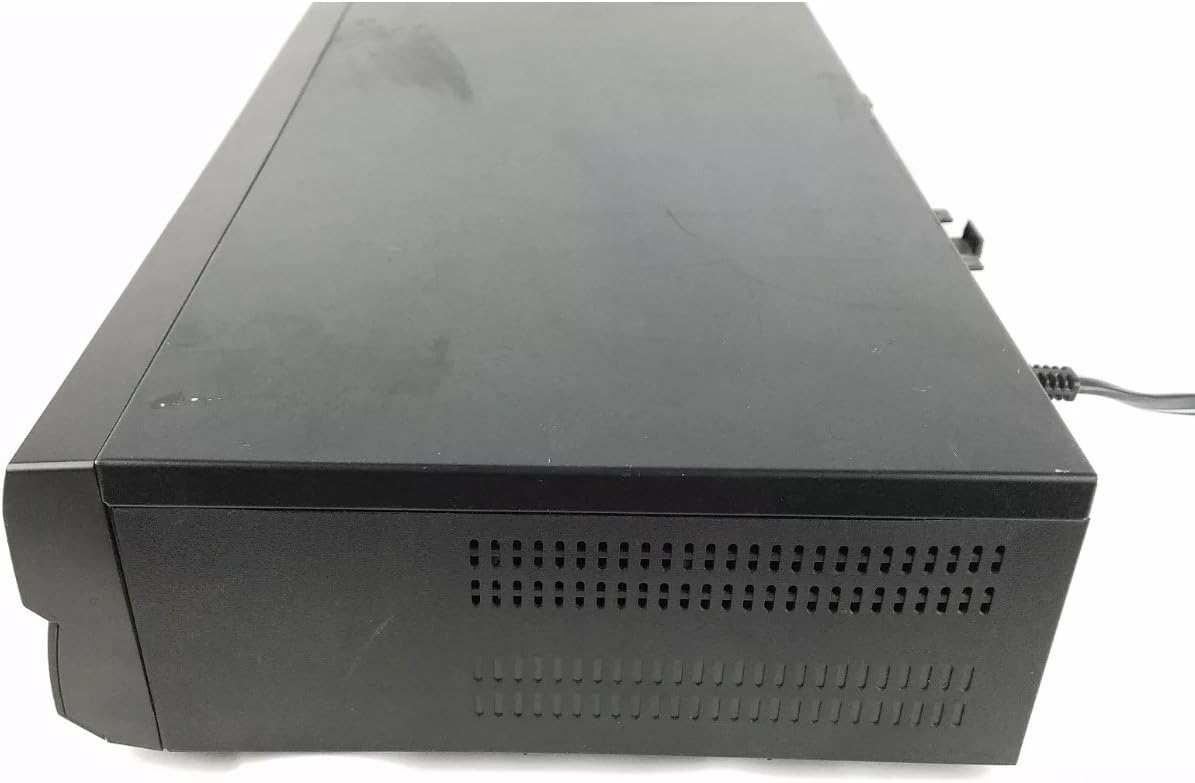
Figure 6: Side view of the PV-V4611 VCR, highlighting the ventilation slots. Ensure these are not obstructed for proper airflow.
Tape Care
- Store VHS tapes in their cases to protect them from dust and physical damage.
- Avoid exposing tapes to extreme temperatures or direct sunlight.
- Rewind tapes fully after viewing to prevent tension on the tape and prolong its life.
Troubleshooting
This section addresses common issues you might encounter with your Panasonic PV-V4611 VCR. Before contacting customer support, please review these solutions.
| Problem | Possible Cause | Solution |
|---|---|---|
| No power | Power cord not securely plugged in; power outlet not active. | Ensure power cord is firmly connected to the VCR and a working electrical outlet. Test the outlet with another device. |
| No picture or sound | Incorrect TV input selected; A/V cables loose or incorrectly connected; VCR not powered on. | Select the correct input source on your TV (e.g., AV1, Video 1). Check all A/V cable connections. Ensure the VCR is powered on. |
| Poor picture quality (snowy, distorted) | Dirty VCR heads; damaged tape; weak antenna signal (for RF connection). | Use a VHS head cleaning tape. Try a different tape. Check antenna connections and signal strength. |
| Tape will not play or eject | Tape jammed; VCR malfunction. | Do not force the tape. Power cycle the VCR (unplug for 30 seconds, then plug back in). If the issue persists, seek professional service. |
| Remote control not working | Dead batteries; obstructed signal path; incorrect remote mode. | Replace batteries (2 AA batteries required). Ensure no objects are blocking the path between the remote and the VCR's sensor. Ensure the remote is in VCR mode if it's a universal remote. |
| VCR Plus+ programming issues | Incorrect code entered; VCR clock not set; channel not tuned correctly. | Double-check the VCR Plus+ code. Ensure the VCR's clock is accurate. Verify the VCR is tuned to the correct channel for recording. |
Specifications
| Feature | Detail |
|---|---|
| Model Number | PVV4611 |
| Product Dimensions (W x D x H) | 14.1 x 9.4 x 3.5 inches |
| Item Weight | 5.94 pounds |
| Head System | 4-Head Hi-Fi Stereo |
| Compatible Devices | Television |
| Connectivity Technology | RCA Audio/Video, RF Coaxial |
| Power Source | AC Power (Energy Star Compliant) |
| Remote Control Batteries | 2 AA batteries (included) |
| On-Screen Display Languages | English, Spanish, French |
Warranty and Support
Warranty Information
Panasonic's warranty covers the PV-V4611 for one year on parts and 90 days on labor from the original date of purchase. Please retain your proof of purchase for warranty claims. This warranty typically covers defects in materials and workmanship under normal use.
CONSUMER ALERT:
This television receiver has only an analog broadcast tuner and will require a converter box after February 17, 2009 to receive over-the-air broadcasts with an antenna because of the U.S.'s transition to digital broadcasting. Analog-only TVs should continue to work as before with cable and satellite TV services, gaming consoles, VCRs, DVD players, and similar products. For more information, call the Federal Communications Commission at 1-888-225-5322 (TTY: 1-888-835-5322), or visit the commission's digital-television Web site at: www.dtv.gov.
Customer Support
For further assistance, technical support, or warranty service, please contact Panasonic customer support. Refer to the official Panasonic website or your product registration card for the most current contact information.
Note on Videos: No official product videos from the seller were available for embedding based on the provided product data.
Ask a question about this manual
Ask about setup, troubleshooting, compatibility, parts, safety, or missing instructions. Manuals+ will review the question and use this page’s manual context to help answer it.