1. Introduction and Overview
The General Tools 1265 Snap Fastener Kit provides a convenient solution for adding or replacing snaps on various materials such as coats, boat covers, tents, canvas, tarpaulins, awnings, sailcloth, lawn furniture, and pool covers. This kit includes 6 sets of solid brass, nickel-plated fasteners designed for durability and rust resistance, along with a 2-piece setting tool for secure installation.
Key Features:
- Includes 6 snap fastener sets and a 2-piece setting tool.
- Snaps are made of solid brass with nickel plating to prevent rust.
- Setting tool features a knurled body for improved grip and safety during use.
- Suitable for repairing or replacing fasteners on a wide range of fabrics and materials.
2. Product Contents
Your General Tools 1265 Snap Fastener Kit contains the following items:
- 6 x Nickel-Plated Snap Fastener Sets (each set includes 4 components: cap, socket, stud, post)
- 1 x 2-Piece Setting Tool (includes an anvil and a punch)

Image 2.1: Contents of the General Tools 1265 Snap Fastener Kit, showing the 2-piece setting tool and the individual components of the snap fasteners.
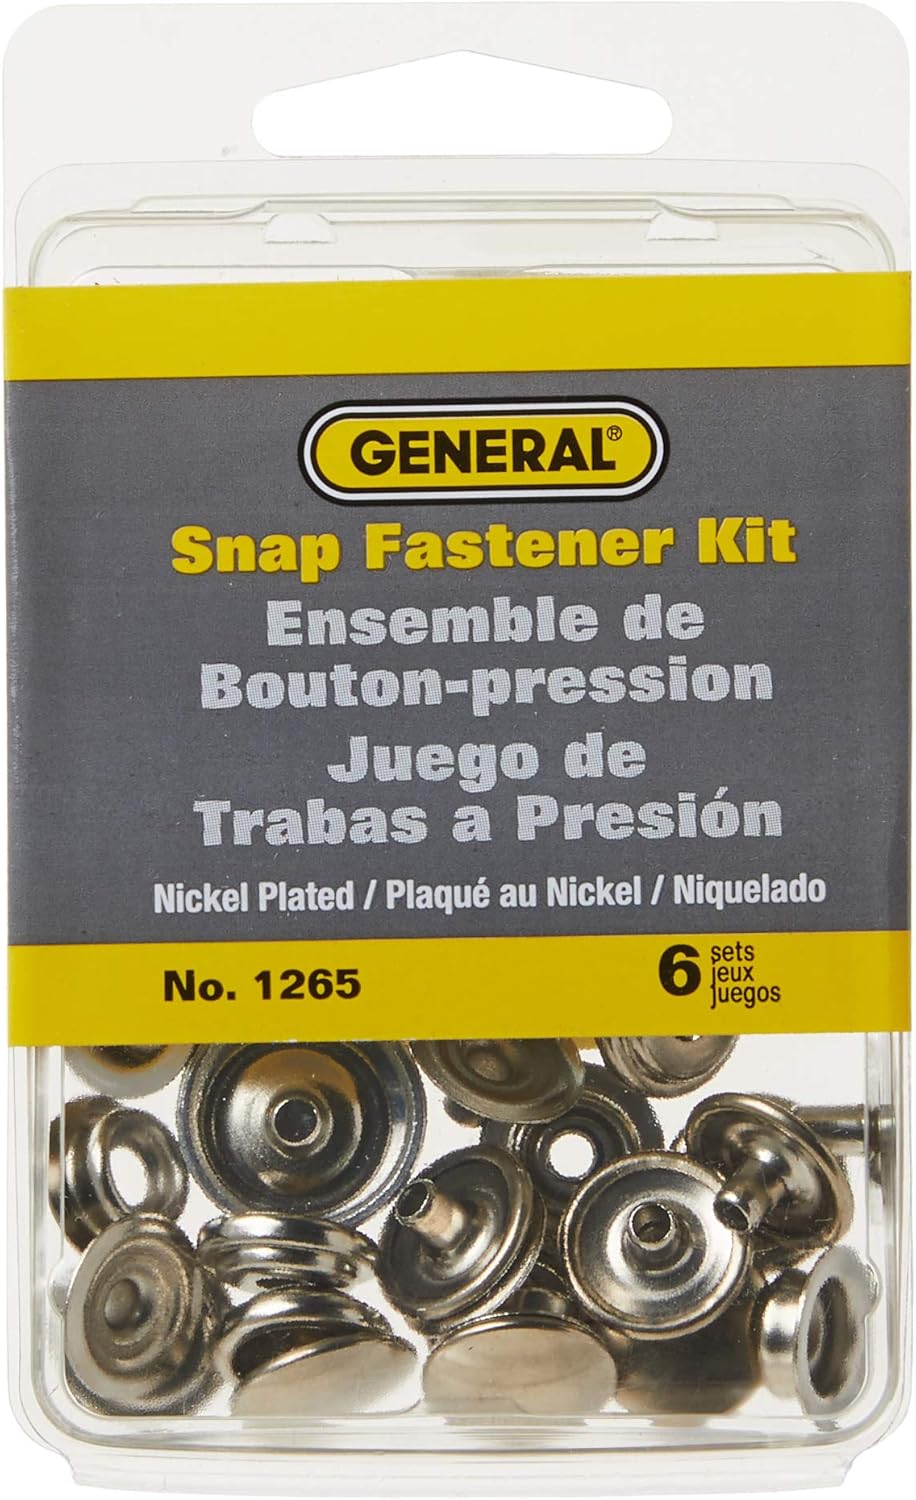
Image 2.2: Front view of the General Tools Snap Fastener Kit packaging, displaying the product name and model number.

Image 2.3: Back view of the General Tools Snap Fastener Kit packaging, including manufacturing details and a Proposition 65 warning.
3. Safety Information
Always exercise caution when using tools. Wear appropriate personal protective equipment, such as safety glasses, to prevent eye injury. Keep hands clear of the hammer and setting tool during operation. Ensure a stable work surface to prevent accidents.
WARNING: This product can expose you to chemicals including lead, which is known to the State of California to cause cancer and birth defects or other reproductive harm. For more information go to www.P65Warnings.ca.gov.
4. Setup and Operating Instructions
This section outlines the steps for installing snap fasteners using your General Tools kit. It is crucial to understand the four components of a snap fastener and their correct assembly.
Understanding Snap Components:
- Cap: The decorative top part of the snap, visible on the outside of the material.
- Socket: The female part of the snap, which the stud snaps into.
- Stud: The male part of the snap, which fits into the socket.
- Post: The bottom part of the snap, which secures the cap or stud to the material.
Installation Steps:
- Prepare the Material: Identify the location where the snap will be installed. If replacing an old snap, carefully remove the old components. You may need to drill out the old snap if it's riveted in place. Ensure the hole in the fabric is appropriately sized for the snap's post.
- Assemble the Cap Side (Outer Snap):
- Insert the Cap through the front of the material.
- Place the Socket over the post of the cap on the back side of the material.
- Position the material with the cap and socket assembly on the flat side of the setting tool's anvil.
- Use the punch tool and a hammer to gently tap the cap and socket together, flaring the post to secure the snap. Ensure it is tight but do not over-hammer.
- Assemble the Stud Side (Inner Snap):
- Insert the Stud through the front of the material.
- Place the Post over the stud on the back side of the material.
- Position the material with the stud and post assembly on the concave side of the setting tool's anvil.
- Use the punch tool and a hammer to gently tap the stud and post together, flaring the post to secure the snap.
- Test the Snap: Once both halves are installed, connect them to ensure they snap together securely.
Instructional Video:
Video 4.1: Official demonstration of installing a snap fastener using the General Tools 1265 kit on a tarp. This video shows the process of setting both parts of the snap using the provided tools.
5. Maintenance
To ensure the longevity of your General Tools 1265 Snap Fastener Kit and the installed snaps:
- Store the setting tool and unused fasteners in a dry environment to prevent corrosion.
- Clean the setting tool after each use to remove any debris.
- The nickel-plated brass snaps are designed to resist rust, but prolonged exposure to harsh conditions may affect their appearance.
6. Troubleshooting
If you encounter issues during snap installation, consider the following:
- Snap not holding securely: Ensure the post was fully flared during installation. You may need to apply more force with the hammer, or ensure the material thickness is appropriate for the snap size.
- Fabric tearing around the snap: This can occur if the hole in the fabric is too large, or if the snap was over-hammered. Consider reinforcing the fabric with a small patch before installation, especially on delicate or worn materials.
- Difficulty inserting snap components: Check that the holes in the fabric are clean and free of obstructions. The post should pass through the material without excessive force.
7. Specifications
| Model Name | General Tools 1265 Snap Fastener Kit with 6 Fasteners |
| Brand | General Tools |
| Material | Brass |
| Color | Multicolor (Snaps are typically silver/nickel-plated) |
| Item Weight | 0.3 ounces |
| Product Dimensions | 1.7"L x 6.71"W |
| Unit Count | 1.0 Count (Kit) |
| Number Of Pieces | 1 (Kit, containing multiple components) |
| Head Style | Cap |
| Recommended Uses | Furniture, Handbag, Saddlebag, Coats, Boat Covers, Tents, Canvas, Tarpaulins, Awnings, Sailcloth, Lawn Furniture, Pool Covers |
8. Warranty and Support
This product comes with a warranty. For specific warranty details, claims, or technical support, please refer to the official General Tools website or contact their customer service department directly. Keep your purchase receipt as proof of purchase.
For additional information and product refills, visit the General Tools Store on Amazon.