1. Introduction
This manual provides detailed instructions for the proper use and care of your OM SYSTEM OLYMPUS Stylus Epic Zoom 80 DLX 35mm Camera. This compact 35mm film camera features a 35-80mm zoom lens, multiple flash modes, and a splash-proof design, making it suitable for various photographic conditions. Please read this manual thoroughly to ensure optimal performance and longevity of your camera.
2. Camera Components
Familiarize yourself with the various parts of your camera:

Figure 2.1: Front view of the camera in its closed, compact state. The clamshell cover protects the lens.

Figure 2.2: Front view of the camera with the lens extended, ready for shooting. The lens barrel and flash unit are visible.

Figure 2.3: Top view showing the viewfinder, shutter button, and mode set controls. The flash unit is also visible.

Figure 2.4: Side view displaying the zoom controls (W for wide, T for telephoto) and the LCD display for frame count and settings.
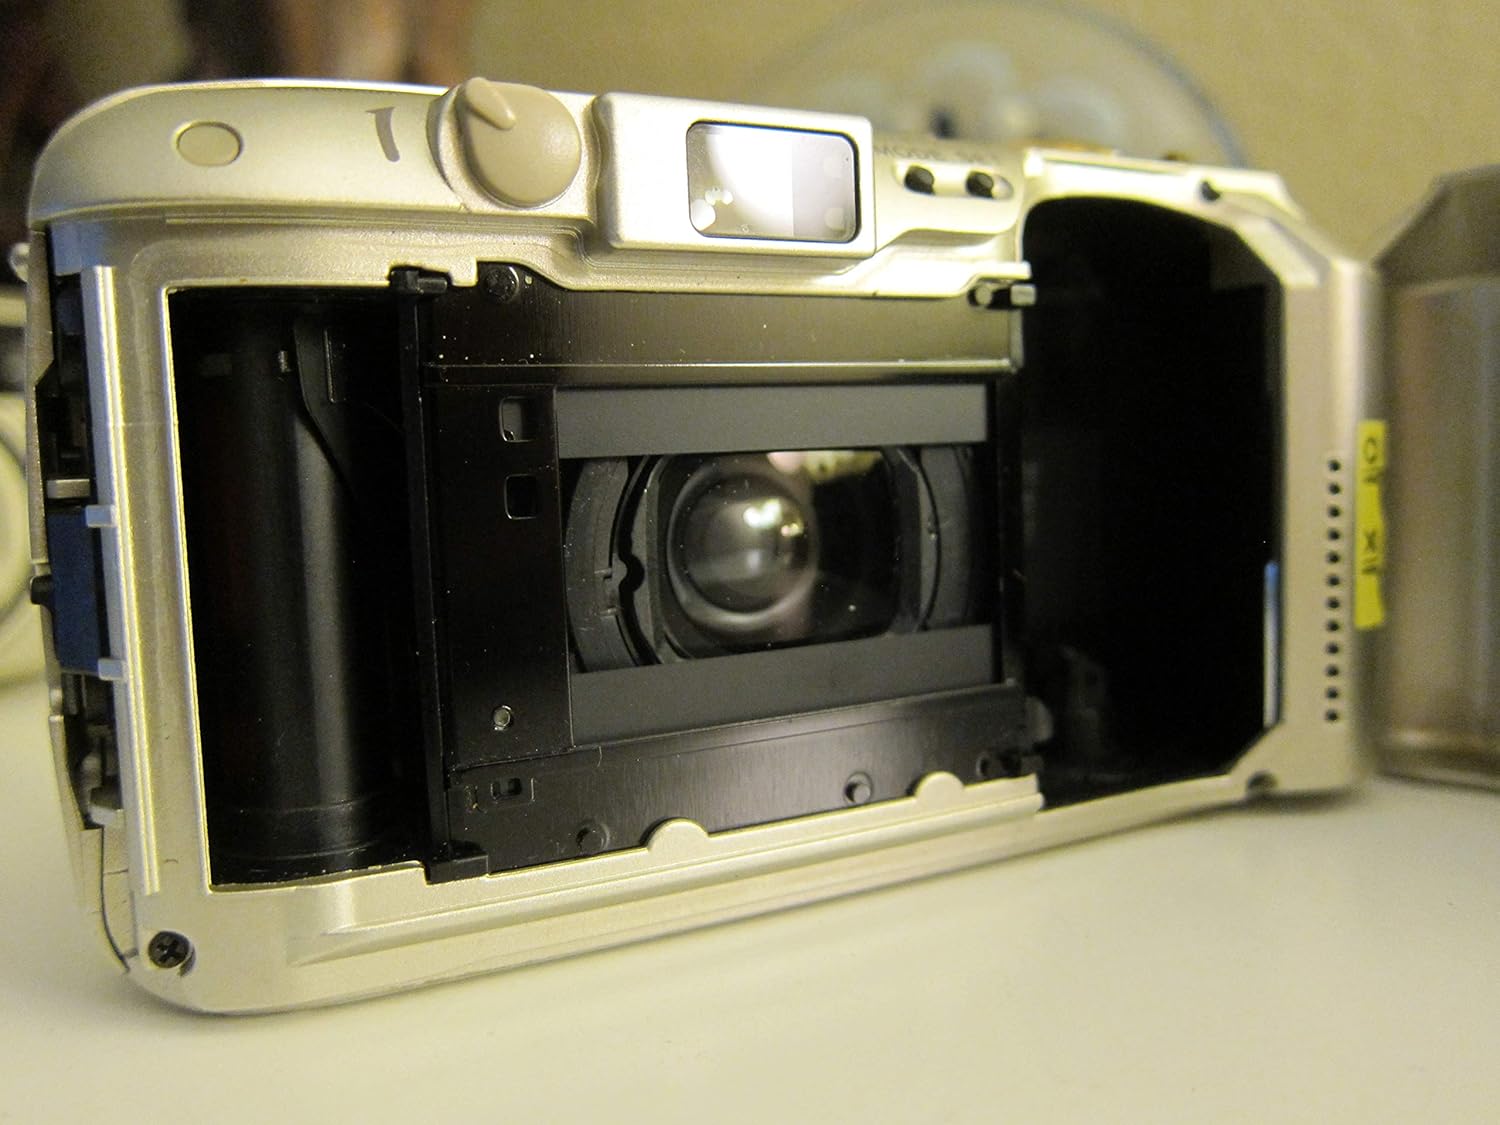
Figure 2.5: View inside the film compartment, showing the film pressure plate and the film advance mechanism.

Figure 2.6: The camera's back door opened, revealing the film chamber and the film take-up spool.
3. Initial Setup
3.1. Battery Installation
- Locate the battery compartment cover on the bottom or side of the camera.
- Carefully open the battery compartment. Note that the cover may be snug to ensure splash-proofing.
- Insert a new Lithium Ion battery (CR123A or equivalent) according to the polarity indicators (+/-) inside the compartment.
- Close the battery compartment cover securely until it clicks into place.
3.2. Film Loading
- Open the camera back by sliding the latch located on the side of the camera.
- Place a 35mm film cartridge into the film chamber on the left side, ensuring the film leader extends across to the take-up spool on the right.
- Gently pull the film leader until its tip aligns with the orange mark on the take-up spool.
- Close the camera back firmly until it latches. The camera will automatically advance the film to the first frame. The frame counter on the LCD will display '1'.
4. Operating the Camera
4.1. Power On/Off
To power on the camera, slide the clamshell cover open. The lens will extend, and the camera will be ready for use. To power off, slide the cover closed. The lens will retract.
4.2. Basic Photography
- Look through the viewfinder to compose your shot.
- Press the shutter button halfway down to activate the autofocus and exposure system. A green light in the viewfinder indicates focus lock.
- Press the shutter button fully to take the picture. The camera will automatically advance the film to the next frame.
4.3. Zoom Function
Use the 'W' (Wide) and 'T' (Telephoto) buttons located near the shutter button to adjust the focal length of the lens between 35mm and 80mm. Press 'W' to zoom out for wider shots and 'T' to zoom in for closer subjects.
4.4. Flash Modes
The camera offers six flash modes. Press the flash mode button (usually indicated by a lightning bolt icon) to cycle through the available options:
- Auto Flash: The camera automatically fires the flash when lighting conditions require it.
- Red-Eye Reduction: Fires a pre-flash to reduce red-eye effect before the main flash.
- Fill-in Flash: Forces the flash to fire regardless of ambient light, useful for brightening shadows.
- Flash Off: Disables the flash.
- Night Scene: Synchronizes the flash with a slower shutter speed for balanced exposure of foreground and background in low light.
- Infinity Mode: Sets the focus to infinity, ideal for distant landscapes or subjects where autofocus might struggle.
4.5. Panorama Mode
To take panoramic photos, locate the panorama switch (if available on your model) and slide it to the panorama setting. This will mask the top and bottom of the film frame, creating a wider aspect ratio. Remember to switch it back for standard photos.
4.6. Self-Timer
Activate the self-timer function (refer to the camera's specific button or menu option) to delay the shutter release, typically by 10 seconds, allowing the photographer to be included in the shot.
4.7. Quartz Date and Time Imprinting
If your model includes this feature, use the 'MODE' and 'SET' buttons (usually on the top or back of the camera) to set the current date and time. This information can then be imprinted onto your photos.
5. Maintenance and Care
- Cleaning the Lens: Use a soft, lint-free cloth or a lens brush to gently remove dust and smudges. For stubborn marks, use a specialized lens cleaning solution. Avoid touching the lens surface with your fingers.
- Cleaning the Camera Body: Wipe the camera body with a soft, dry cloth. For dirt, slightly dampen the cloth with water. Do not use solvents or abrasive cleaners.
- Splash-Proof Design: While the camera is splash-proof, it is not waterproof. Avoid submerging it in water or exposing it to heavy rain. Ensure all covers (battery, film) are securely closed to maintain splash resistance.
- Storage: When not in use, store the camera in a cool, dry place, away from direct sunlight and extreme temperatures. Remove the battery if the camera will not be used for an extended period.
6. Troubleshooting
| Problem | Possible Cause | Solution |
|---|---|---|
| Camera does not power on. | Dead or incorrectly installed battery. | Replace battery with a new one, ensuring correct polarity. |
| Lens does not extend or retract. | Low battery, obstruction, or mechanical issue. | Check battery. Ensure no debris is blocking the lens mechanism. If problem persists, seek professional service. |
| Flash does not fire. | Flash is set to 'Off' mode or battery is low. | Cycle through flash modes to select 'Auto' or 'Fill-in'. Check or replace battery. |
| Film does not advance. | Film not loaded correctly or end of roll. | Re-load film carefully, ensuring leader engages with take-up spool. If roll is finished, rewind and replace. |
| Photos are blurry. | Subject too close, camera shake, or focus issue. | Ensure subject is within minimum focus distance. Hold camera steady. Allow autofocus to lock before fully pressing shutter. |
| Light leaks on photos. | Damaged light seals or camera back not fully closed. | Ensure camera back is securely closed. Inspect light seals around the film door for damage; professional repair may be needed. |
7. Specifications
- Model Name: Stylus Epic Zoom 80 DLX 35mm
- Model Number: 102375
- Film Type: 35mm
- Lens: 35-80mm Zoom Lens
- Autofocus: Yes, with Contrast Detection
- Flash Modes: Auto, Red-Eye Reduction, Fill-in, Flash Off, Night Scene, Infinity Mode
- Shutter Speed: Minimum 0.002 seconds
- Exposure Control: Automatic
- Special Features: Panorama switch, Self-timer, Quartz Date/Time Imprinting (model dependent), Splash-proof design
- Power Source: Lithium Ion Battery (CR123A type, not included)
- Weight: Approximately 272 Grams
- Material: Plastic
8. Warranty and Support
8.1. Warranty Information
This OM SYSTEM OLYMPUS Stylus Epic Zoom 80 DLX 35mm Camera is covered by a 1-year parts and labor warranty from the date of purchase. This warranty covers manufacturing defects and malfunctions under normal use. It does not cover damage caused by misuse, accidents, unauthorized repairs, or normal wear and tear.
8.2. Customer Support
For technical assistance, warranty claims, or service inquiries, please contact OM SYSTEM customer support. Refer to the official OM SYSTEM website or your purchase documentation for the most current contact information.


