1. Introduction
This manual provides a practical guide for working with Holley carburetors. It covers essential procedures for selection, identification, tuning, repair, and overhaul. The content is designed to assist both beginners and experienced individuals in maintaining and optimizing Holley carburetor performance.
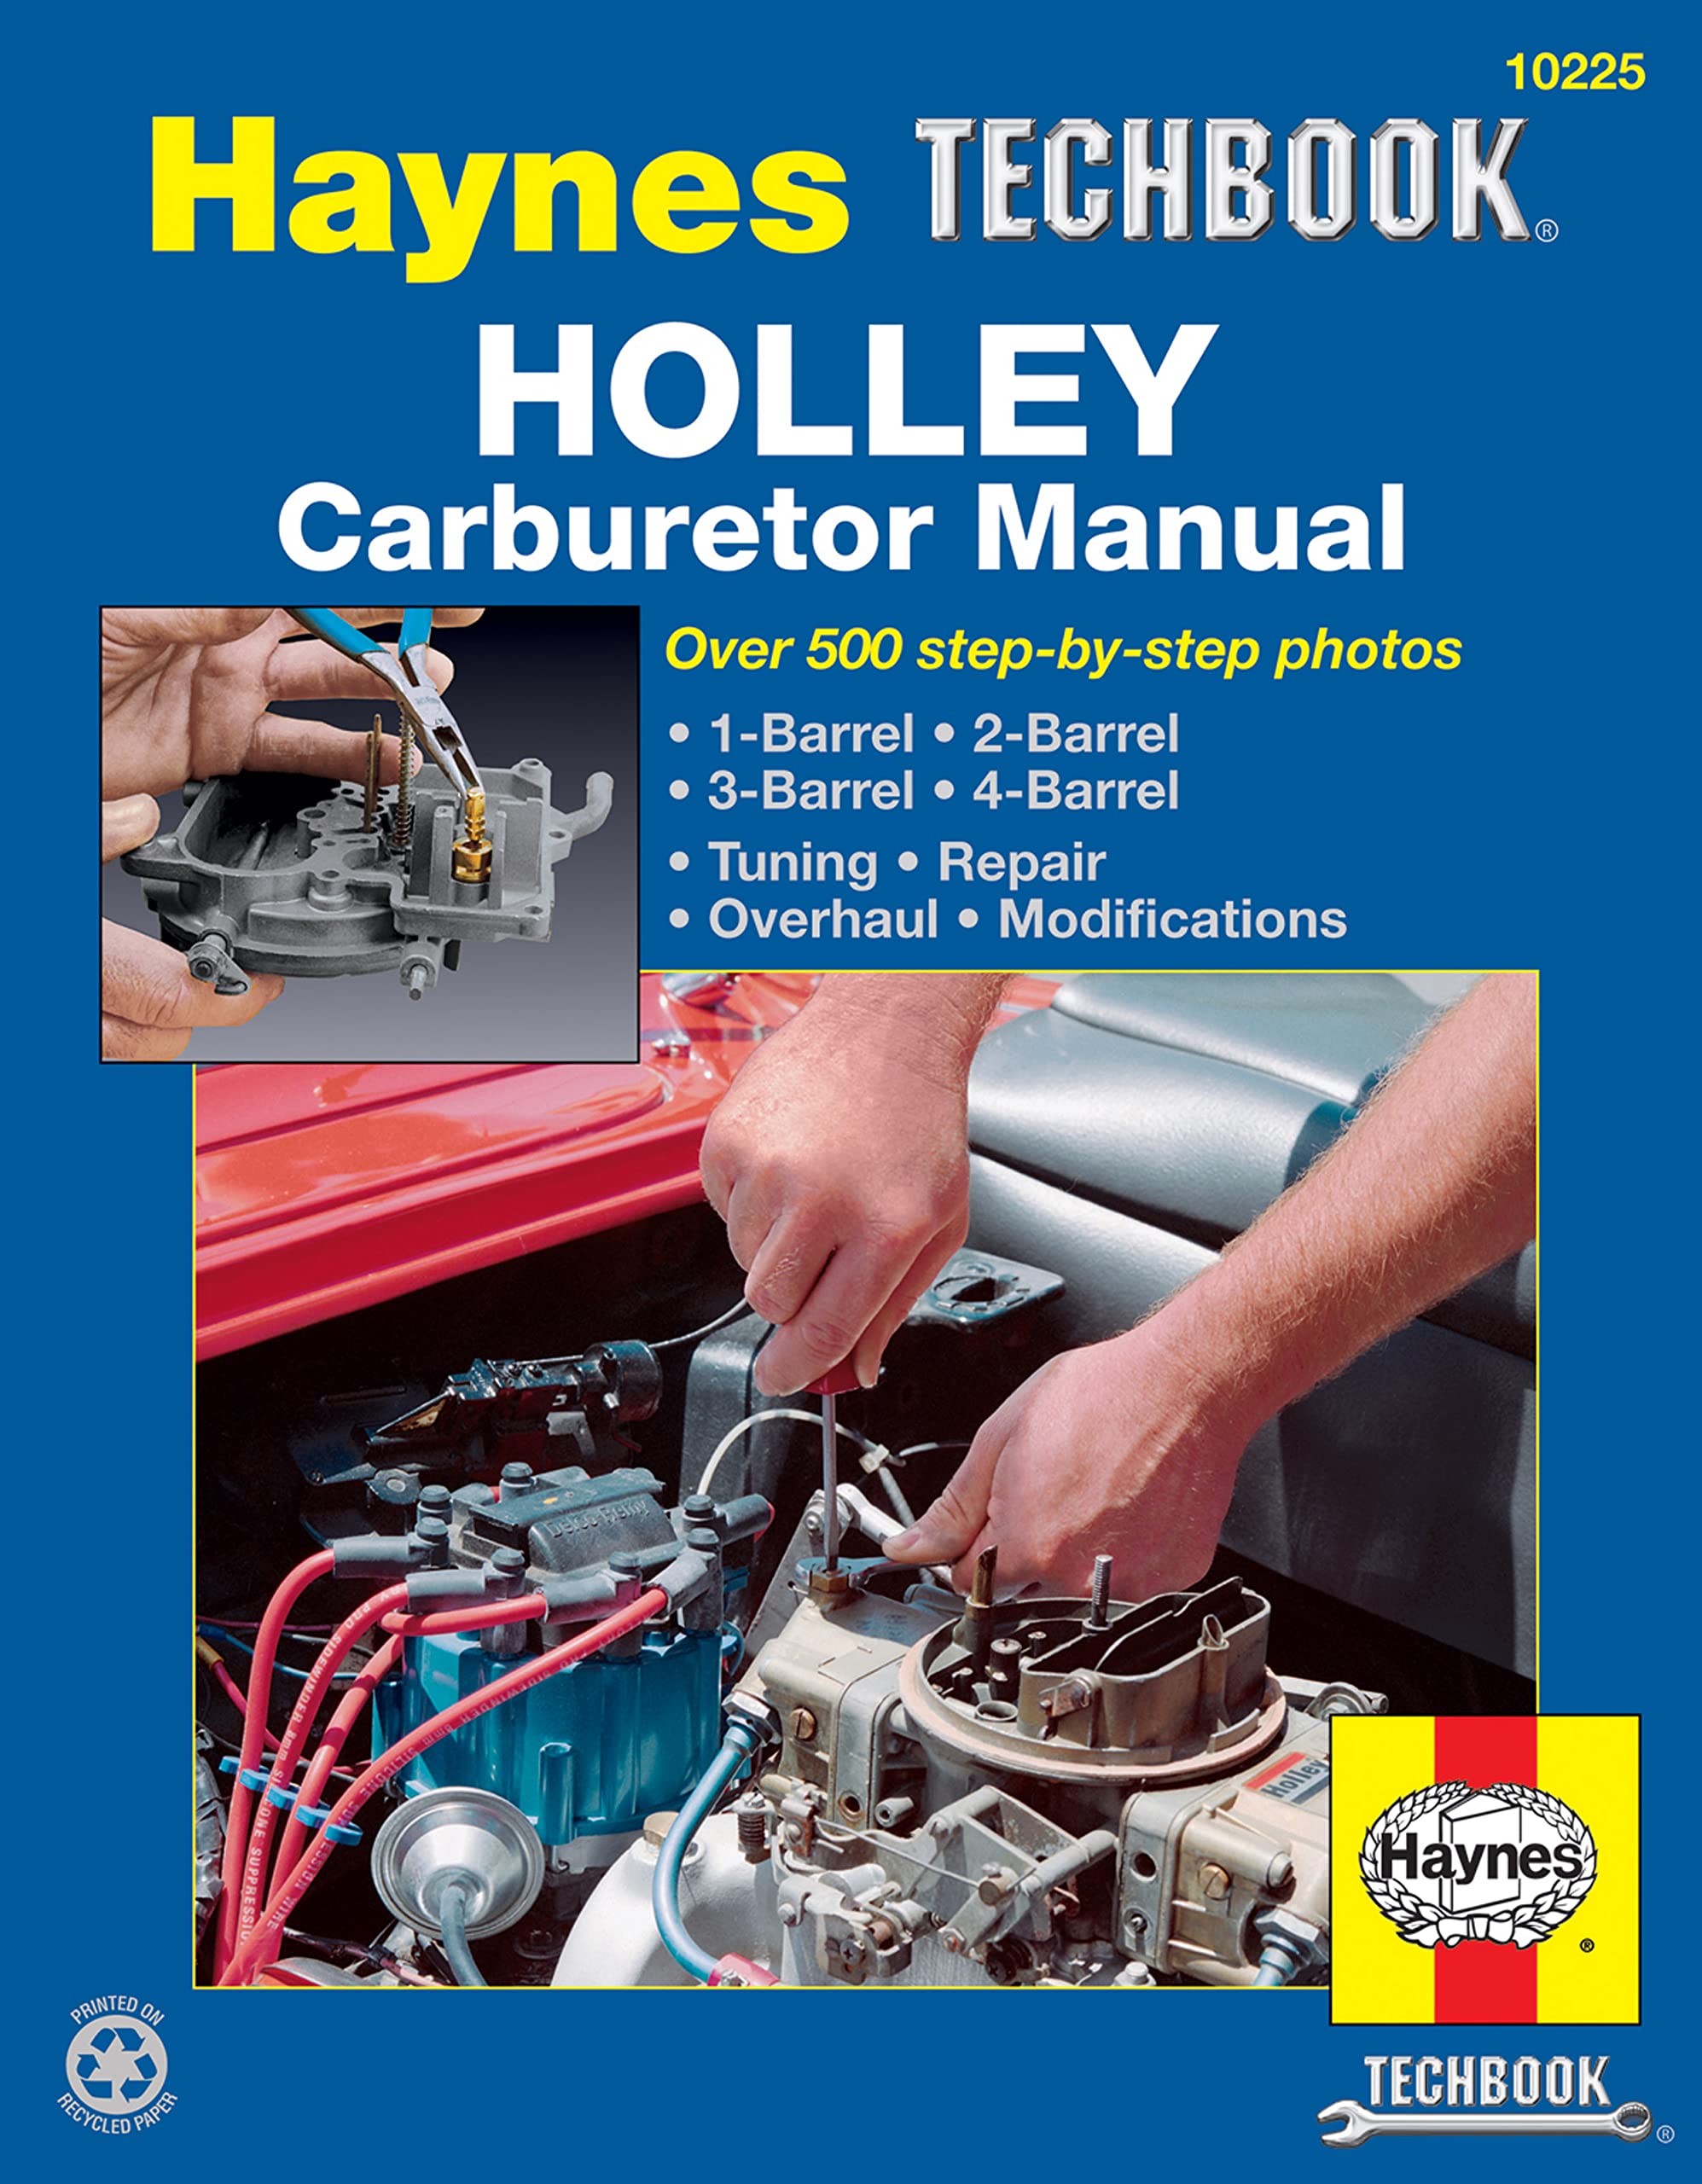
Figure 1.1: Front cover of the Haynes TECHBOOK Holley Carburetor Manual, illustrating the scope of the guide including various carburetor types and maintenance topics.
2. Product Overview
The Haynes TECHBOOK Holley Carburetor Manual is a comprehensive resource detailing various aspects of Holley carburetors. It includes information pertinent to 1-barrel, 2-barrel, 3-barrel, and 4-barrel configurations. Key areas covered are:
- Choosing and specifying appropriate Holley carburetors for different engine types and performance requirements.
- Identification of complete secondhand carburetors and individual components, including metering blocks.
- Detailed tuning instructions for optimal performance.
- Procedures for repair, overhaul, and modifications.
3. Identification
This manual provides extensive guidance on identifying Holley carburetors and their individual components. This includes:
- Secondhand Carburetor Identification: Methods to accurately identify complete used carburetors.
- Individual Component Identification: Detailed descriptions and visuals to recognize specific parts.
- Metering Block Categorization: A unique guide for classifying the specifications of various metering blocks.
4. Tuning Instructions
Achieving maximum performance from your Holley carburetor requires precise tuning. This manual offers easy-to-follow tuning sequences:
- Four-Barrel Carburetors: A step-by-step sequence designed for comprehensive tuning.
- Two-Barrel Carburetors: A simplified, yet effective, tuning sequence.
Refer to the specific chapters within the book for detailed instructions and diagrams related to your carburetor type.
5. Overhaul and Adjustments
Chapter 7 of this manual focuses on the overhaul and adjustment procedures for Holley carburetors. This section provides detailed, step-by-step instructions to disassemble, inspect, and adjust various components.

Figure 5.1: Excerpt from Chapter 7, illustrating steps for removing the spark valve, gasket, float pin retainer, float assembly, and accelerator pump discharge weight during carburetor overhaul.
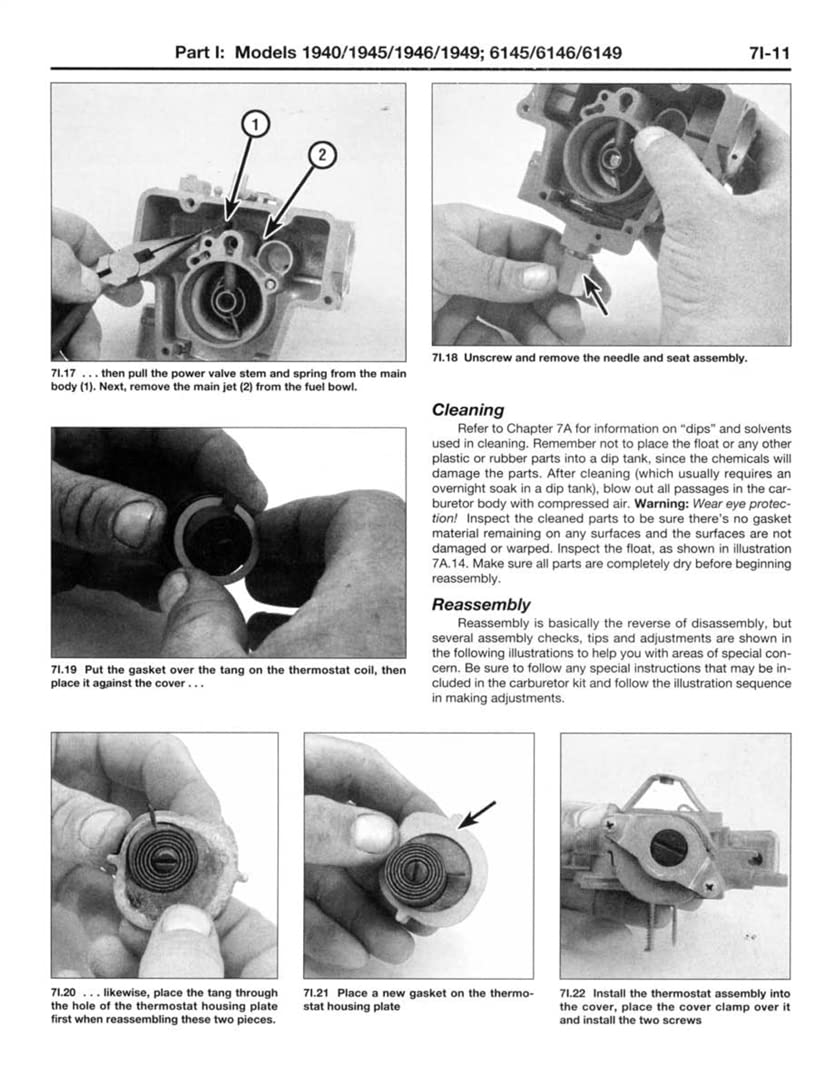
Figure 5.2: Continuation of Chapter 7, showing steps for removing the power valve stem and main jet, along with instructions for cleaning and reassembly of components like the thermostat coil and housing plate.
5.1 Disassembly Steps (Refer to Figure 5.1)
- Step 7.11: If your carburetor includes a spark valve, carefully remove the valve and its gasket.
- Step 7.12: Proceed to remove the float pin retainer.
- Step 7.13: Gently lift out the float assembly. Exercise caution to avoid losing the hinge pin, indicated by an arrow in the manual.
- Step 7.14: Remove the accelerator pump discharge weight.
- Step 7.15: Subsequently, remove the accelerator pump discharge check ball. Note: The manual advises tipping the main body over to catch both pieces and prevent loss.
- Step 7.16: Unscrew and remove the power valve assembly. A screwdriver may be needed to clear the stem.
5.2 Further Disassembly and Cleaning (Refer to Figure 5.2)
- Step 7.17: Pull the power valve stem and spring from the main body, followed by removing the main jet from the fuel bowl.
- Step 7.18: Unscrew and remove the needle and seat assembly.
Cleaning: Refer to Chapter 7A for detailed information on cleaning procedures. This includes using appropriate solvents and ensuring all passages are clear. Warning: Wear eye protection. Inspect all cleaned parts for damage or warping. Ensure all parts are completely dry before reassembly.
6. Reassembly
Reassembly is typically the reverse of disassembly. The manual provides comprehensive guidance, including special considerations for various models (e.g., 1940/1945/1946/1949; 6145/6146/6149). Follow the specific illustration sequences in the manual for accurate reassembly and adjustment.
- Step 7.19: Place the gasket over the tang on the thermostat coil, then place it against the cover.
- Step 7.20: Likewise, place the tang through the hole of the thermostat housing plate first when reassembling these two pieces.
- Step 7.21: Place a new gasket on the thermostat housing plate.
- Step 7.22: Install the thermostat assembly into the cover, placing the cover clamp over it and installing the two screws.
7. Specifications
This manual, published by Haynes Manuals N. America, Inc., provides detailed technical information for Holley carburetors. Key specifications of the manual itself include:
| Attribute | Detail |
|---|---|
| Publisher | Haynes Manuals N. America, Inc. |
| Publication Date | March 31, 1994 |
| Edition | 1st |
| Language | English |
| Print Length | 253 pages |
| ISBN-10 | 1563920697 |
| ISBN-13 | 978-1563920691 |
| Item Weight | 1.3 pounds |
| Dimensions | 8.25 x 0.63 x 10.63 inches |
8. Safety Information
When working with automotive components, especially fuel systems like carburetors, it is crucial to observe strict safety precautions. This manual provides detailed instructions, but general safety guidelines should always be followed:
- Always wear appropriate personal protective equipment (PPE), including safety glasses or goggles, and gloves.
- Ensure adequate ventilation when working with fuels, solvents, and cleaning agents.
- Keep open flames, sparks, and other ignition sources away from fuel systems.
- Disconnect the vehicle's battery before performing any electrical work.
- Allow the engine to cool completely before working on the carburetor.
- Dispose of waste fluids and materials responsibly and according to local regulations.
- If unsure about any procedure, consult a qualified mechanic.
9. Troubleshooting
This manual serves as an invaluable resource for diagnosing and resolving common issues encountered with Holley carburetors. While specific troubleshooting charts are contained within the book, general principles include:
- Symptom Analysis: Identify the specific symptoms your carburetor is exhibiting (e.g., rough idle, poor acceleration, fuel leaks).
- Component Inspection: Systematically inspect relevant components as detailed in the overhaul sections for wear, damage, or blockages.
- Adjustment Verification: Confirm that all tuning and adjustment settings are correct according to the manual's guidelines for your specific carburetor model.
- Cleaning: Ensure all fuel passages and jets are free from debris, as blockages are a common cause of performance issues.
Refer to the dedicated troubleshooting sections within the Haynes TECHBOOK for detailed diagnostic procedures and solutions.
10. Support and Further Information
For any questions regarding the content of this Haynes TECHBOOK, or for further technical inquiries, please contact the publisher:
Publisher: Haynes Manuals N. America, Inc.
Please note that this manual is a guide and does not offer direct product support for individual carburetor units. For specific carburetor part inquiries or warranty information on a physical Holley carburetor, please consult the manufacturer of that specific carburetor.