1. المقدمة
Thank you for choosing the InFocus P120 INL412 Multimedia Projector. This manual provides essential information for the safe and efficient operation of your projector. Please read it thoroughly before using the device and retain it for future reference. The InFocus P120 INL412 is designed for versatile multimedia presentations, offering clear and vibrant images for various applications.
2. معلومات السلامة
لضمان التشغيل الآمن ومنع تلف جهاز العرض، يرجى مراعاة احتياطات السلامة التالية:
- لا تسد فتحات التهوية. تأكد من وجود مساحة كافية حول جهاز العرض لضمان تدفق الهواء بشكل صحيح ومنع ارتفاع درجة حرارته.
- تجنب النظر مباشرة إلى عدسة جهاز العرض عندما يكون lamp يتم تشغيله، لأن الضوء الساطع يمكن أن يسبب تلفًا للعين.
- Do not place the projector on an unstable cart, stand, or table. The projector may fall, causing serious injury to a child or adult, and serious damage to the unit.
- Disconnect the power cord from the wall outlet if the projector will not be used for an extended period.
- أسند جميع أعمال الصيانة إلى فني صيانة مؤهل. لا تحاول فتح أو إصلاح جهاز العرض بنفسك.
- Keep the projector away from water or moisture. Do not expose it to rain or immerse it in liquid.
- Use only the power cord supplied with the projector or an authorized replacement.
3. محتويات العبوة
Verify that all items listed below are included in your projector package:
- InFocus P120 INL412 Multimedia Projector
- سلك الطاقة
- جهاز التحكم عن بعد بالبطاريات
- كابل فغا
- دليل المستخدم (هذا المستند)
- دليل البدء السريع
4. انتهى المنتجview
Familiarize yourself with the main components of your InFocus P120 INL412 projector.
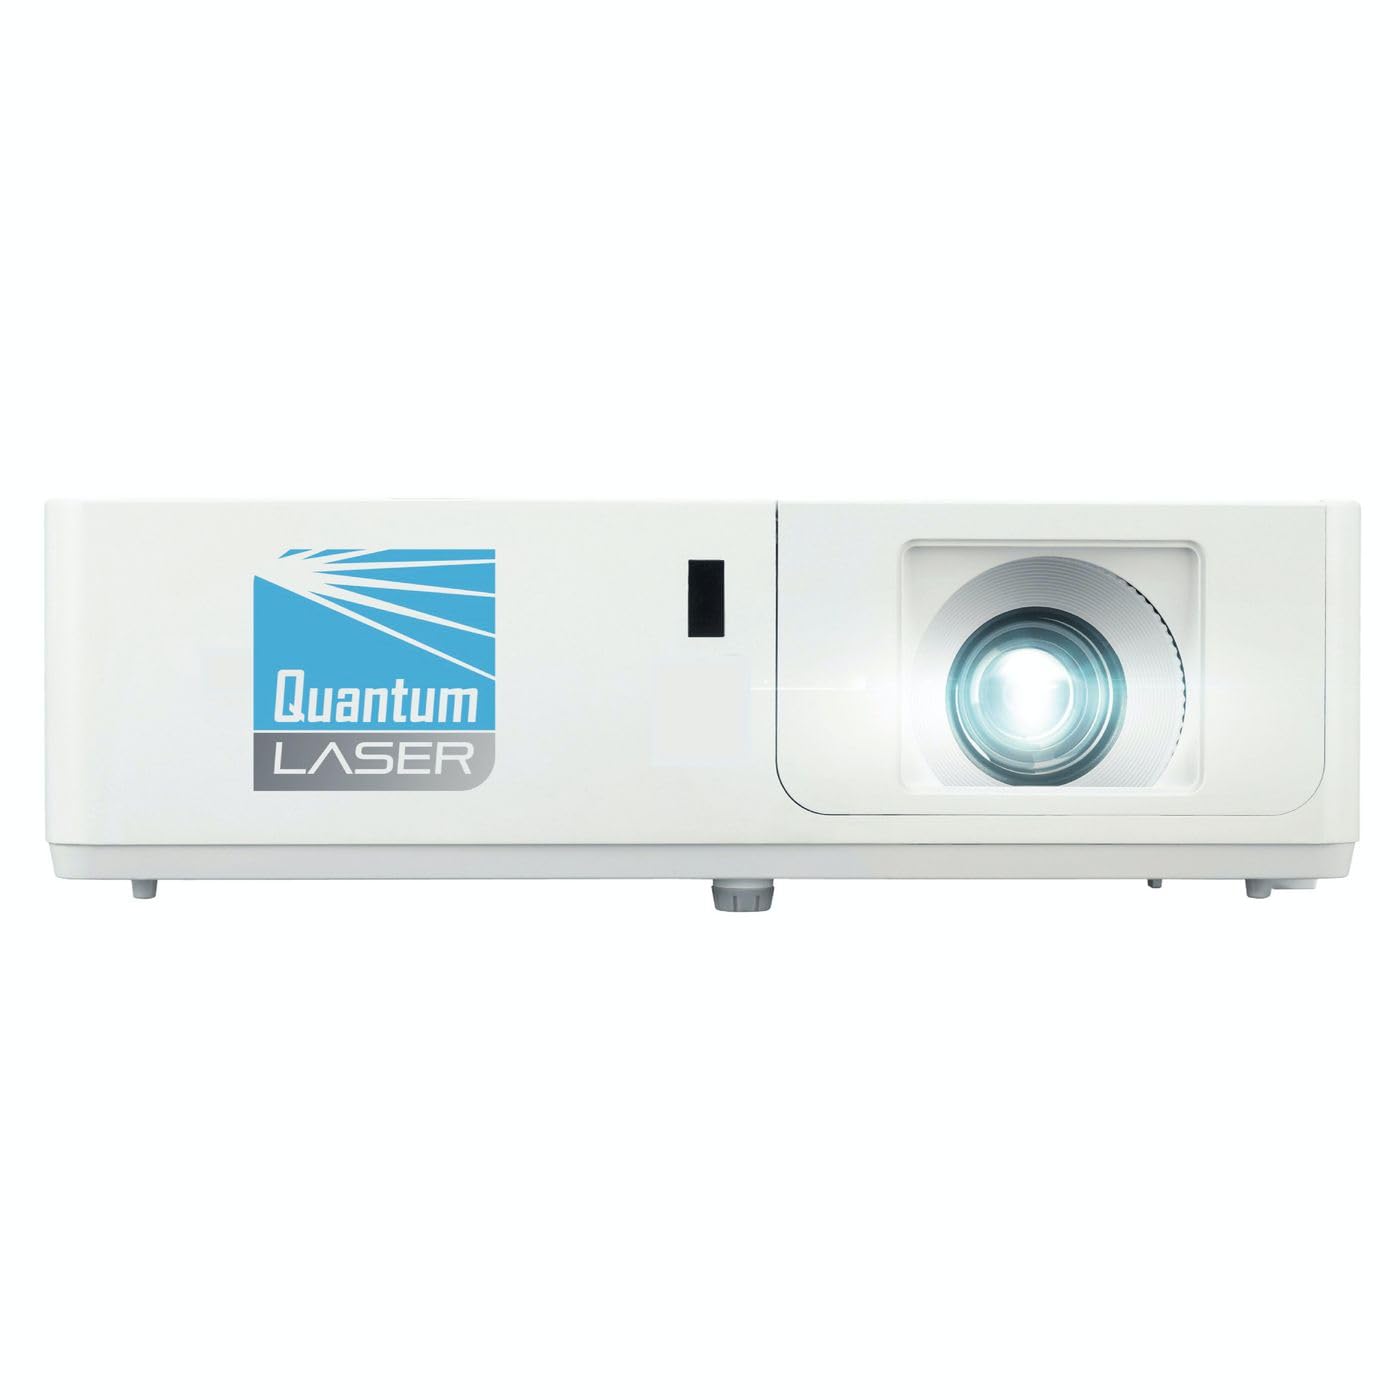
الصورة 1: الجبهة view of the InFocus P120 INL412 Multimedia Projector, showing the lens and ventilation grilles.
4.1 اللوحة الأمامية
- عدسة الإسقاط: يعرض الصورة على الشاشة.
- حلقة التركيز: يضبط وضوح الصورة المعروضة.
- حلقة التكبير: ضبط حجم الصورة المعروضة.
- استقبال الأشعة تحت الحمراء: يستقبل اشارات من جهاز التحكم عن بعد.
4.2 اللوحة العلوية
- لوحة التحكم: Buttons for power, menu navigation, source selection, and keystone correction.
- أضواء المؤشر: Display the projector's status (e.g., power, lamp, temperature).
4.3 اللوحة الخلفية (الاتصال)
- مدخلات HDMI: Connects to HDMI-enabled devices (laptops, Blu-ray players).
- مدخل في جي ايه: Connects to computers with VGA output.
- منفذ USB: For service or connecting USB devices (if supported by model).
- مدخل/مخرج الصوت: لتوصيل مصادر الصوت الخارجية أو مكبرات الصوت.
- مدخل الطاقة: يربط سلك الطاقة.
5. الإعداد
اتبع هذه الخطوات للإعداد الأولي لجهاز العرض الخاص بك:
- الموقع: Place the projector on a stable, flat surface or mount it securely. Ensure the projector is positioned at an appropriate distance from the screen to achieve the desired image size.
- توصيل الطاقة: Connect the power cord to the projector's power inlet and then to a grounded electrical outlet.
- توصيل جهاز المصدر: Connect your source device (e.g., laptop, DVD player) to the projector using an appropriate cable (HDMI, VGA, etc.). Ensure the cable is securely connected to both the source and the projector.
- تشغيل الطاقة: Press the power button on the projector's control panel or the remote control to turn on the projector. The power indicator light will illuminate.
- Adjust Focus and Zoom: Once an image is projected, rotate the focus ring on the lens until the image is sharp and clear. Use the zoom ring to adjust the image size to fit your screen.
- تصحيح الانحراف: If the image appears trapezoidal, use the keystone correction function (either via buttons on the projector/remote or through the on-screen menu) to square the image.
6. تعليمات التشغيل
6.1 تشغيل/إيقاف التشغيل
- لتشغيل: Press the power button once. The projector will go through a warm-up sequence.
- لإيقاف التشغيل: Press the power button twice. The first press will prompt a shutdown confirmation; the second press will initiate shutdown. Allow the projector to cool down completely before unplugging.
6.2 اختيار المصدر
Press the 'Source' button on the projector or remote control to cycle through available input sources (HDMI, VGA, etc.) until your desired source is displayed.
6.3 تصفح القائمة
Press the 'Menu' button to access the on-screen display (OSD) menu. Use the arrow buttons to navigate through options and 'Enter' or 'OK' to select. Use the 'Exit' or 'Menu' button to close the OSD.
- إعدادات الصورة: Adjust brightness, contrast, color, aspect ratio, and picture mode.
- اعدادات العرض: Configure keystone, projection mode (front/rear, desktop/ceiling), and resolution.
- إعدادات الصوت: Control volume and audio output options.
- إعدادات النظام: Manage language, timer, power-saving modes, and factory reset.
7. الصيانة
تضمن الصيانة المنتظمة الأداء الأمثل وتطيل عمر جهاز العرض الخاص بك.
- تنظيف العدسات: امسح عدسة جهاز العرض برفق بقطعة قماش ناعمة وخالية من الوبر، مُخصصة للأسطح البصرية. لا تستخدم منظفات كاشطة أو قوة مفرطة.
- تنظيف الخزانة: Use a soft, dry cloth to clean the projector's exterior. For stubborn marks, dampen the cloth slightly with water. Avoid using harsh chemicals.
- تنظيف/استبدال فلتر الهواء: Check the air filter periodically. If your model has a removable filter, clean it with a soft brush or vacuum cleaner. Replace the filter as recommended in the on-screen menu or when visibly dirty to maintain proper ventilation.
- Lamp الاستبدال: جهاز العرض lamp له عمر افتراضي محدود. عندما يكون العمر الافتراضي محدودًا.amp life indicator appears, or the image brightness significantly decreases, replace the lamp according to the instructions provided in the full service manual or by a qualified technician. Always allow the projector to cool down completely before attempting lamp بديل.
8. استكشاف الأخطاء وإصلاحها
راجع الجدول أدناه للتعرف على المشكلات الشائعة وحلولها:
| مشكلة | السبب المحتمل | حل |
|---|---|---|
| لا توجد صورة معروضة | Power cord disconnected, incorrect input source, source device off. | Check power connections. Select correct input source. Ensure source device is powered on. |
| الصورة ضبابية | العدسة غير مضبوطة، مسافة الإسقاط غير صحيحة. | Adjust the focus ring on the lens. Reposition the projector closer or further from the screen. |
| الصورة شبه منحرفة | جهاز العرض ليس عموديًا على الشاشة. | Use keystone correction (manual or automatic) to square the image. |
| يسخن جهاز العرض ويتوقف عن العمل | Blocked ventilation, dirty air filter. | تأكد من خلوّ المكان حول فتحات التهوية. نظّف فلتر الهواء أو استبدله. |
| جهاز التحكم عن بعد لا يعمل | Dead batteries, obstruction between remote and projector, incorrect angle. | Replace batteries. Ensure clear line of sight to IR receiver. Point remote directly at the projector. |
9. المواصفات
Key technical specifications for the InFocus P120 INL412 Multimedia Projector:
| ميزة | مواصفة |
|---|---|
| رقم الموديل | P120 INL412 (Item model number: 7296144) |
| نوع العرض | دي إل بي |
| الدقة الأصلية | 1280 × 800 |
| الحد الأقصى لدقة العرض | 1280 × 800 |
| تكنولوجيا الاتصال | USB (and other standard inputs like HDMI, VGA) |
| أبعاد المنتج | 5.25 × 0.31 × 1.66 بوصة |
| وزن العنصر | 6.6 رطل |
| الشركة المصنعة | في التركيز |
10. الضمان والدعم
The InFocus P120 INL412 Multimedia Projector comes with a standard manufacturer's warranty. Please refer to the warranty card included in your package for specific terms and conditions, including warranty duration and coverage details. For technical support, service, or further inquiries, please visit the official InFocus support webالموقع أو الاتصال بقسم خدمة العملاء.
للحصول على أحدث معلومات الدعم، يرجى زيارة: www.infocus.com/support